When I was pregnant, I fell in love with knitting.
It started as a way to pass the time, but soon I was making little hats, scarves, and baby blankets that everyone kept asking for.
Friends would say, “Can you make another one for my sister?” or “My cousin just had a baby—do you have time to make a blanket?”
It was flattering and gave me this spark of excitement.
That’s when it clicked—turning a hobby into a way to make a little extra money wasn’t just possible; it was actually kind of fun.
Of course, twin life was A LOT and I didn’t do much knitting after that but now that my twins are much older, I have a bit more time!
If you’ve been searching for easy DIY crafts you can sell or looking for things you can make and sell, I totally get it.
Hobbies like knitting, painting, sewing, or even creating handmade jewelry can become so much more than something to pass the time.
People love unique, handmade items, and there’s always a demand for thoughtful gifts or creative decor.
Plus, it’s such a great way to spend your time doing something you love while earning a little extra cash.
Let’s explore some super simple ideas that you can start making and selling right away!
DIY Crafts You Can Sell to Make Money
People love buying unique, handmade items, and there’s a huge demand for them.
If you’re ready to dive into DIY crafts you can sell to make money, there are so many simple and creative ideas to get started with.
Let’s find the perfect craft for you to make!
1. Leather Lip Balm Holder
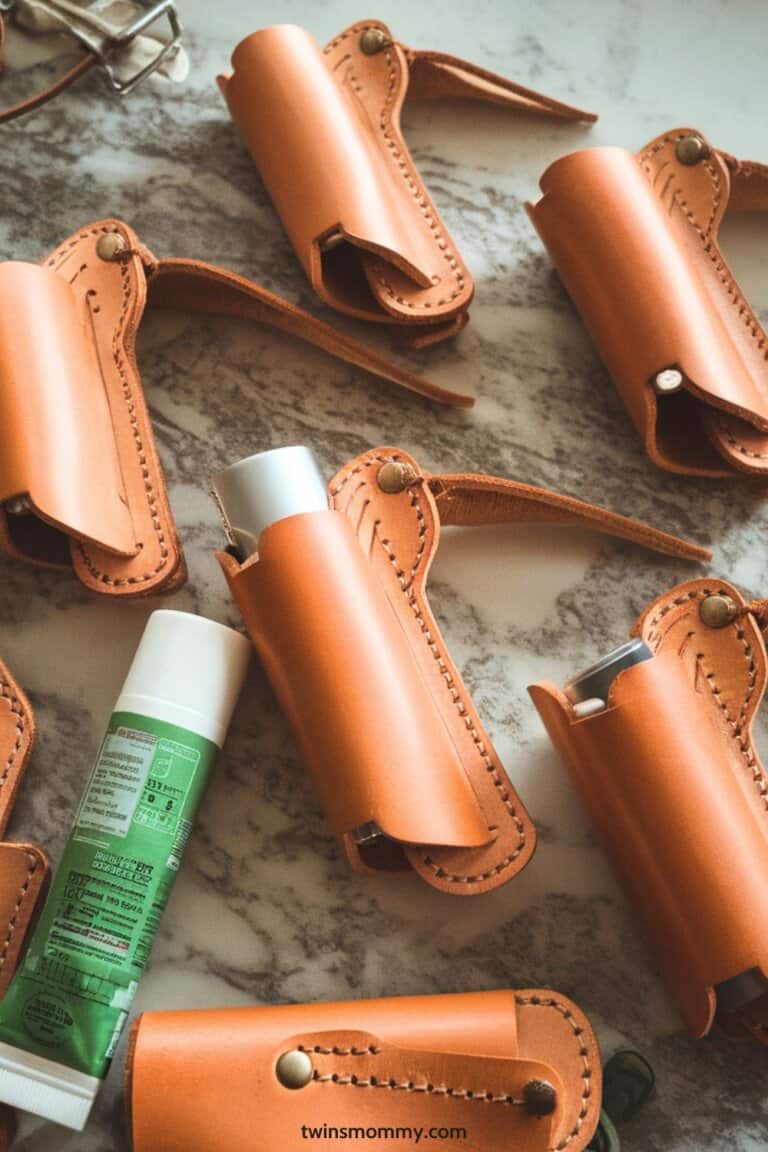
A leather lip balm holder is such a cute and practical craft to make and sell.
These are perfect for clipping onto keys, bags, or backpacks and make amazing gifts or stocking stuffers.
Plus, they’re super quick to whip up if you’re looking to batch-produce them. Here’s how to make one:
What You’ll Need:
- Leather scraps (any color you like)
- Keyring or lobster clasp
- Lip balm for sizing
- Rotary cutter or scissors
- Ruler
- Hole punch or leather punch
- Strong fabric glue or a sewing machine with leather needles
How to Make It:
- Cut the Leather
Measure and cut a piece of leather that’s about 2.5 inches wide and 4.5 inches tall. Adjust slightly depending on the size of the lip balm. - Fold and Secure
Fold the leather in half lengthwise, leaving enough space for the lip balm to slide in and out snugly. Use fabric glue or sew along the sides, leaving the top open. - Attach the Keyring
Punch a hole at the top corner of the leather and loop the keyring or lobster clasp through. - Finishing Touches
Let the glue dry completely if you’re using it. Test the fit by sliding in the lip balm to ensure it’s snug but easy to remove.
How Much to Sell It For:
Each leather lip balm holder costs about $1–$2 to make if you’re using scrap leather and basic supplies.
You can sell them for $8–$12 each, depending on the quality of the leather and the finish. If you make them in bundles with cute packaging, you can even charge more.
How Long Does It Take?
Once you’ve got the process down, each holder takes around 15–20 minutes to make.
Perfect for batching a bunch in one afternoon!
These little holders are practical, stylish, and make great sellers at craft fairs or online shops.
Give them a try—you’ll love how quick and fun they are to create!
2. Fabric Dog Poop Bag Holder
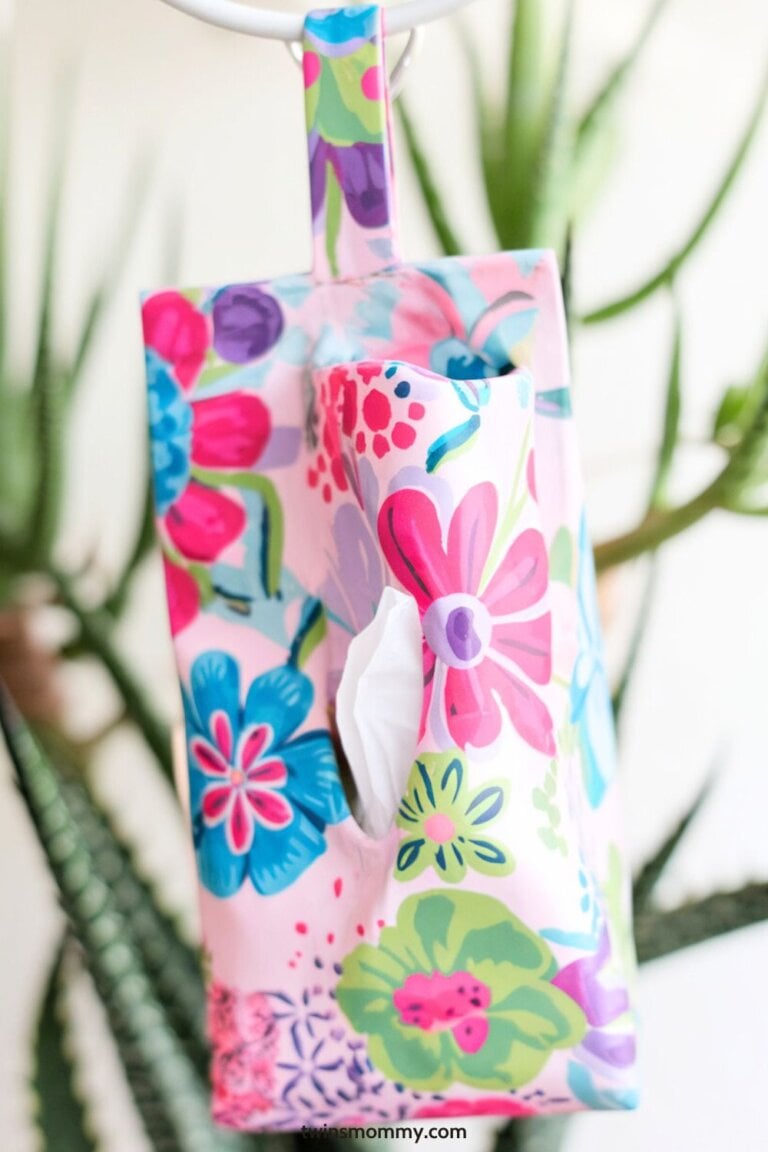
This DIY craft is a fantastic way to make money at home.
These handy little fabric pouches can clip onto a leash or bag, making it easy to grab doggy bags while on walks.
They’re super practical, and you can have fun choosing cute fabric designs that dog lovers will adore.
Here’s how to make one:
What You’ll Need:
- Fabric (cotton or canvas works best)
- Fusible interfacing (optional, for extra sturdiness)
- Zipper (4-6 inches)
- Keyring or lobster clasp
- Sewing machine or needle and thread
- Scissors
- Measuring tape
How to Make It:
- Cut the Fabric
Cut two rectangles of fabric, about 4.5 inches by 6.5 inches. If you want the pouch to hold a bit more, you can make it slightly larger. - Add Interfacing (Optional)
If you’re using interfacing, fuse it to the wrong side of your fabric pieces to add structure. - Sew the Zipper
Place the zipper face down along the edge of one fabric rectangle, with the right sides together. Sew along the edge. Repeat with the other fabric piece on the opposite side of the zipper. - Assemble the Pouch
Open the zipper halfway (so you can turn it right-side-out later). Sew around the edges of the pouch, leaving a small opening at one end for the bags to dispense. - Attach the Keyring
Sew a small fabric loop to one corner of the pouch and attach the keyring or lobster clasp for easy clipping. - Finish Up
Turn the pouch right-side-out, press it flat, and check that the bags pull easily through the opening.
How Much to Sell It For:
Each fabric dog bag holder costs around $2–$3 to make, depending on the fabric and supplies.
These run for $10–$15, or even more if you use premium fabrics or offer custom embroidery.
How Long Does It Take?
Once you get into the groove, each pouch takes about 20–30 minutes to sew, especially if you’re a sewer!
They’re easy to personalize with fun fabrics and simple enough for even beginner sewists to make.
3. DIY Garland
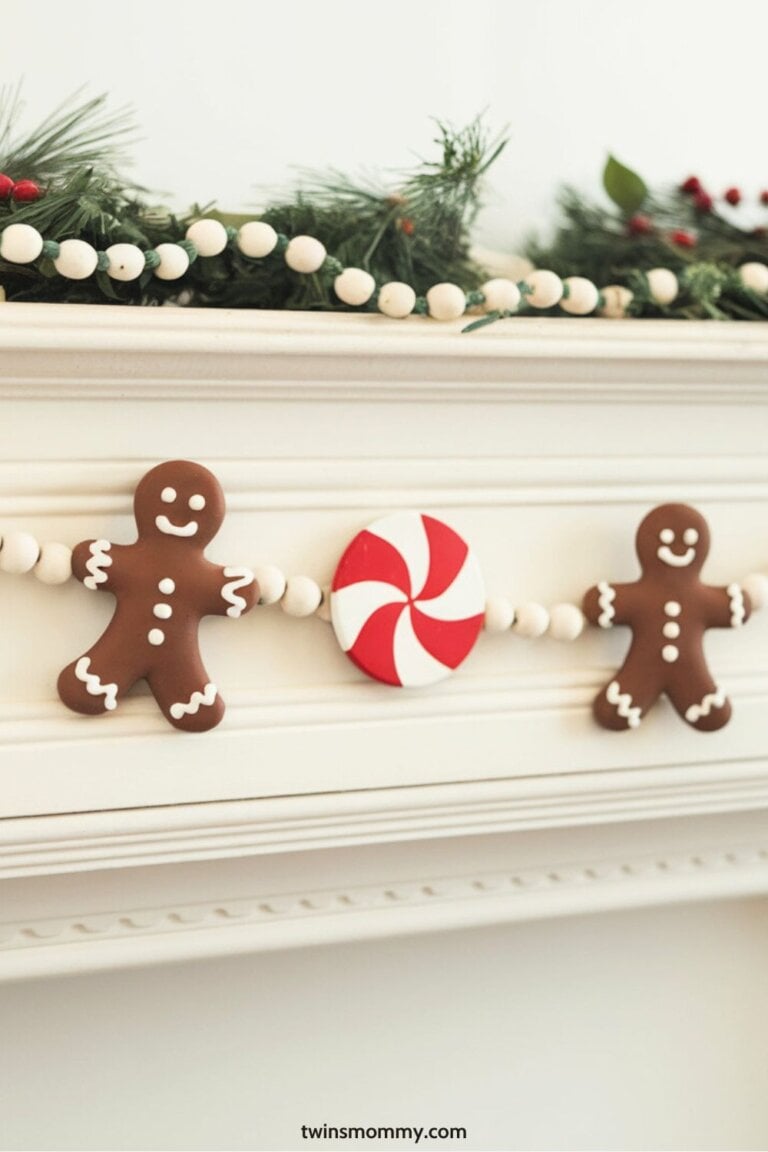
I love decorating with garlands any time of the year – Valentine’s Day garlands or Fall garlands and even Christmas garlands make great sales.
They’re super easy to make in batches, which is great if you want to sell them at craft fairs or online.
Here’s a quick tutorial to create your own.
What You’ll Need:
- String, twine, or thin rope
- Fabric scraps, felt, paper, or pom-poms (depending on your style)
- Scissors
- Hot glue gun (optional, depending on materials)
- Needle and thread (for sewing options)
How to Make It:
- Choose Your Style
Decide on the type of garland you want to make—fabric strips, felt shapes, paper cutouts, or pom-poms. Each has its own charm and works well for different themes or occasions. - Cut Your Materials
- For fabric garlands: Cut fabric scraps into strips, about 1 inch wide and 8–10 inches long.
- For felt garlands: Cut shapes like stars, hearts, or circles.
- For pom-poms: Make or buy pre-made pom-poms in coordinating colors.
- Assemble the Garland
- For fabric strips: Tie each strip onto the string, pushing them close together for a full look.
- For felt shapes: Use hot glue to attach them to the string, or thread them with a needle and twine.
- For pom-poms: Either thread them onto the string or hot glue them in place.
- Add Finishing Touches
Make sure everything is secure, and space the pieces evenly along the string. If selling for seasonal decor, try packaging them in a clear bag with a cute tag.
How Much to Sell It For:
Each garland costs around $3–$5 to make, which isn’t that bad!
You can sell them for $15–$25, based on the design and the time involved. Seasonal or holiday-themed garlands often sell for even more!
How Long Does It Take?
Garlands are quick to make once you have your materials ready.
Each one takes around 30–45 minutes, making them perfect for batching a few at a time.
Whether it’s a festive holiday garland or a simple boho design, these are guaranteed to stand out and bring in sales.
4. Cupcake Bath Bombs
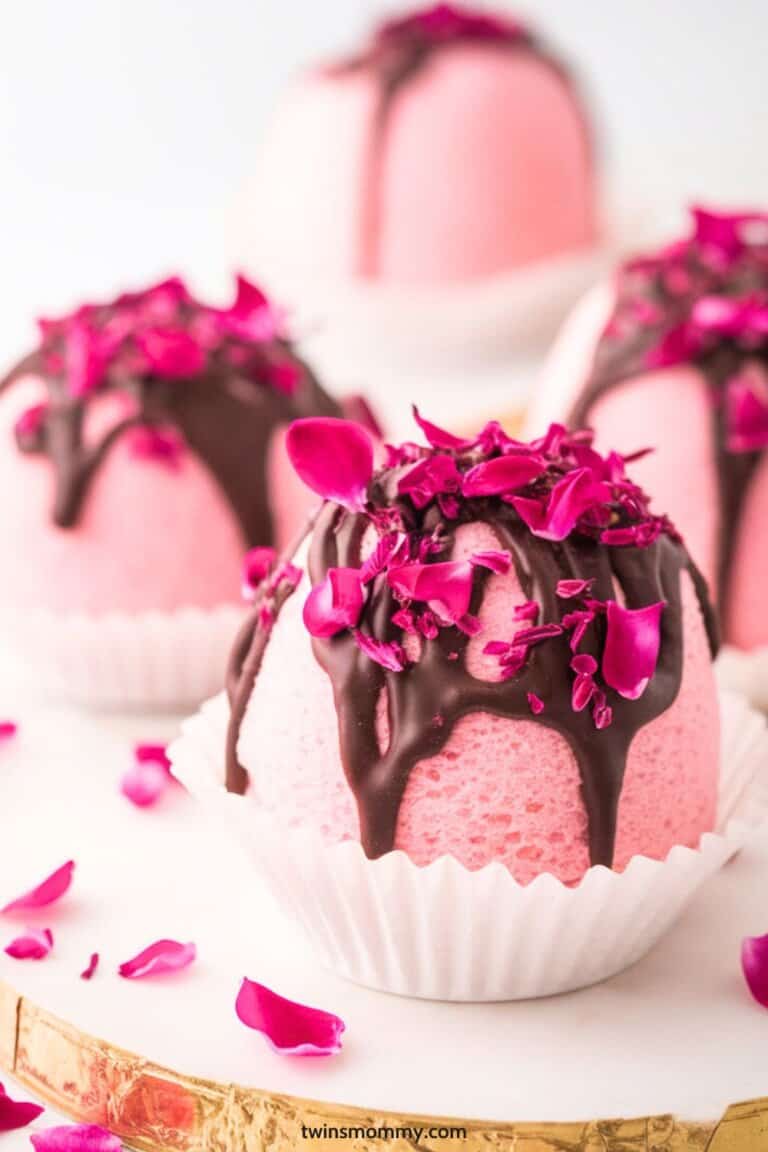
Cupcake bath bombs are the cutest twist on classic bath bombs, and they’re so much fun to make.
Shaped like cupcakes with “frosting” on top, they’re perfect for gifts or self-care treats.
Any fancy bath bombs are a hit at craft fairs and online shops.
Here’s how to create them step by step.
What You’ll Need:
For the Bath Bomb Base (Cupcake Bottom):
- 1 cup baking soda
- 1/2 cup citric acid
- 1/2 cup cornstarch
- 1/4 cup Epsom salts
- 2 tbsp coconut oil (melted)
- 1 tsp essential oil (your choice)
- Few drops of food-grade coloring or mica powder
- Spray bottle with water or witch hazel
- Silicone cupcake molds
For the Frosting:
- 1/2 cup powdered meringue
- 3 cups powdered sugar
- 1/4 cup water
- Food-grade coloring or mica powder
How to Make Them:
Step 1: Make the Bath Bomb Base
- Mix the baking soda, citric acid, cornstarch, and Epsom salts in a large bowl.
- In a separate bowl, combine the melted coconut oil, essential oil, and coloring. Slowly add this to the dry ingredients.
- Use the spray bottle to lightly mist the mixture with water or witch hazel while stirring. It should feel like damp sand and hold its shape when pressed together.
- Press the mixture into the silicone cupcake molds, filling them about 3/4 full. Pack it tightly and let it dry for 12–24 hours.
Step 2: Make the Frosting
- In a bowl, mix the powdered meringue and water until it forms stiff peaks.
- Gradually add the powdered sugar and mix until the frosting is thick and holds its shape. Add a few drops of coloring for fun!
- Spoon the frosting into a piping bag with a star tip and pipe it onto the dried bath bomb bases, just like frosting a cupcake.
- Let the frosting harden for 4–6 hours.
Step 3: Decorate (Optional)
Add biodegradable glitter, dried flowers, or small decorative soap pieces for extra flair.
How Much to Sell Them For:
Each cupcake bath bomb costs around $2–$3 to make and you can sell them for $8–$15 each or even bundle them for a higher price.
How Long Does It Take?
Each batch takes about an hour to make, plus drying time. Once you’ve mastered the process, you can batch-produce several in a day.
Cupcake bath bombs are cute, fragrant, and so eye-catching that they’re bound to sell out quickly.
5. Cute Candle Designs
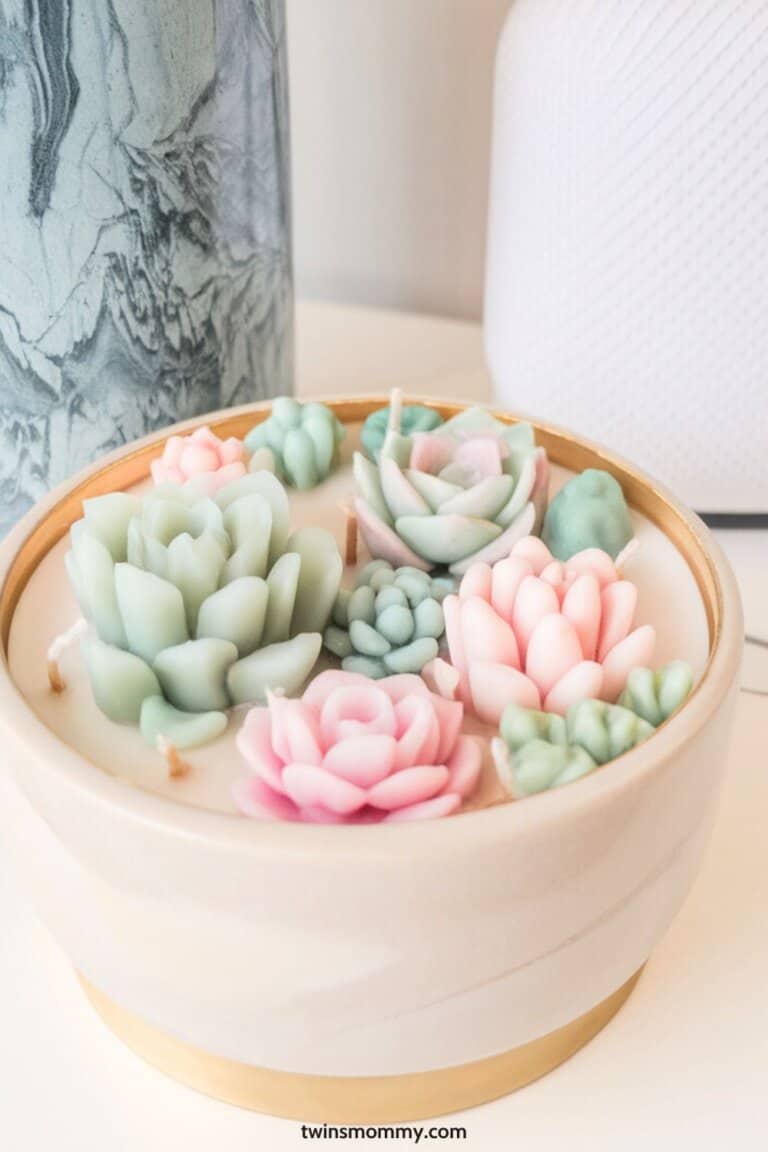
If you love crafting and want to make something that smells amazing and looks adorable, cute candles are the way to go.
You can make heart-shaped wax melts, dessert-inspired candles, or colorful layered designs. These candles are not only fun to create but also sell really well.
Let’s dive into some easy ideas and how to make them.
What You’ll Need:
- Soy wax or beeswax (depending on your preference)
- Candle wicks
- Candle-safe fragrance oils
- Candle-safe dye or mica powder
- Silicone molds (shapes like hearts, stars, or flowers)
- Jars or tins for container candles
- Heat-safe measuring cups or pitchers
- Double boiler or microwave-safe bowl
Cute Candle Ideas:
1. Dessert-Inspired Candles
These look like cupcakes, sundaes, or even milkshakes! Use colored wax to mimic frosting, whipped cream, or sprinkles. Add small wax decorations like berries or chocolate pieces for a realistic touch.
2. Layered Candles
Create colorful layers by pouring wax in stages. Let each layer cool before adding the next. Pastel shades work beautifully for a soft, whimsical look.
3. Shaped Wax Melts
Use silicone molds to make wax melts in fun shapes like flowers, hearts, or even seasonal designs like pumpkins or snowflakes. Package them in cute bags or jars for easy sales.
4. Botanical Candles
Embed dried flowers or herbs into the wax for a natural, rustic vibe. Lavender, rose petals, and eucalyptus are especially popular.
5. Glitter Candles
Add a sprinkle of biodegradable glitter for a sparkly, eye-catching finish. These are especially great for holiday or birthday candles.
How to Make Them:
- Melt the Wax
Use a double boiler or microwave to melt the wax slowly. Add your candle dye and fragrance oil once fully melted (follow the recommended ratio on your products). - Prepare the Wick
Attach the wick to the center of your mold, jar, or tin using a dab of hot glue or a wick sticker. Use a wick holder or chopsticks to keep it upright. - Pour the Wax
Carefully pour the melted wax into your container or mold. For layered designs, wait until the first layer cools before adding the next. - Decorate
Add wax shapes, glitter, or botanicals before the wax fully sets. For whipped “frosting,” whip melted wax with a fork until fluffy and pipe it onto the candle. - Cure
Let the candles cure for 24–48 hours before selling or burning.
How Much to Sell Them For:
The cost of materials for each candle is around $2–$5, depending on the design and size.
You can sell them for $10–$25 each, with intricate or dessert-inspired candles fetching even higher prices.
How Long Does It Take?
Most candles take about 1–2 hours to make, including cooling time. Layered or detailed designs may take a bit longer, but they’re worth the effort!
Cute candles are perfect for craft fairs, online shops, or custom gifts.
With so many design possibilities, you can let your creativity run wild and create something truly one-of-a-kind.
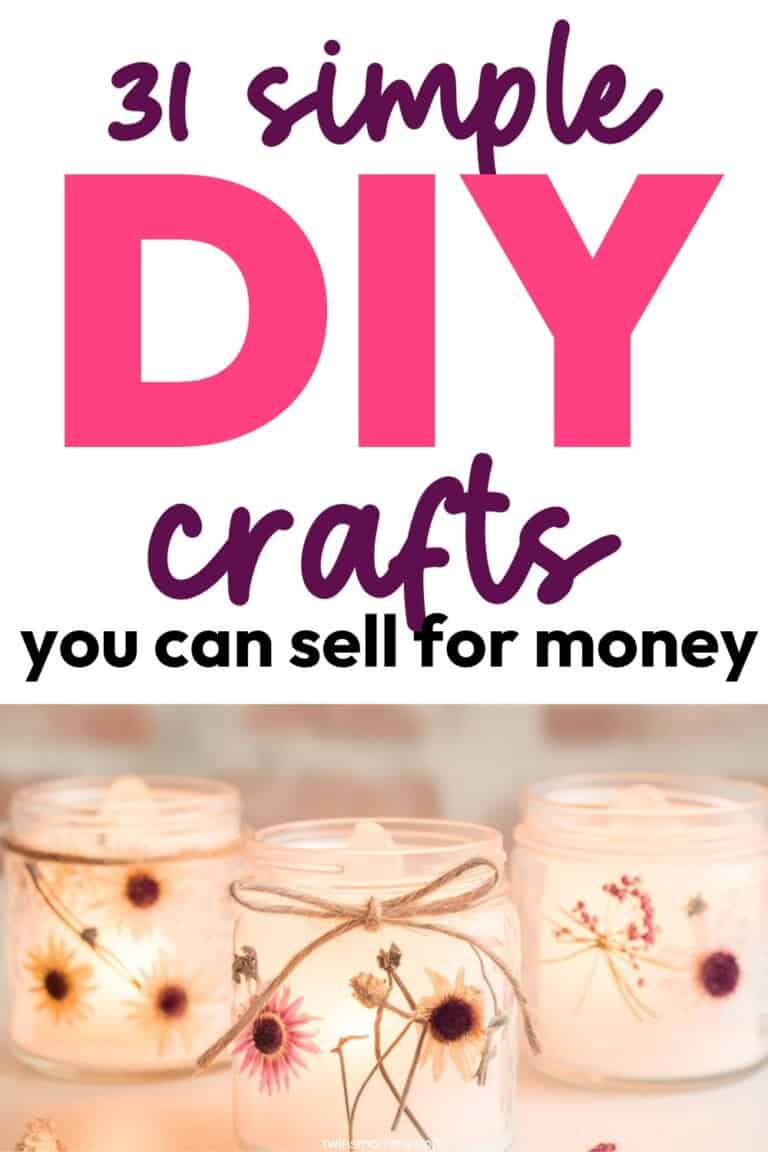
6. Pressed Flower Lanters
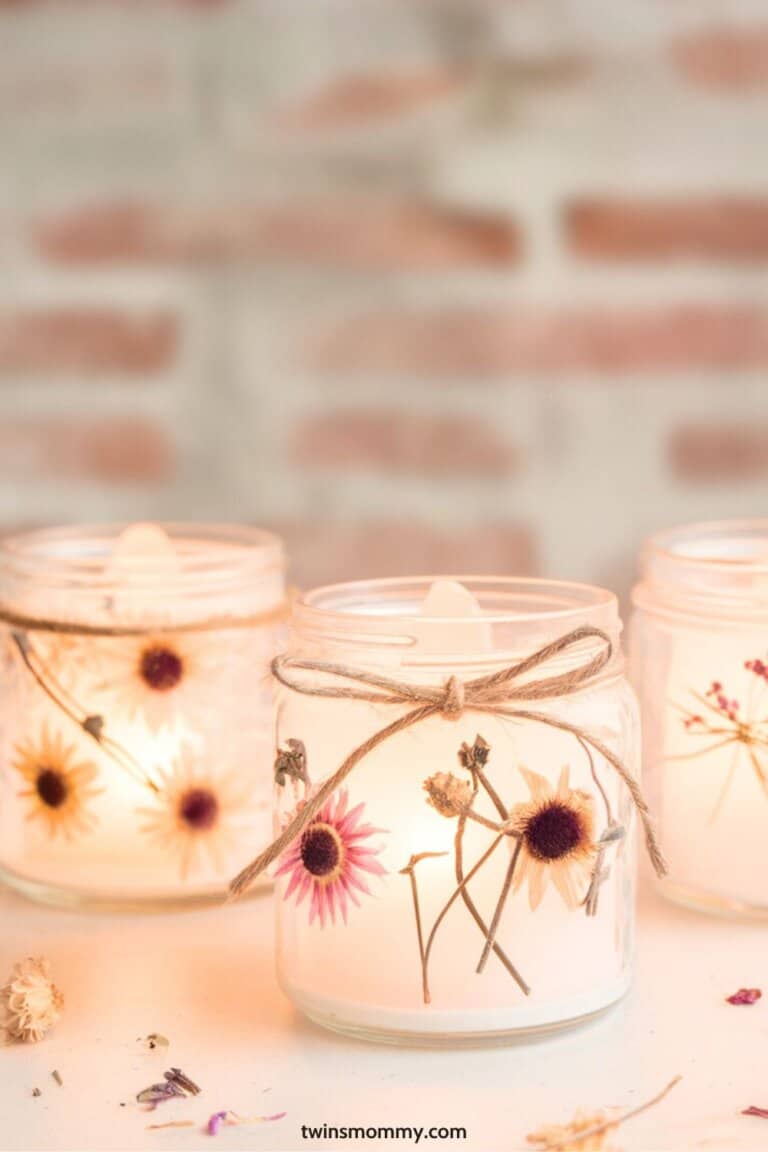
Pressed flower candle holders are a beautiful and simple craft that adds a touch of nature to any space.
Start with a clear glass jar or holder, and use mod podge to attach pressed flowers to the outside.
Once dry, seal with another layer of mod podge or a clear spray sealant for a smooth finish.
These holders look stunning with tea lights or small candles inside, as the glow highlights the delicate flowers.
Each holder costs around $2–$4 to make, depending on the flowers and jars used, and you can sell them for $10–$15 each.
They take about 30 minutes to create, plus drying time, making them perfect for batch crafting.
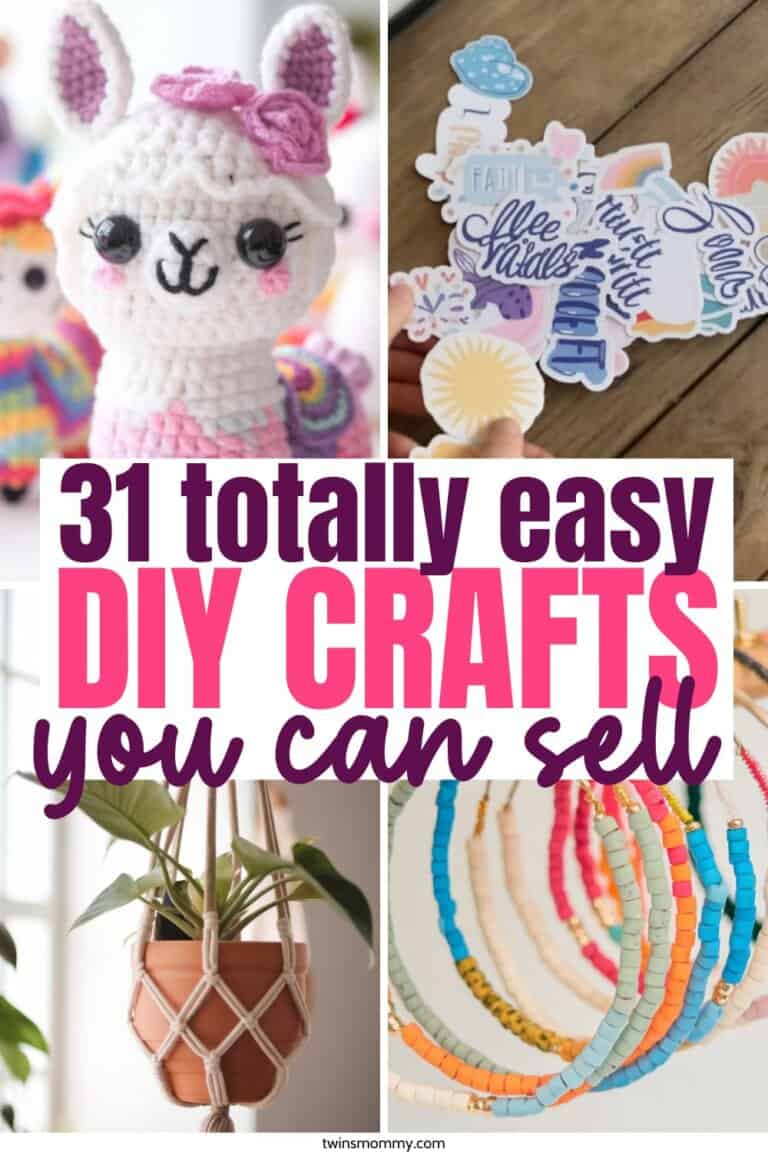
7. Beaded Hoop Earrings
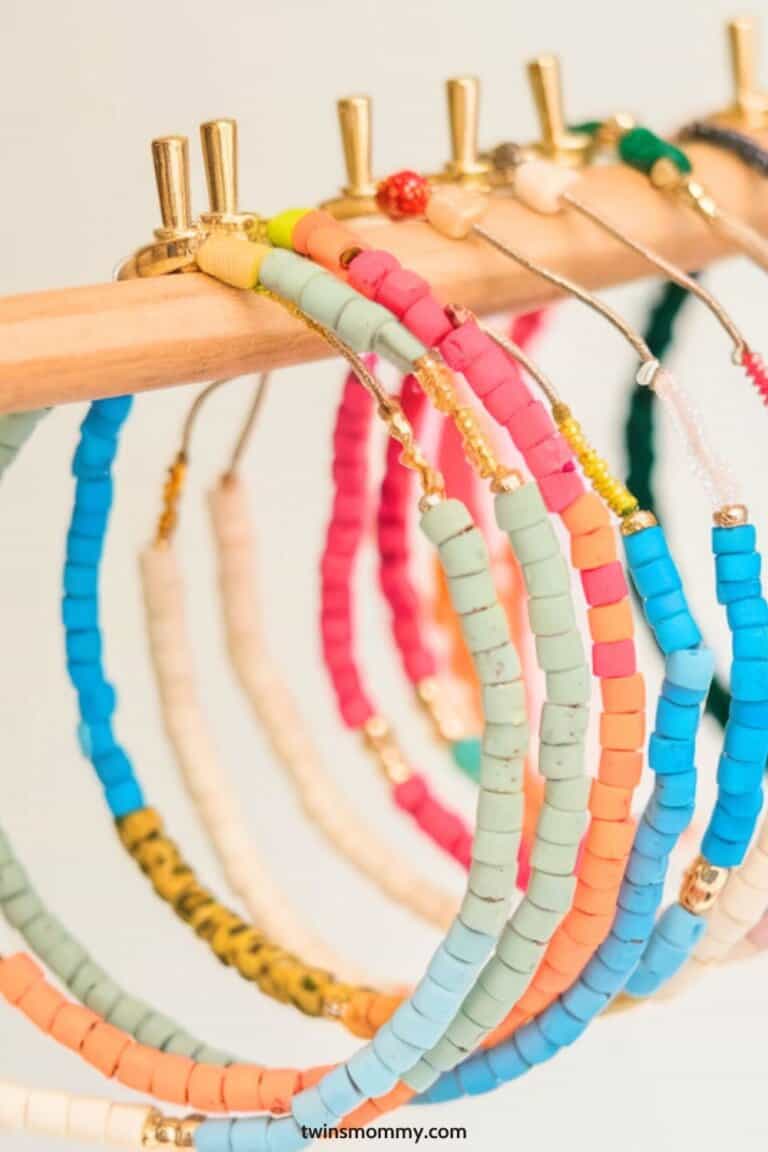
These beaded hoop earrings are a fun, stylish craft that’s easy to make and sell.
All you need are hoop earring bases, beads, and wire or thread to secure the beads. Slide the beads onto the hoops in your desired pattern, secure them, and you’re done.
These earrings cost about $2–$3 per pair to make and can sell for $10–$20 depending on the design.
They take less than 15 minutes to create, making them a quick and profitable DIY project!
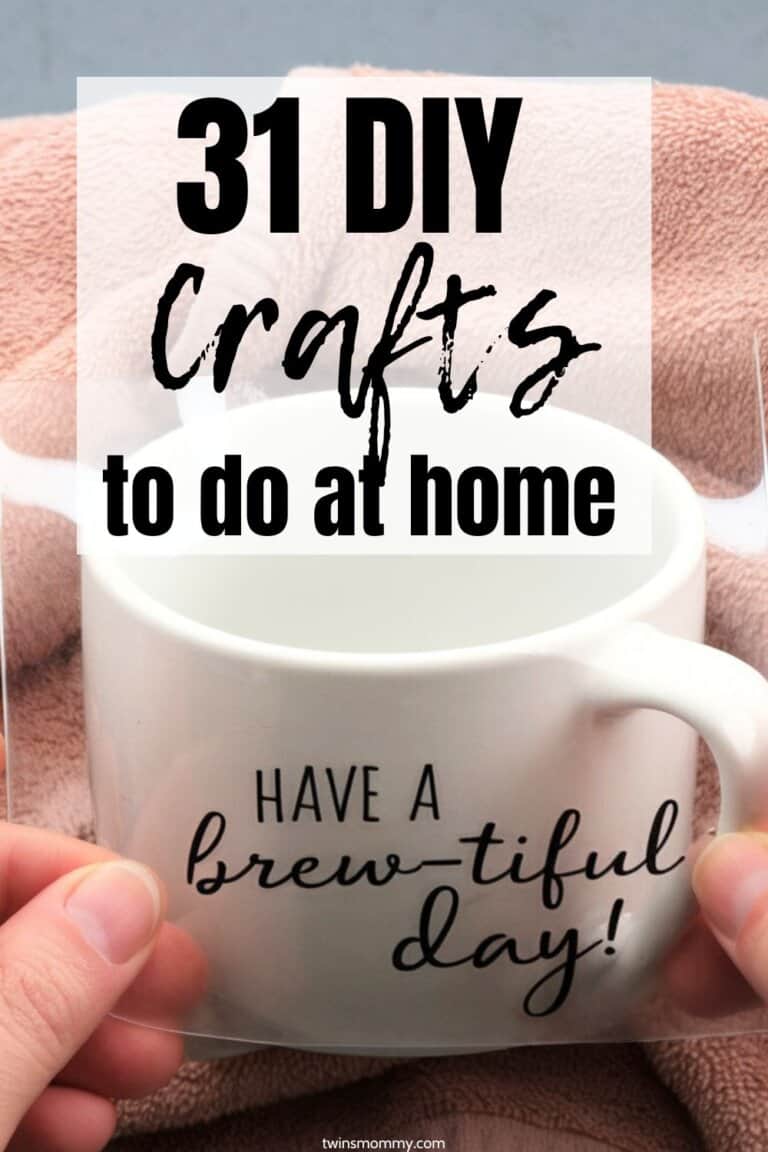
8. Cricut Vinyl on Mugs
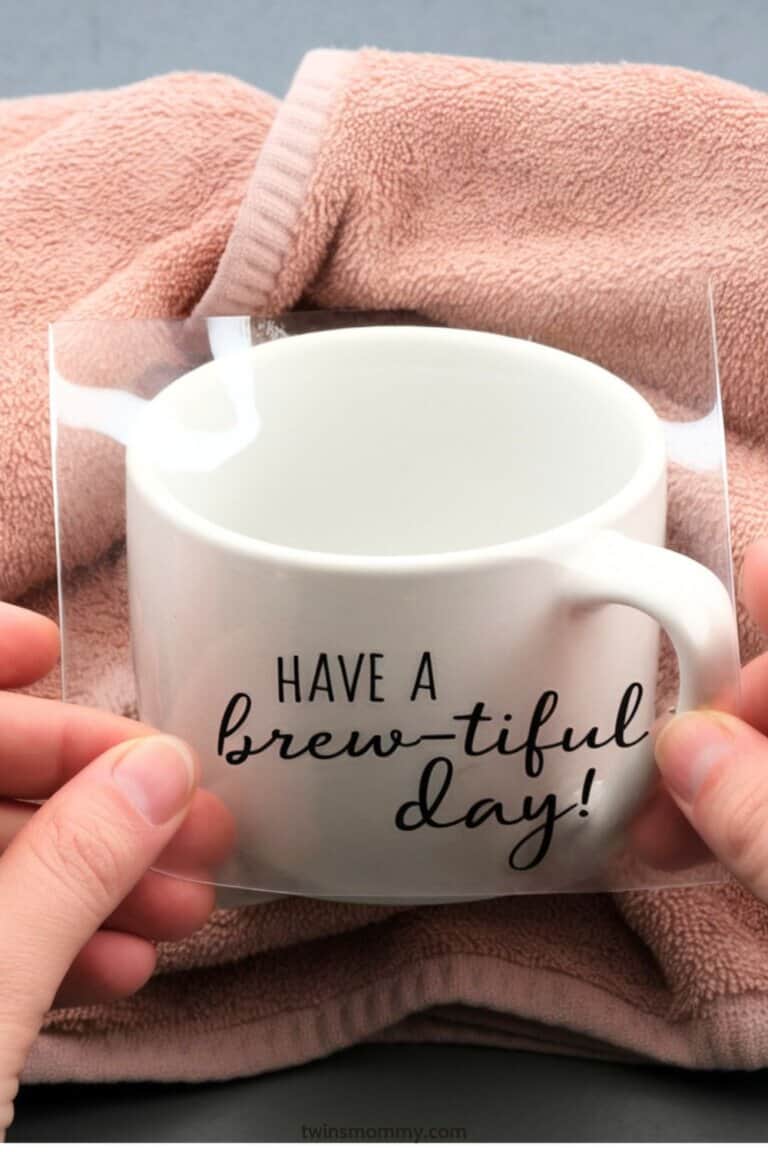
Do you own a Cricut machine? You should!
Personalize mugs with your Cricut machine by cutting vinyl designs and applying them with transfer tape.
Add a sealant for durability, and you’ve got a custom, gift-worthy mug.
Each mug costs $5–$7 to make and sells for $15–$25. With just 20 minutes of work, Cricut vinyl mugs are a profitable craft!
9. Pet Portraits
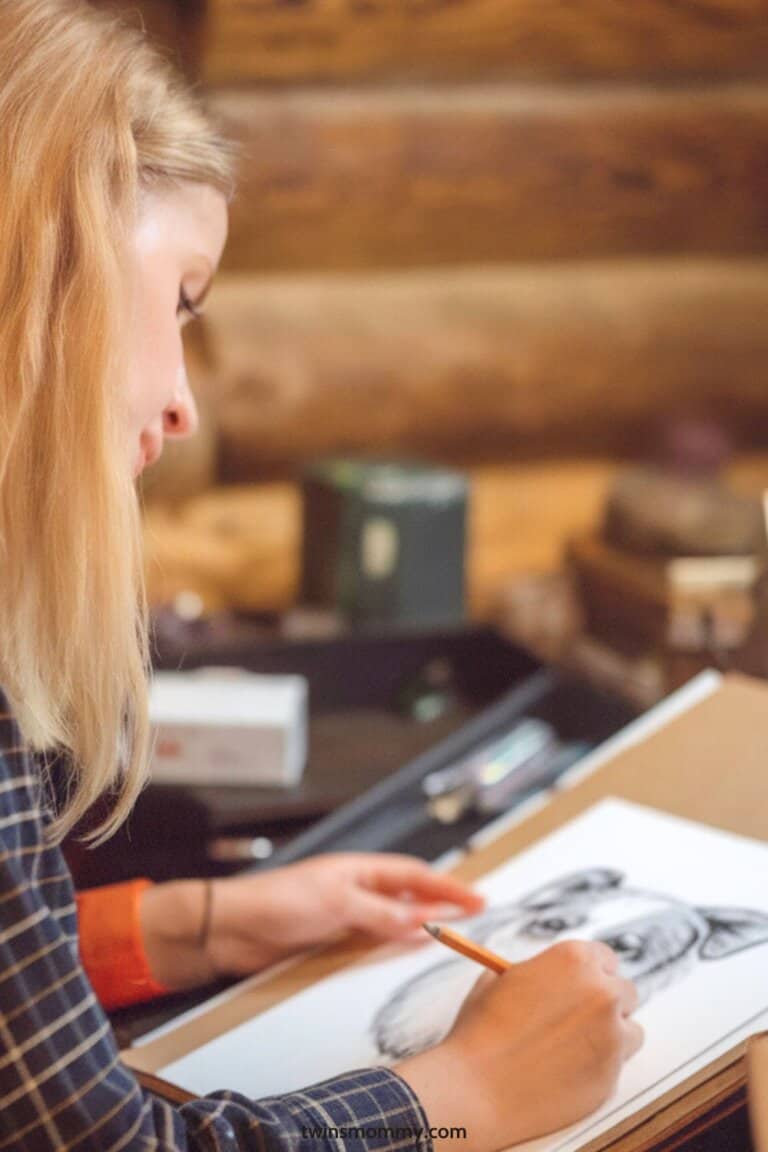
If you love to draw, pet portraits are a creative DIY craft to make and sell.
Capture the unique charm of someone’s furry friend with pencil, watercolor, or digital art.
Offer custom options where customers send in photos, and you create a one-of-a-kind keepsake.
Depending on the materials, each portrait costs $5–$10 to make and can sell for $50–$100 or more.
With a passion for drawing, this is a meaningful way to share your talent while earning extra income!
10. Pet Treats
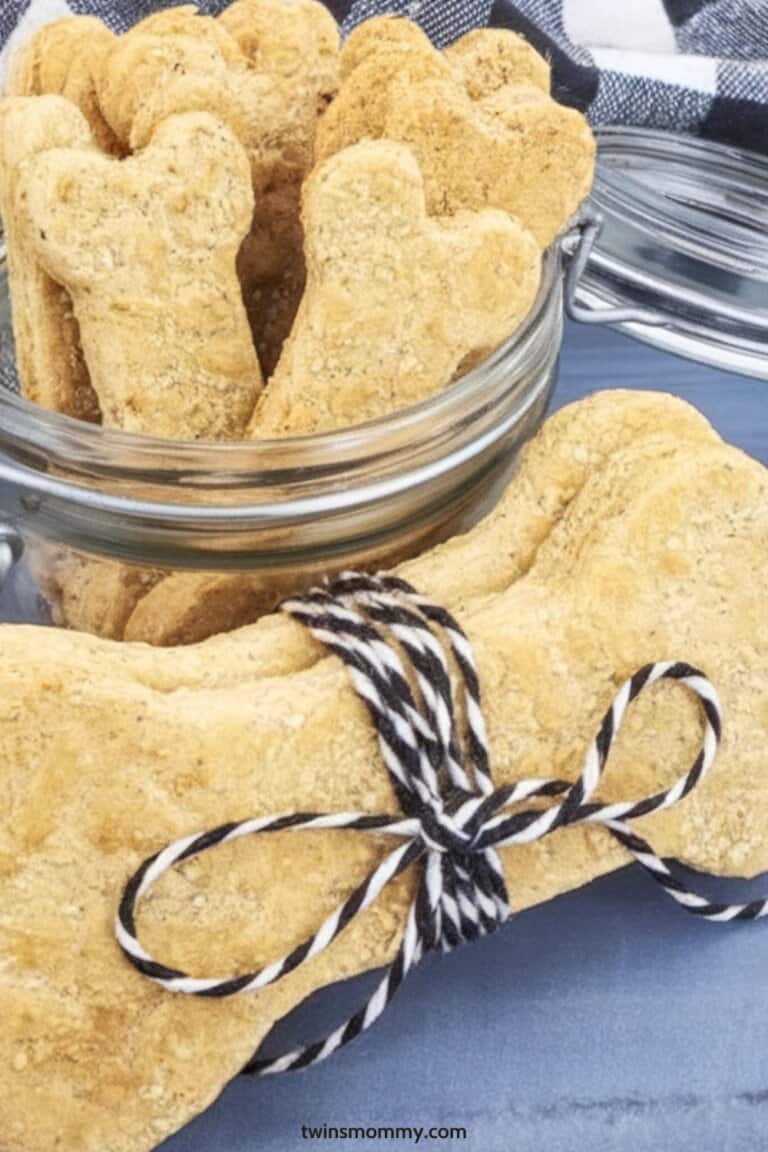
Homemade pet treats are a fun and easy craft to make and sell. Use simple, pet-safe ingredients like peanut butter, oats, or pumpkin to bake adorable treats in fun shapes.
With costs around $5 per batch, you can sell them for $10–$20 depending on packaging.
11. Handmade Scented Soaps
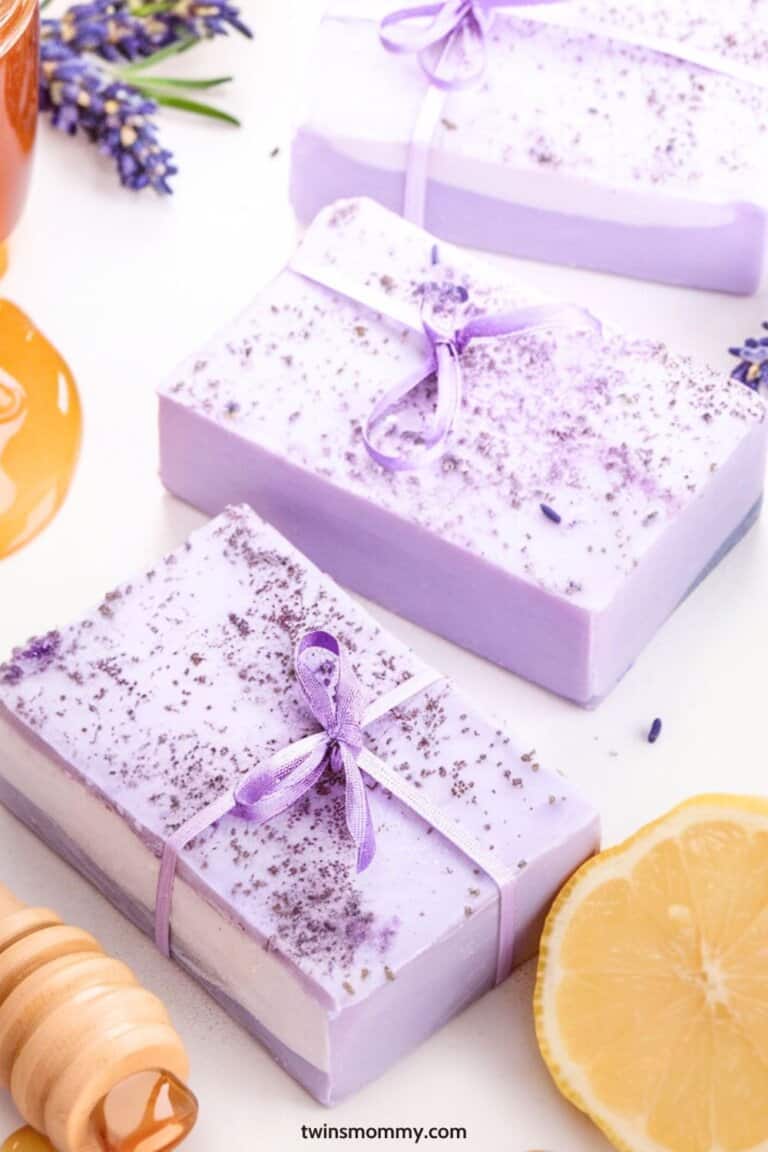
This DIY craft is a simpl project to make and sell.
Melt soap base, mix in your favorite essential oils, and pour into molds for beautifully scented bars.
Each bar costs about $2 to make and can sell for $6–$12. They’re quick to make, taking 30 minutes or less, and perfect for gifts or craft fairs!
12. Create Stickers
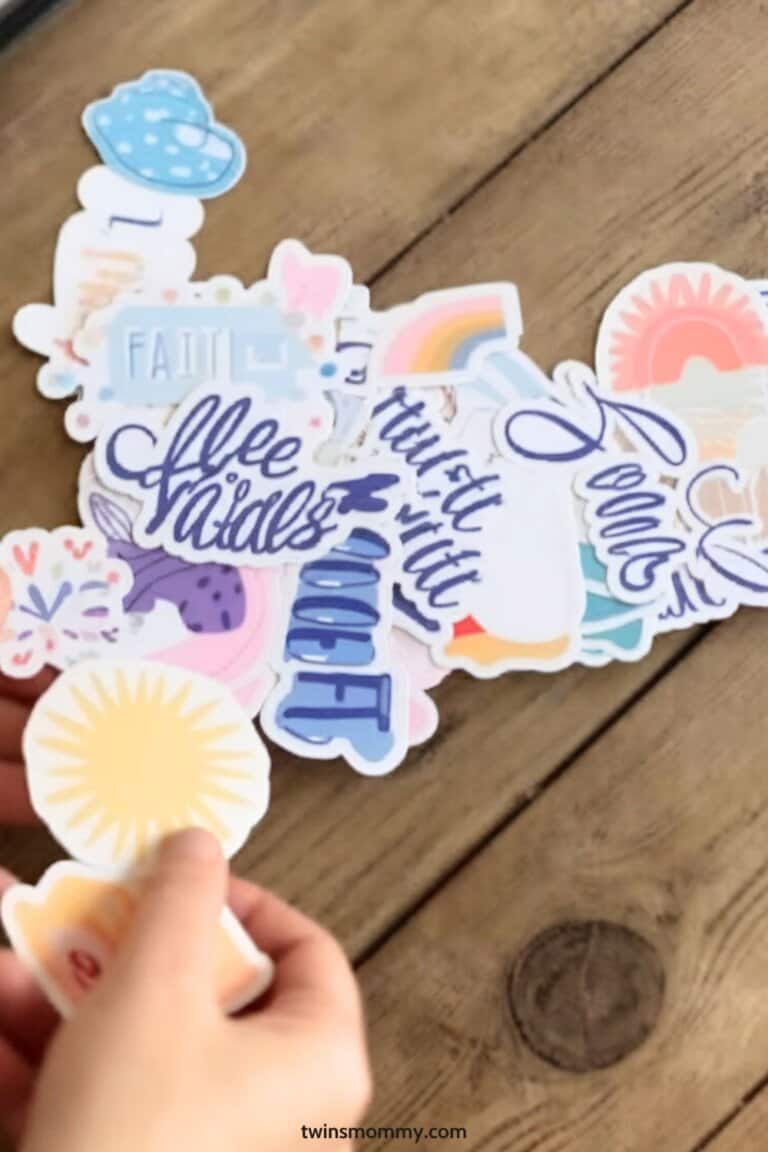
My daughter loves crafting and these stickers are right up her alley!
You can involve your kids or tweens in this—they’ll love designing, coloring, and cutting!
Use sticker paper and have them draw designs or create them digitally. Print, cut, and laminate for durable, fun stickers they can proudly show off.
Each sheet costs about $1–$2 to make, and you can sell packs for $5–$10. It’s a great way to bond with your kids while creating something adorable and profitable!
13. Make Candy
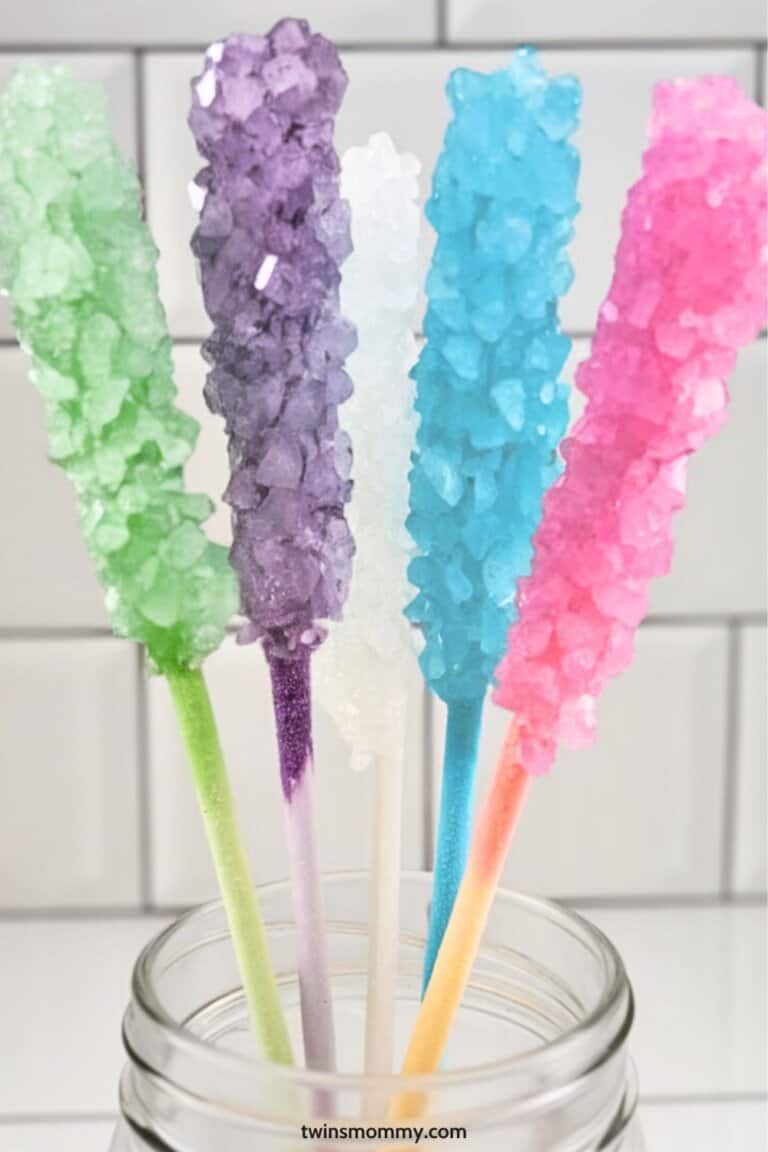
Making specialty candy like vegan candy is a rewarding craft that caters to a growing audience.
Use plant-based ingredients like coconut cream, maple syrup, or vegan chocolate to create treats like truffles, caramels, or gummies. Add natural flavors and colors for a fun twist, and package them beautifully for a premium feel.
Each batch costs around $5–$10 to make, depending on the ingredients, and you can sell them for $15–$30.
14. Macramé Plant Hangers
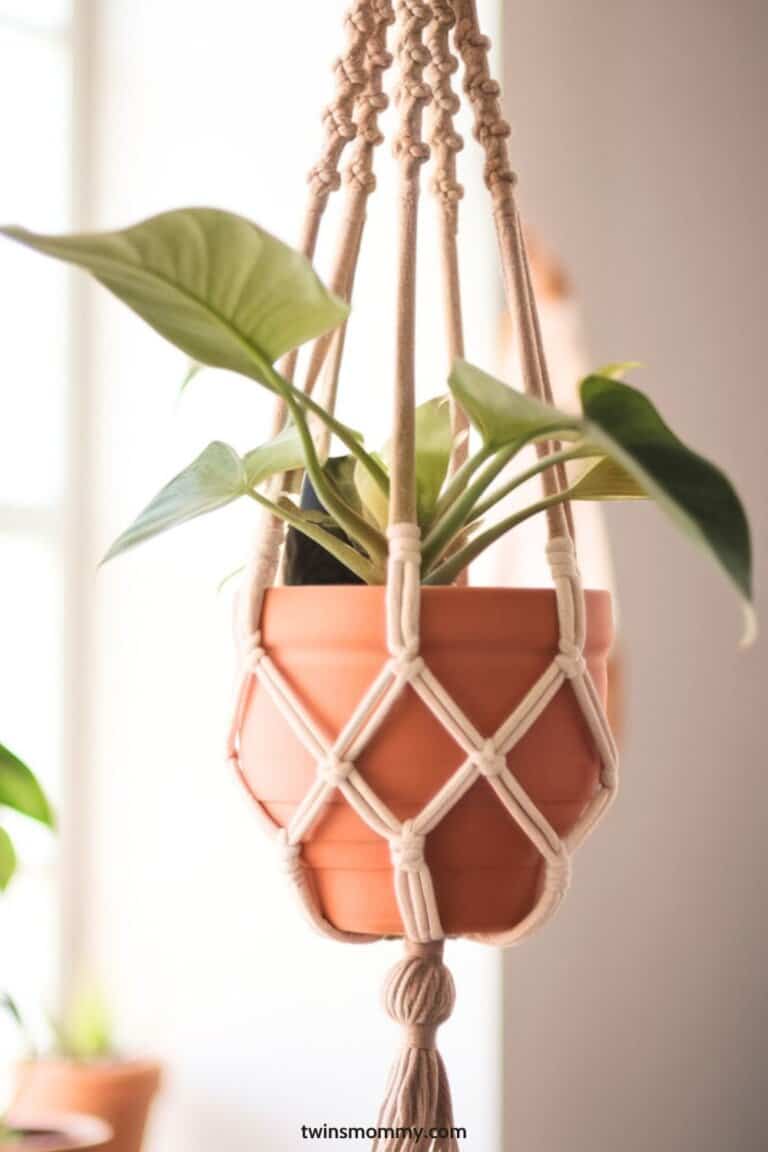
Macramé plant hangers are a trendy Boho decor craft to make.
All you need is macramé cord, a metal ring, and some basic knots like square knots or spiral knots.
Create unique designs to hold small or large planters, and finish with a tassel for a chic touch.
Each hanger costs around $3–$5 to make and can sell for $15–$25, based on the size and complexity.
They’re quick to make in under an hour and perfect for adding a handmade, boho vibe to any space!
15. Crochet Amigurumi Toys
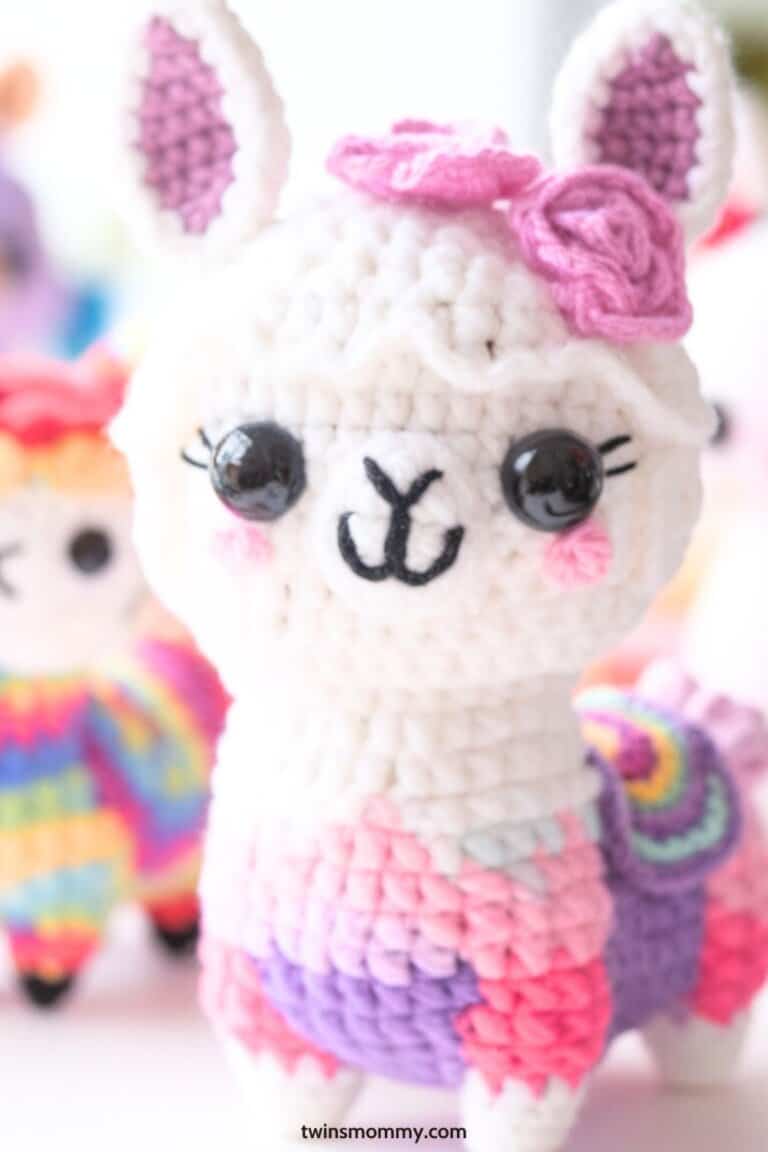
Aren’t these just the most adorable DIY craft you can make?
Amigurumi crochet toys are Etsy favorites, loved for their charm and custom designs. With yarn, a crochet hook, and stuffing, you can create adorable animals or dolls.
Each toy costs $5–$8 to make and sells for $20–$50, making them a fun and profitable craft!
More Unbelievably Easy DIY Crafts
Here are some more unbelievably easy DIY crafts for beginners or anyone who loves making something simple yet stylish.
16. Sell Your Photos
If you love photography, turn your best shots into prints or digital downloads.
Sell them as wall art, postcards, or even custom gifts through Etsy or your own website.
17. Make Printables
I make most of my money as a stay at home mom selling digital products like printables.
Use Canva or design software to create printables like planners, wall art, or party decorations.
Once made, they’re passive income—you upload them, and customers print them at home.
18. Baking/Decorating
Channel your inner baker and sell decorated cookies, cupcakes, or cake pops.
Custom designs for birthdays, holidays, or weddings are always in demand.
19. Resin Keychains
Use resin to craft fun and colorful keychains. Add glitter, dried flowers, or initials for personalized touches.
20. Embroidered Tote Bags
Add simple embroidery designs to tote bags for a cute, custom accessory. These are practical and trendy.
21. Painted Plant Pots
Transform plain pots into colorful, hand-painted designs. Perfect for plant lovers looking for unique decor.
22. Clay Earrings
Craft lightweight earrings with polymer clay in fun shapes and colors. These are trendy and easy to make.
23. Wire-Wrapped Rings
Create simple wire-wrapped rings with beads or crystals. They’re trendy, affordable, and easy to make in different sizes.
24. Chunky Knit Blankets
Use thick yarn to make cozy, stylish blankets that sell well in colder months. They’re quick to craft and highly popular.
25. Scented Wax Melts
Pour colorful scented wax into molds for easy-to-use wax melts. Package them in small boxes or bags for gifting.
26. Painted Mason Jars
Repurpose glass jars with painted designs for home decor or storage. Add fairy lights or labels for extra charm.
27. Die-Cut Decals
Design custom vinyl decals for cars, laptops, or walls. Personalized designs or inspirational quotes are always in demand.
28. Pressed Flower Frames
Arrange pressed flowers between glass panes to create beautiful framed art. They make stunning gifts or decor pieces.
29. Decorative Throw Pillows
Sew or decorate pillow covers with fun patterns or quotes. These are great for sprucing up any living space.
30. Scrunchies
Sew trendy scrunchies using colorful fabric.
They’re easy to make in batches and always a hit for hair accessories.
31. Fabric Bookmarks
Use leftover fabric or felt to craft cute, durable bookmarks.
Add embroidery or tassels for extra flair.
Simply & Easy DIY Crafts to Make & Sell
There you go!
I hope you found an easy DIY craft to make while your baby is napping or during those down times as a sty at home mom!
I love and enjoy crafting soo much!
Let me know if you already have a craft business or you want to start one!
Remember to pin me!


1 Comments