Okay.
Here is post #2 in the Pinterest for Newbies series! Check out the first post where I dive into how to start pinning!!
In this post I’ll tell you an easy way to brand your Pinterest board covers! If you’re anything like me, you enjoy branding your blog and branding your social media profiles!
It helps new people recognize you and get to know your personality for sure 🙂
Before we get into it, I want to make sure everyone is on the same page about Pinterest!
What Are Board Covers?
In your Pinterest profile, you can create boards to hold your pins based on a topic. For example, if you are a health blogger for moms, your board topics might be:
- Quick healthy recipes
- 10-minute workouts
- Strength exercises for moms
- Work out with your toddler
These topics will appeal to the health blogger’s audience. To create a new board, show all your boards and right before Pinterest shows your boards, there is an option to create a new board.

Click on that and create your new board! Once you name your board, you get to see what the board looks like.
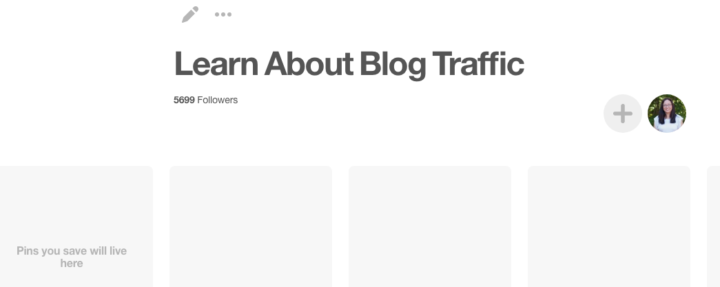
Click on the pencil to fill out the description of the board topic, set the category if you can, and – if you want – make this board a collaborated group board.
From here you can search for some pins to pin to your new board (or go into one of your established boards and pin from there!).
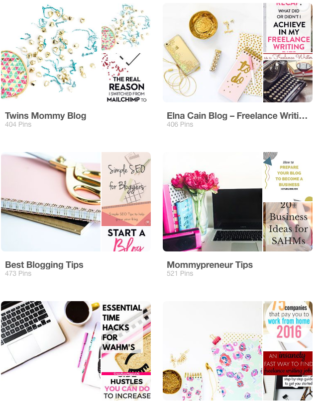
Branding Your Board Covers
Now that you’ve created your boards, you want to start thinking about how to incorporate your blog’s brand.
In the beginning, I branded my board covers by using the same colors and fonts I use on Twins Mommy.
The problem with branding your pins this way is that Pinterest changes their board cover dimensions as well as their user platform a lot.
I have a lot of boards and to go and change them every few months was a waste of my time. Sure, it looks awesome, but in the long run, it wasn’t worth the investment of my time (no ROI).
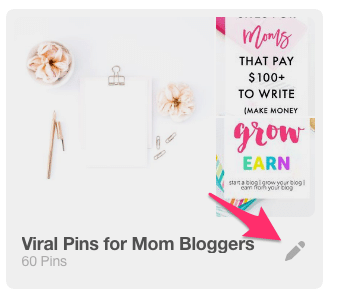
An Easy Way to Brand Your Boards
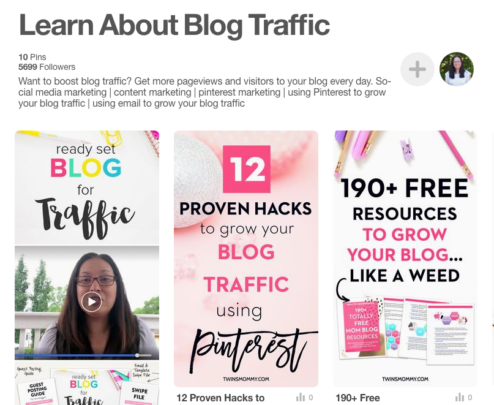
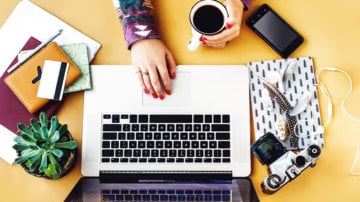
Instead of focusing on creating board covers, you can simply add a beautiful stock photo that represents you brand!
Hold up! Don’t know where to find amazing and free stock photos? Check out these posts:
- 18 Places for FREE Girly and Styled Stock Photos
- 17 *More* Places for FREE Styled and Chic Stock Photos
- 35 Best Places for Free Feminine and Style Stock Photos
Hee hee, I’m a little obsessed with free stock photos!
When you find some pretty stock photos that you feel represent your brand, you can use some of them to create your cover boards.
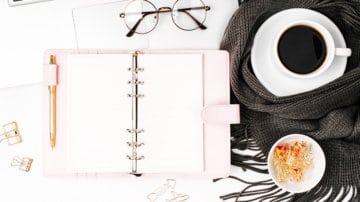
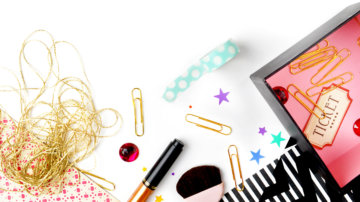
Personally, I like to use photos that are included in a bundle (so a lot of the same type of image) or ones that I couldn’t really use as a blog post image (too “messy”).
Glitches With Using Board Covers
I noticed that occasionally a board will “lose” its cover image and Pinterest just shows the latest pin in that board.
This happened more often earlier in the year, but not so much recently (although it did happen twice in a week!). If this happens, first go into that board and find that missing cover image (it’s usually at the bottom of your board).
Repin that image to that same board (that’s missing the cover image). This ensures that when you set your cover image again, it’s the first choice.
Click on the pencil icon on the board (when you hover over the board) and under the cover section change your cover image to the new one (or original one!).
Get Branding
There ya go! A simple way to brand your board covers without any need to edit your images and create text boxes and things like that.
It’s a clean and professional (and visually appealing) way to show your Pinterest profile!
Have fun!
Leave a Reply