
My daughter is really into clay right now, and I have to say, I’m kinda loving this little crafty phase!
She can sit at the table with a bunch of colorful clay and just make the cutest little things. Tiny animals, food, characters…whatever pops into her head.
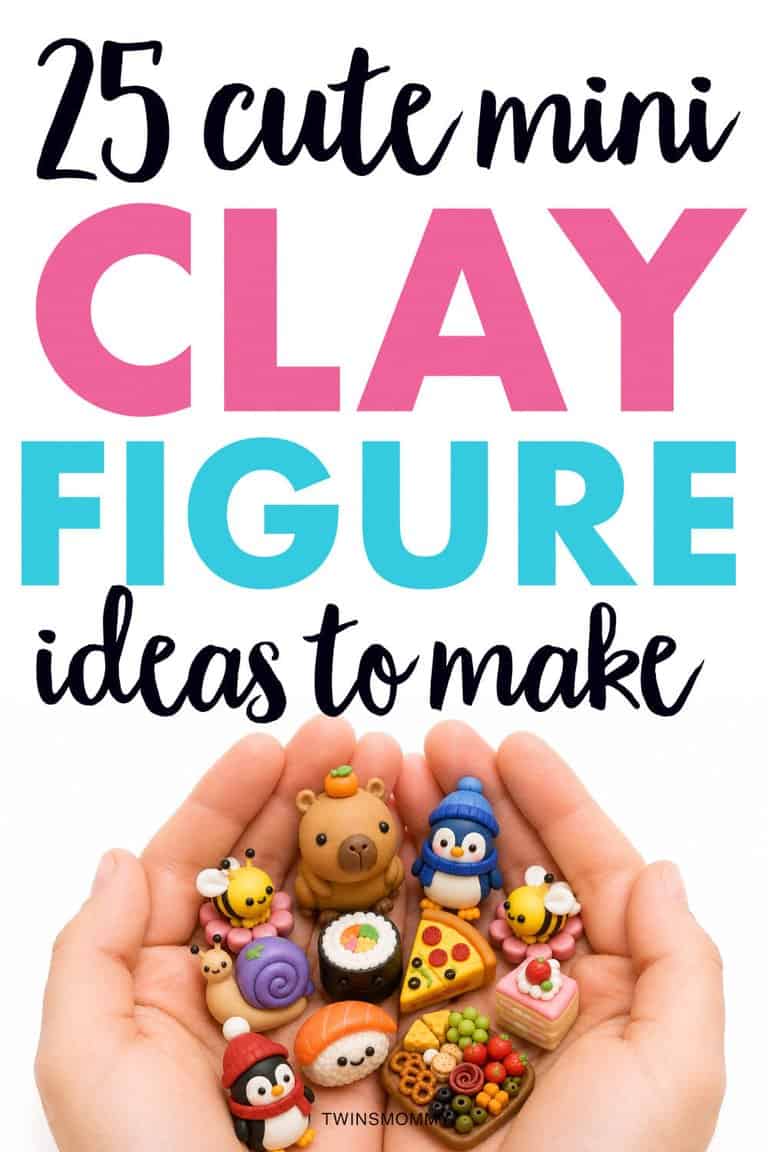
And somehow, making small clay figurines keeps her busy way longer than I expect (which, as a mom, I’ll happily take!).
What I love about these cute mini clay figures is that they don’t have to be complicated either.
You can start with a few simple shapes, squish them together, add a tiny face and suddenly you’ve got an adorable little frog or mushroom sitting in front of you.
So, if your kiddo is loving clay too (or you just need a fun craft to pull them away from a screen for a bit), I found some seriously cute mini clay figure ideas to make.
Let’s check them out!
What Do You Need to Make Small Clay Figurines?
Before you or your kiddo starts rolling out 25 tiny balls of clay all over your kitchen table (ask me how I know), it helps to have a few basic supplies ready.
You definitely don’t need a professional clay setup for these.
Most of these cute clay figurines are made from basic balls, ovals, little snakes and flattened pieces of clay.
Here are some materials that are handy to have:
- Polymer clay or air-dry clay in several colors
- Clay sculpting tools for shaping and adding details
- A small rolling pin or even a smooth cup to flatten clay
- Toothpicks for making eyes, textures and tiny lines
- A craft knife for older kids or adults to make clean cuts
- Acrylic paint if you’re starting with white air-dry clay
- Tiny paintbrushes for faces and details
- Clay glaze if you want that shiny finished look
- A clean cutting board or craft mat to protect your table
Polymer clay works especially well for really tiny figures because it holds little details nicely, while air-dry clay is an easy option if you don’t want to bake anything.
If you’re using polymer clay, follow the baking instructions that come with the clay. And, of course, younger kids will need an adult helping with cutting tools and the oven.
Okay, now for the FUN part.
1. Chubby Clay Duck
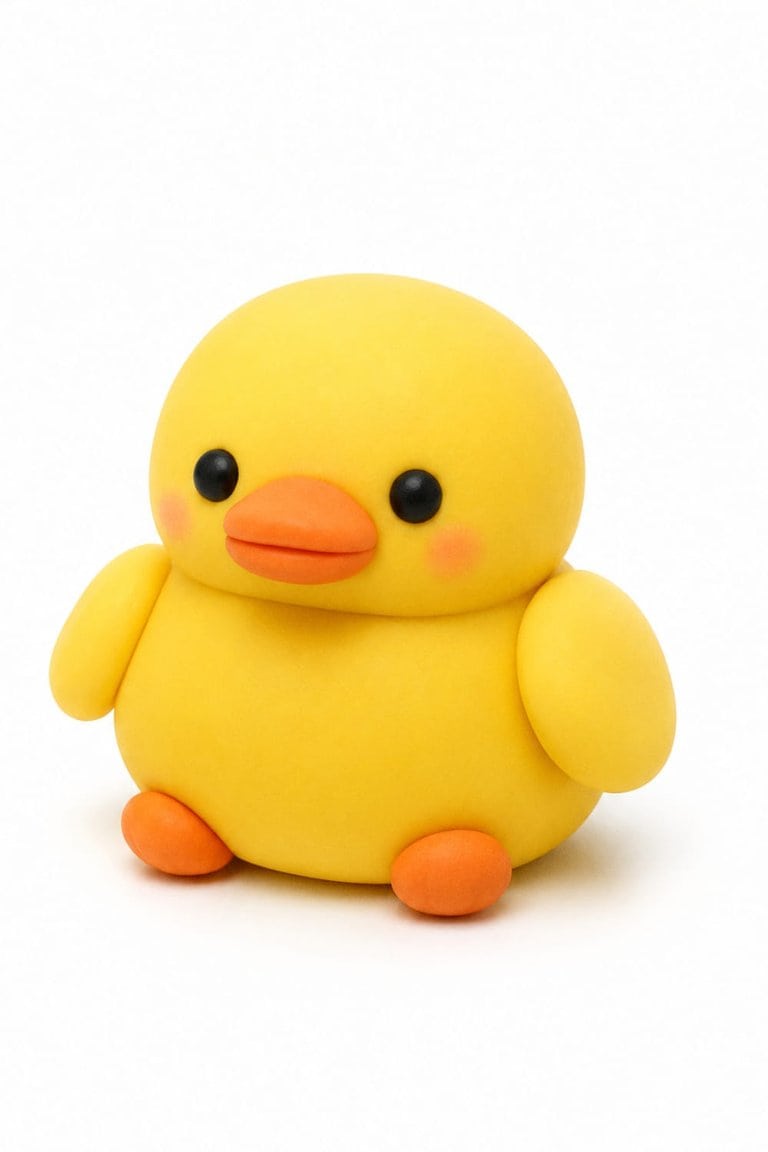
I keep seeing these tiny chubby ducks, and honestly?
I understand why they’re so popular. Their bodies are basically a few little balls of clay, which makes them an awesome beginner project.
Mini clay ducks are also one of those simple designs that work really well with the rounded, kawaii style that’s popular with mini clay figures.
How to make it:
- Roll yellow clay into an oval for the body.
- Make a smaller yellow ball for the head and attach it.
- Flatten two tiny yellow pieces for wings.
- Add a teeny orange beak and orange feet.
- Finish with two black dot eyes.
Make a whole duck family if one isn’t enough!
2. Tiny Strawberry With a Face
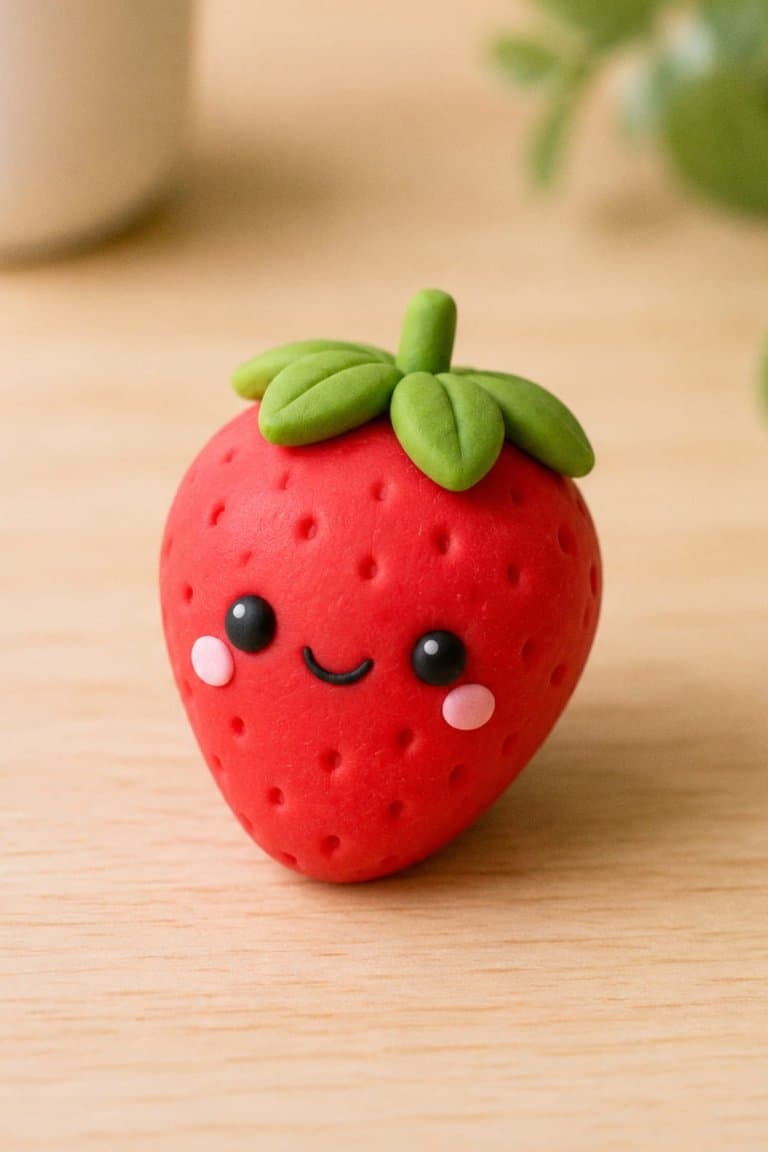
Why are things automatically cuter when you put a face on them?
For this one, make a small red teardrop shape and gently press tiny dots into the clay with a toothpick to create the strawberry seeds.
Add a few green leaves to the top and two little black eyes.
You can even add two pink dots for cheeks.
Cute. Done.
3. Mini Frog
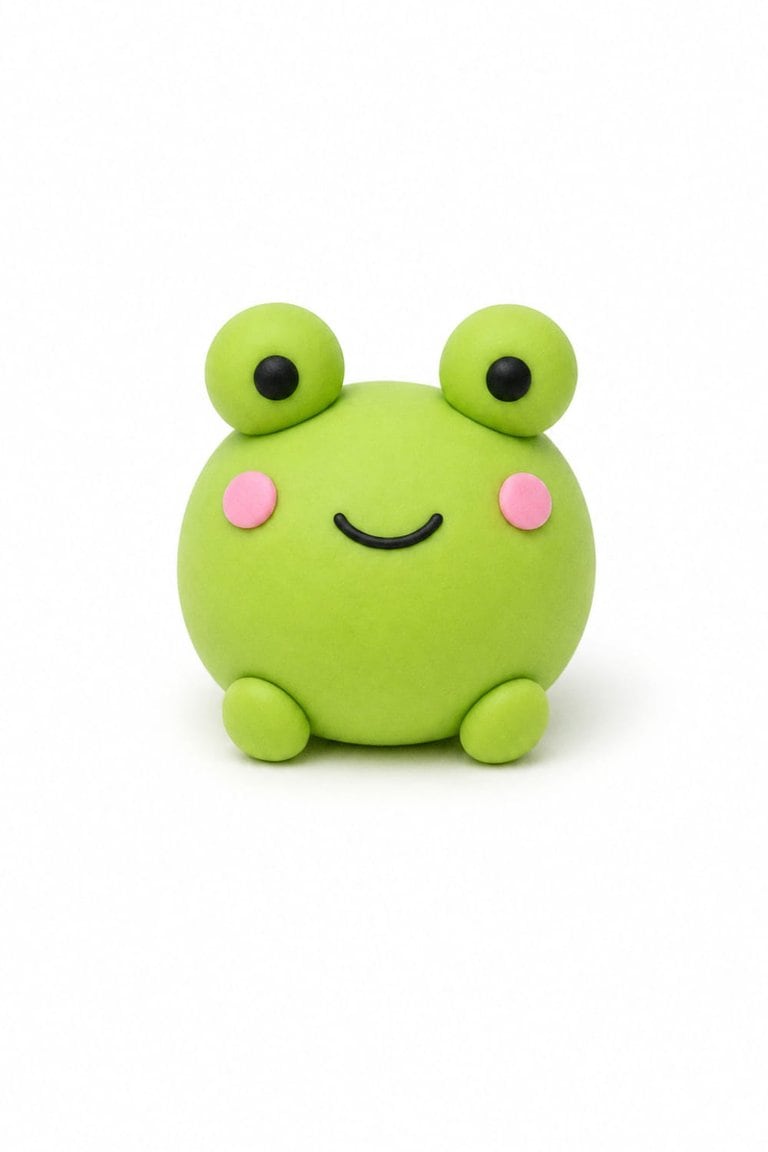
This is another one my daughter would totally make in ten different colors.
Start with a round green body and add two smaller green balls on top for those big froggy eyes.
Add black dots for the pupils, two teeny legs and a simple little smile.
You could even make pastel pink, purple and blue frogs instead of sticking with traditional green.
4. Kawaii Toast
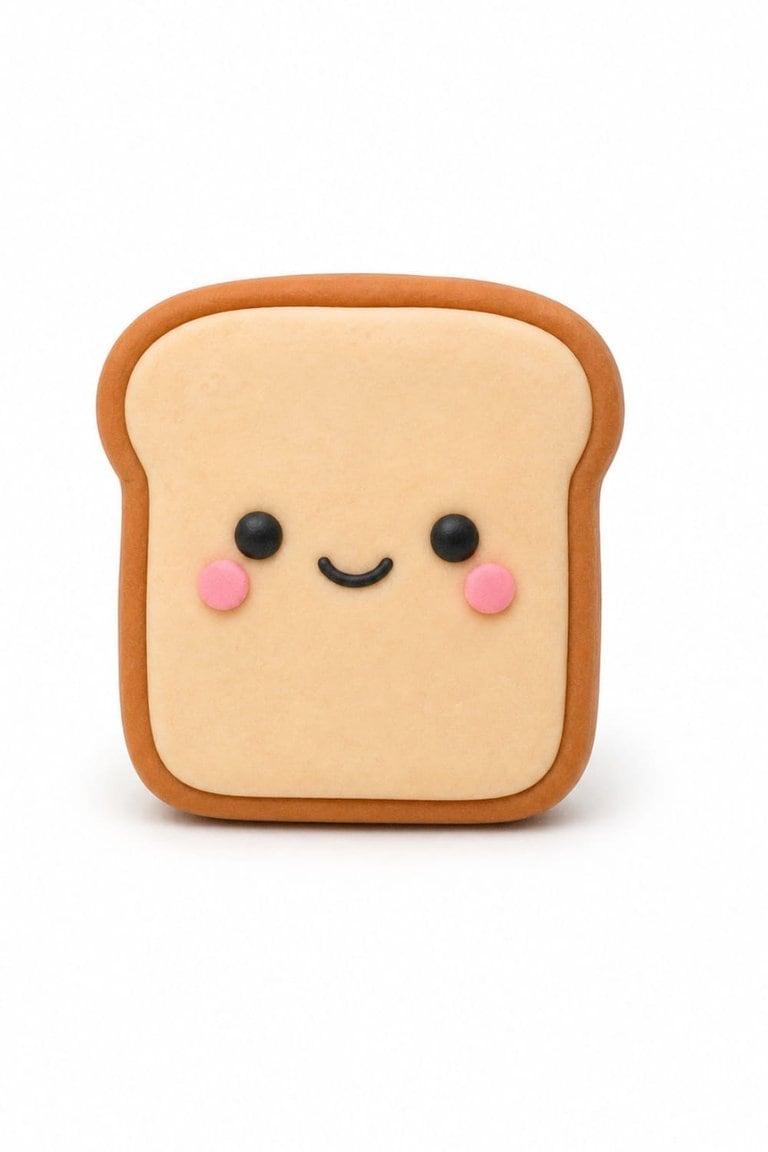
Food with faces is apparently a whole thing in the mini clay world, and I’m here for it. Simple toast, eggs and avocado shapes with tiny faces are especially easy to turn into cute little characters.
To recreate it:
- Make a small square from tan clay.
- Round the corners slightly.
- Add a darker brown strip around the outside for the crust.
- Add two black dot eyes.
- Give your toast a little smile and pink cheeks.
You can even put a tiny clay pat of butter on top!
5. Mini Axolotl
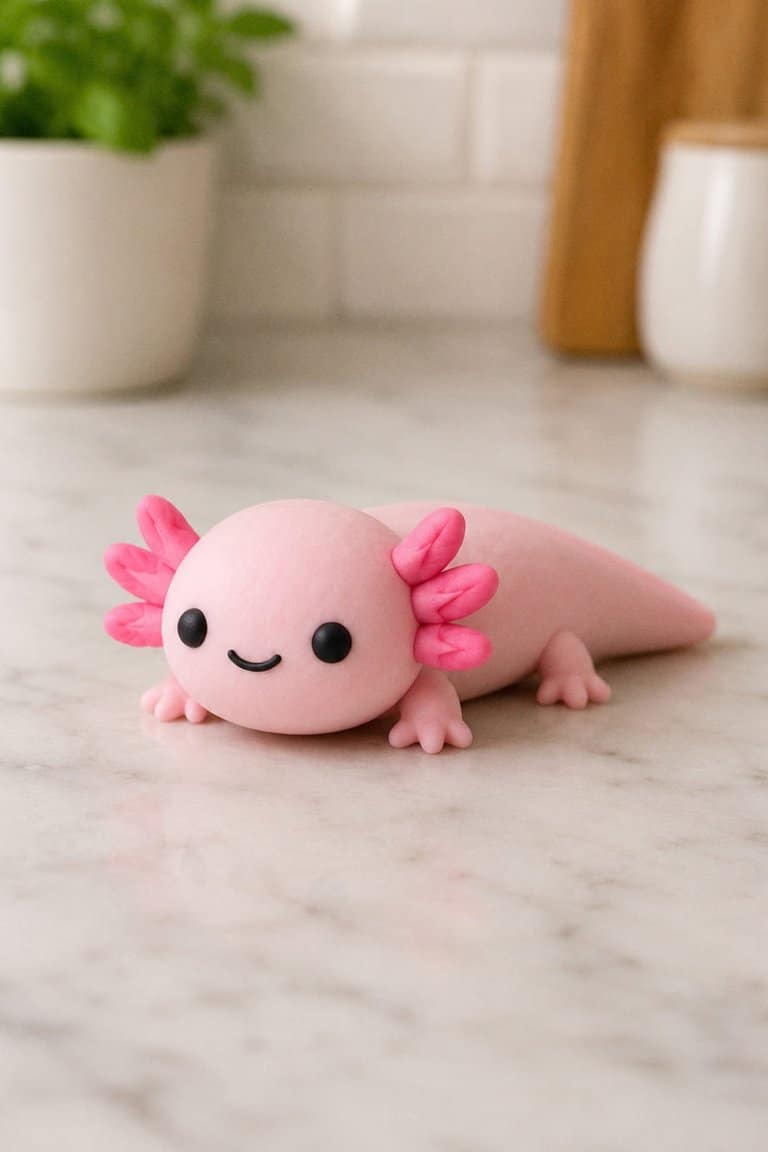
If your kids know what an axolotl is, there’s a good chance they’re going to want to make this one.
Use pale pink clay to make a long rounded body and a slightly larger round head.
Make four teeny legs and add three little pink gills to each side of its head.
Two black eyes and a tiny smile finish it off.
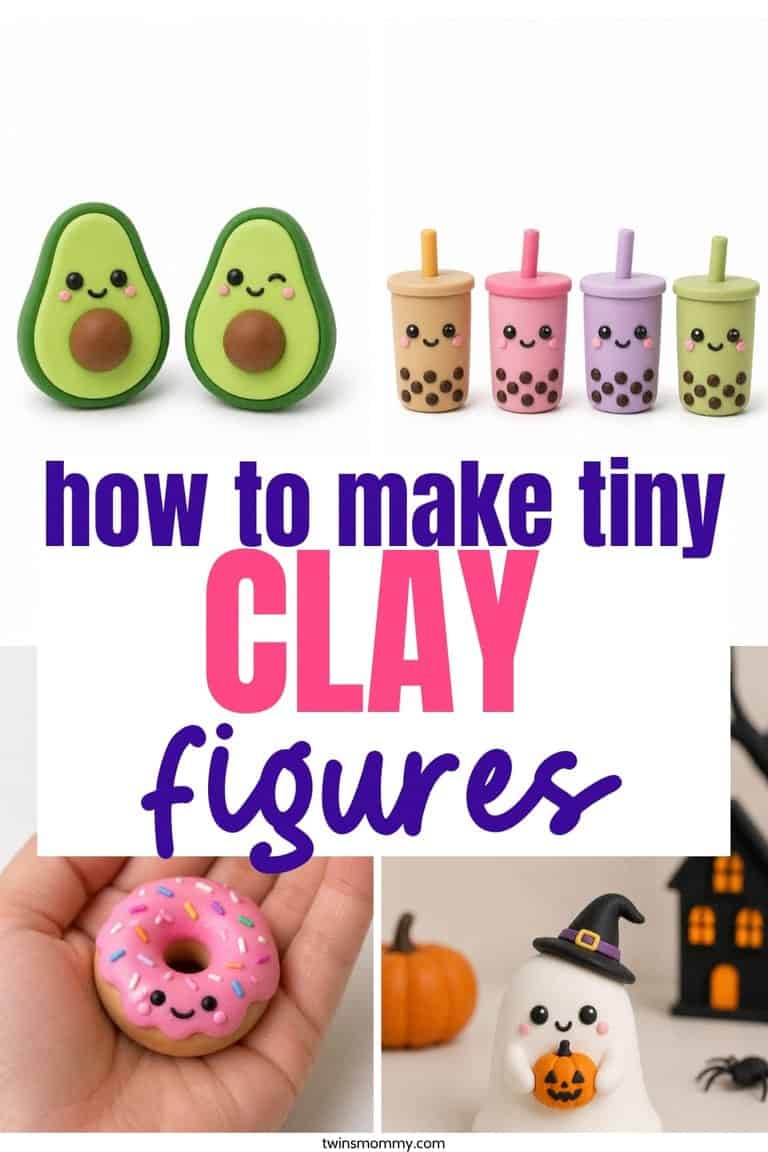
6. Tiny Clay Donut
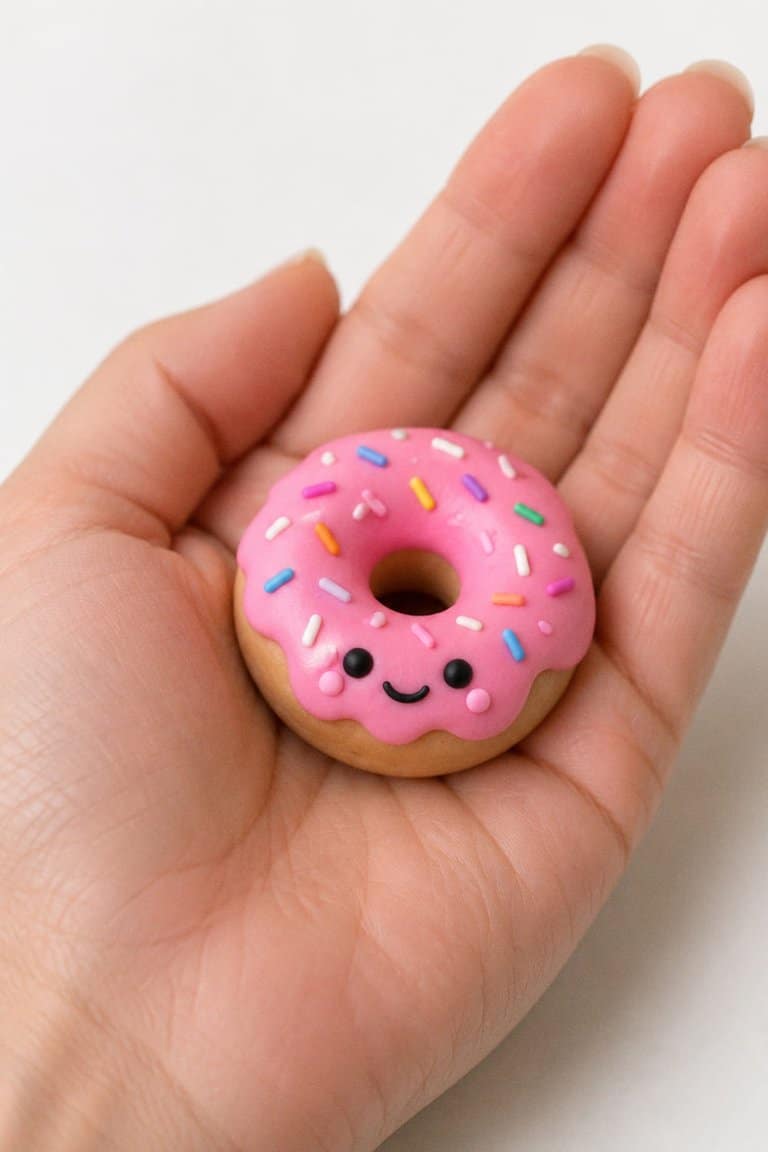
This might be one of the easiest mini clay food ideas.
Roll tan clay into a ball, flatten it slightly and poke a hole through the center.
Then flatten some pink clay over the top for frosting.
And now comes the fun part…SPRINKLES!
Roll teeny pieces of different colored clay and scatter them over the frosting. Mini clay donuts are popular because you can customize the frosting, sprinkles and faces a million different ways.
7. Chubby Kitty
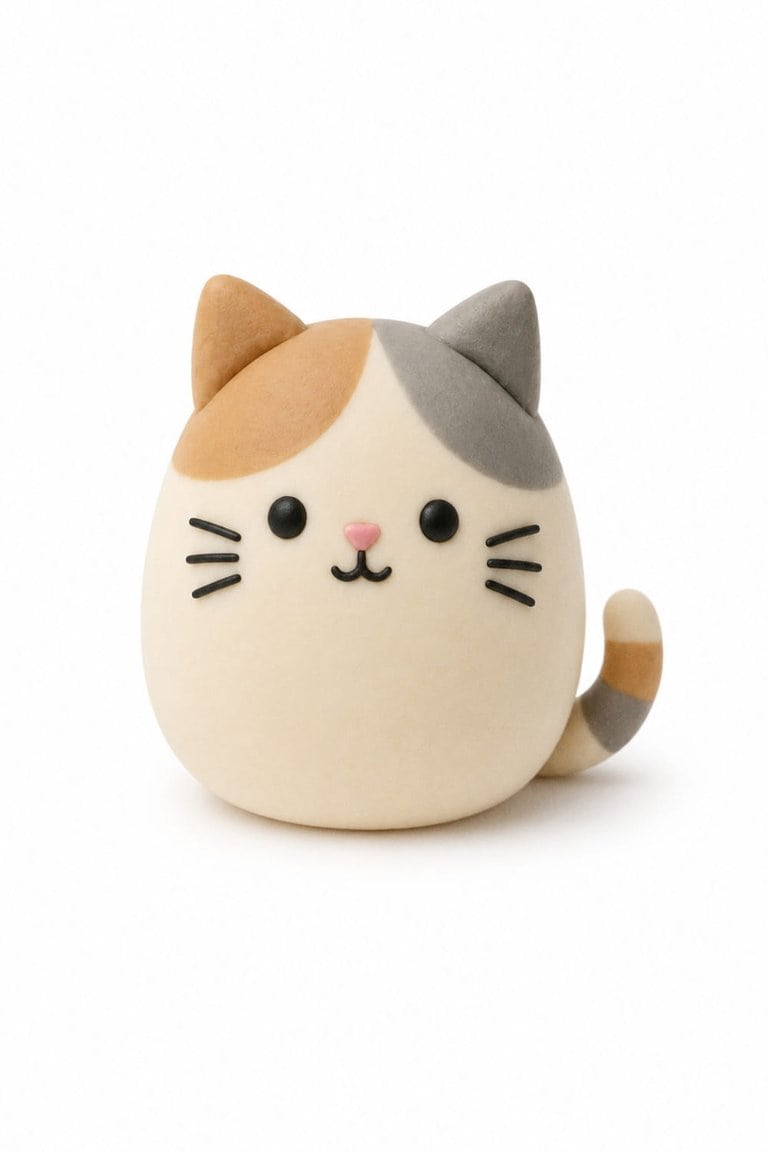
If you’re new to making small clay figurines, start with a chubby cat because you really can’t mess this one up.
Make an egg-shaped body and add two tiny triangles for ears.
Then add:
- Two dot eyes
- A tiny triangle nose
- A little tail
- Two or three whisker lines on each side
That’s it!
The round, egg-shaped body is actually what gives these little clay cats their cute look.
8. Mini Mushroom Friend
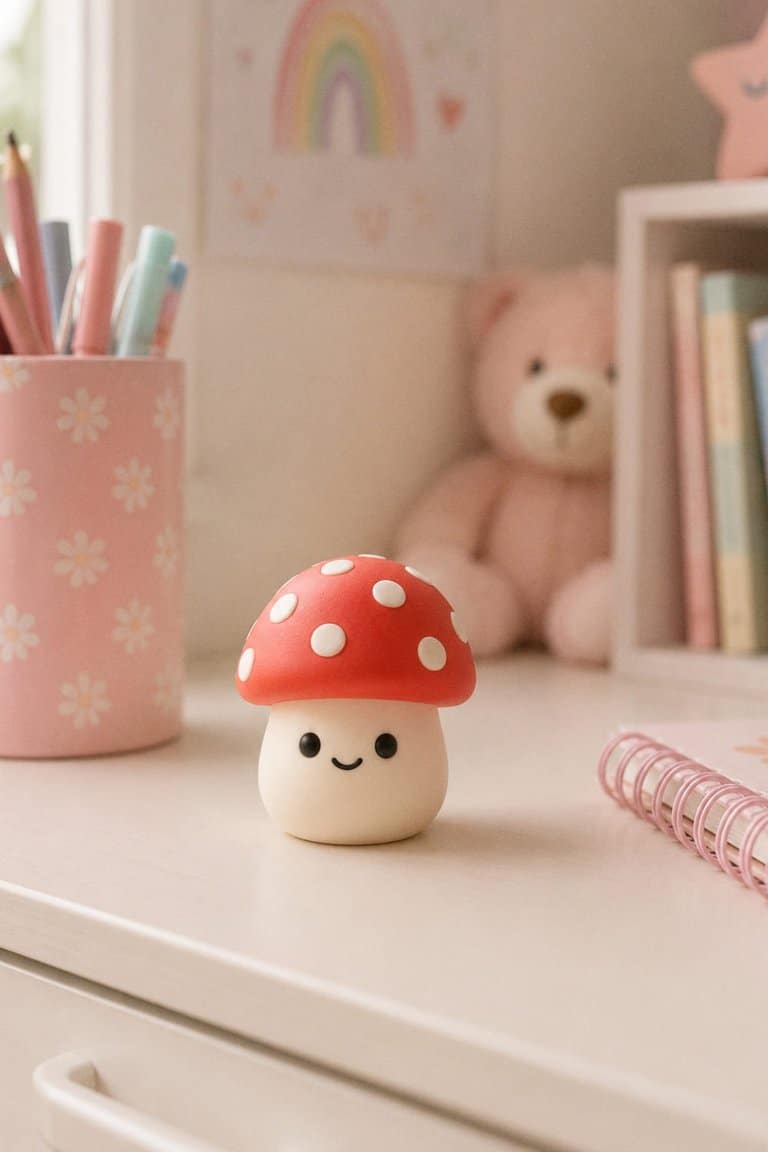
Okay, these would be SO cute sitting on a bookshelf.
Make a little white or beige stem and flatten a red ball into a mushroom cap.
Place the cap on top and add tiny white dots.
Then give the stem two black eyes and a little smile.
You can also make pink, lavender, orange or pastel blue mushrooms and create an entire tiny mushroom village.
9. Tiny Cinnamon Roll
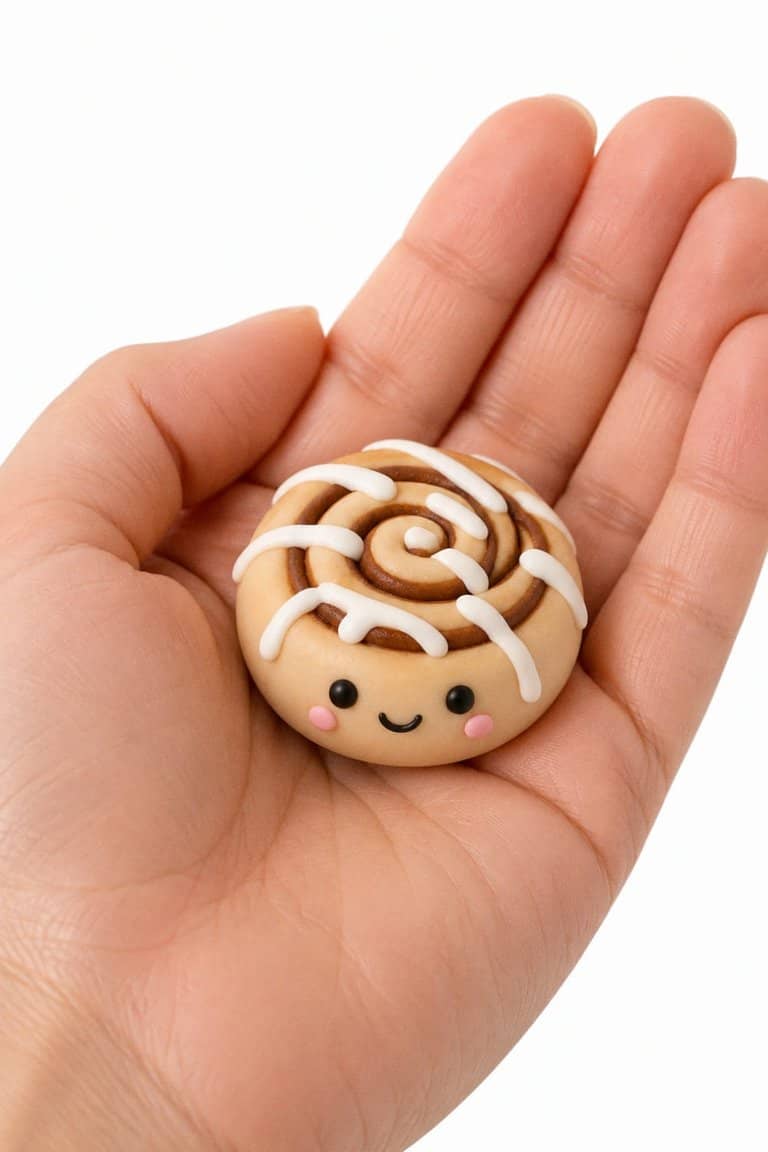
Roll tan clay into a long skinny snake and coil it into a spiral.
That’s basically your cinnamon roll!
Add a thinner brown clay snake inside the spiral for the cinnamon and drizzle tiny pieces of white clay across the top for icing.
You can stop there or, obviously, add a face.
Because we’re putting faces on everything now.
10. Mini Turtle
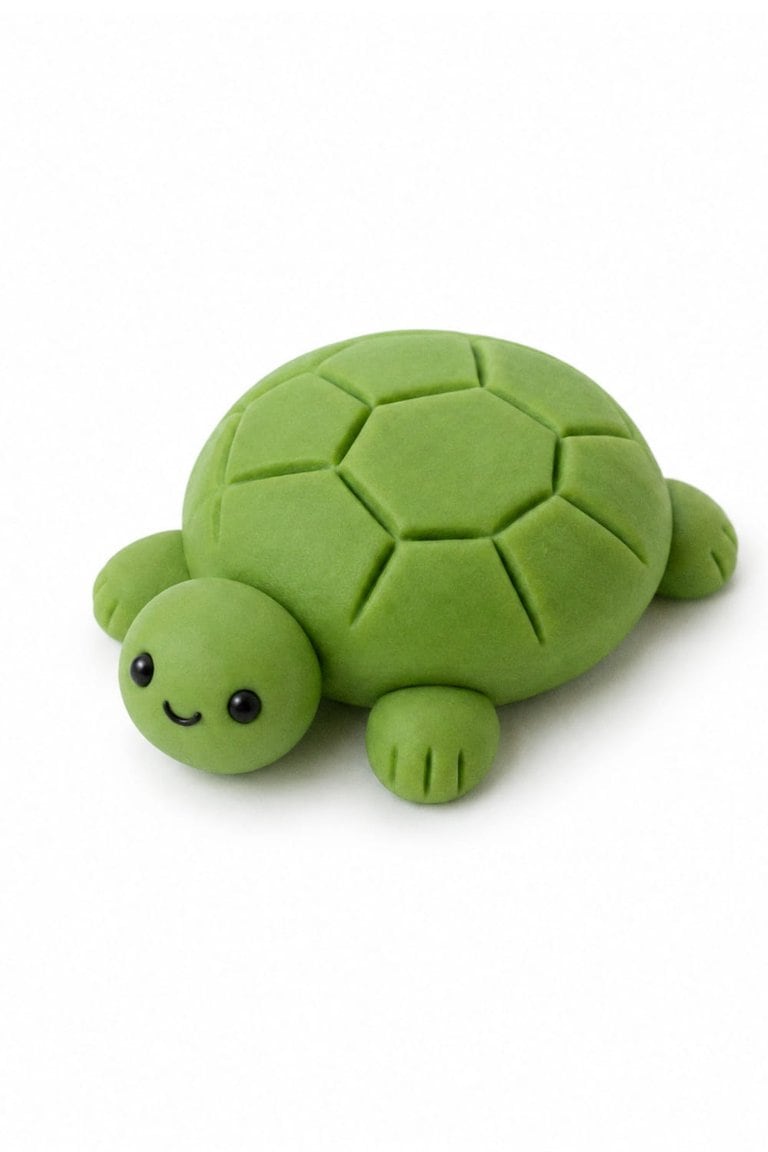
Start with a green ball and flatten it slightly for the shell.
Add a smaller green ball for the head and four teeny legs.
Then use a toothpick to draw little shapes or lines into the shell.
Want to make it even more fun? Make the shell look like a cinnamon roll, strawberry or flower. Food-and-animal mashups like cinnamon-roll turtles are another fun spin on mini clay figures.
11. Tiny Panda
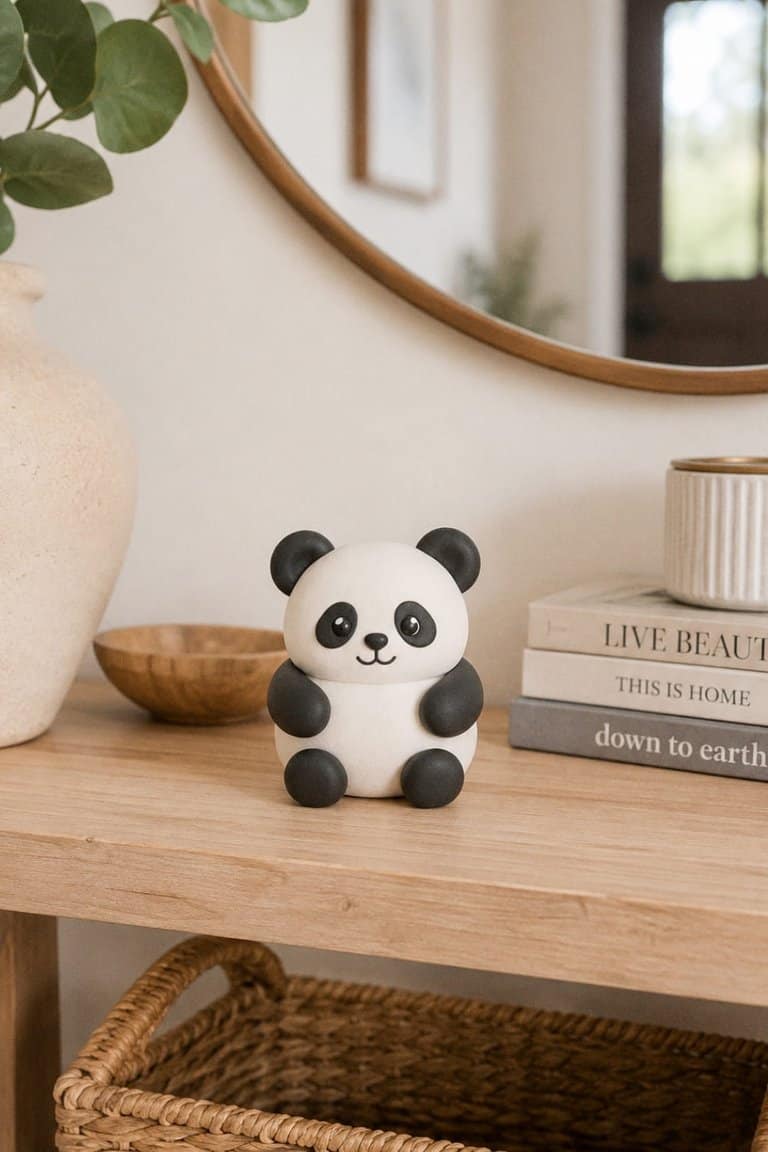
Make a small white oval for the panda’s body and a white ball for its head.
Add two black ears, black arms and black legs.
For the face, flatten two tiny black ovals around the eyes and place even smaller white or black dots inside.
The more squishy and round your panda looks, the better.
12. Mini Avocado
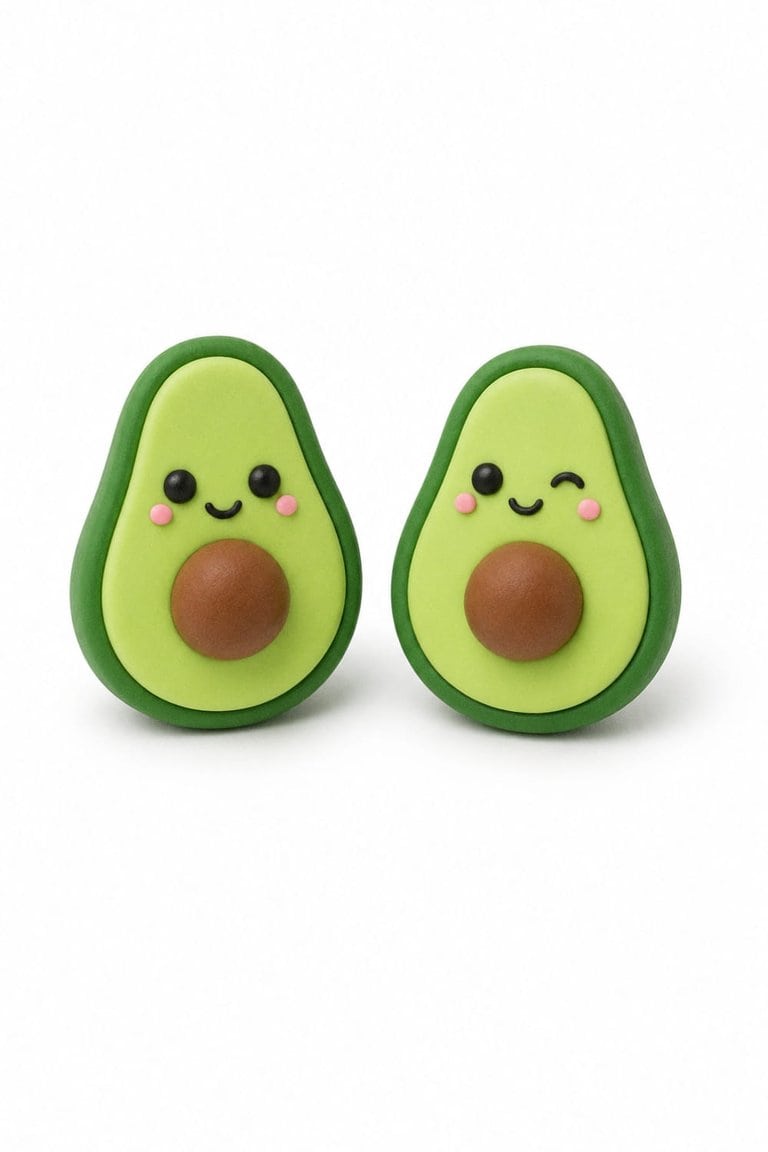
Flatten green clay into an avocado shape.
Add a slightly smaller piece of lighter green clay on top and press a little brown ball into the bottom half for the pit.
Then add a teeny face.
You can even make two avocado halves with different expressions.
13. Little Clay Ghost
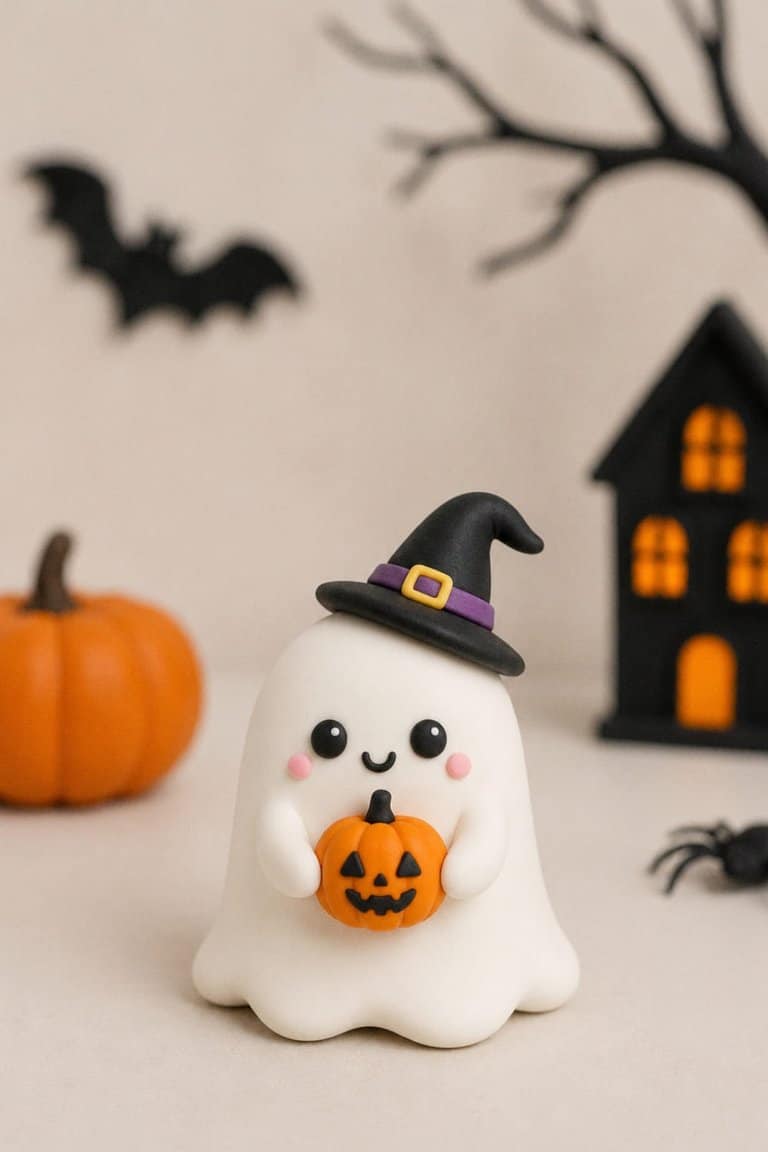
This would be adorable for a Halloween craft!
Roll white clay into a little ghost shape with a wider bottom.
You don’t have to make it perfect. In fact, a slightly wobbly ghost makes it even cuter.
Add two black eyes and a tiny mouth.
You can also give your ghost a miniature pumpkin, witch hat or piece of candy to hold.
14. Mini Bear Holding a Heart
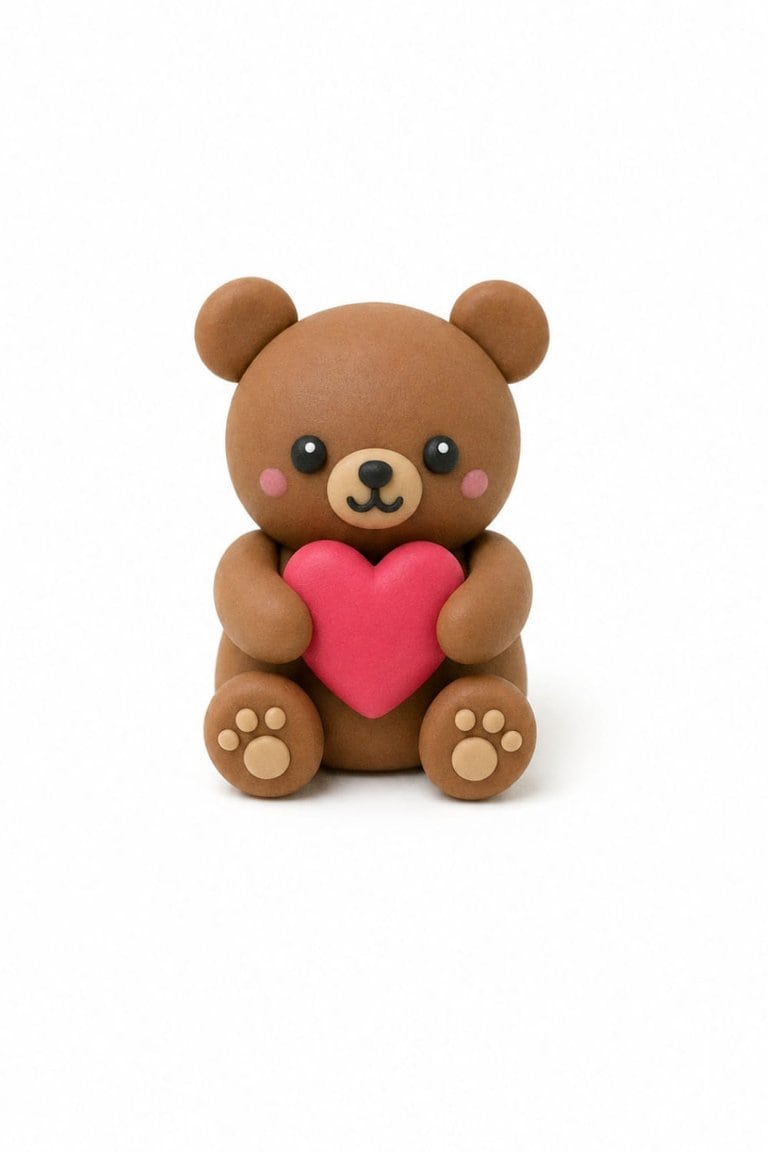
Start with a little brown oval for the bear’s body.
Add a round head, two circular ears and tiny arms and legs.
Then make a small pink or red heart and position the bear’s arms around it.
This one would be so cute for Valentine’s Day or for your kiddo to make for a friend.
15. Tiny Clay Hamburger
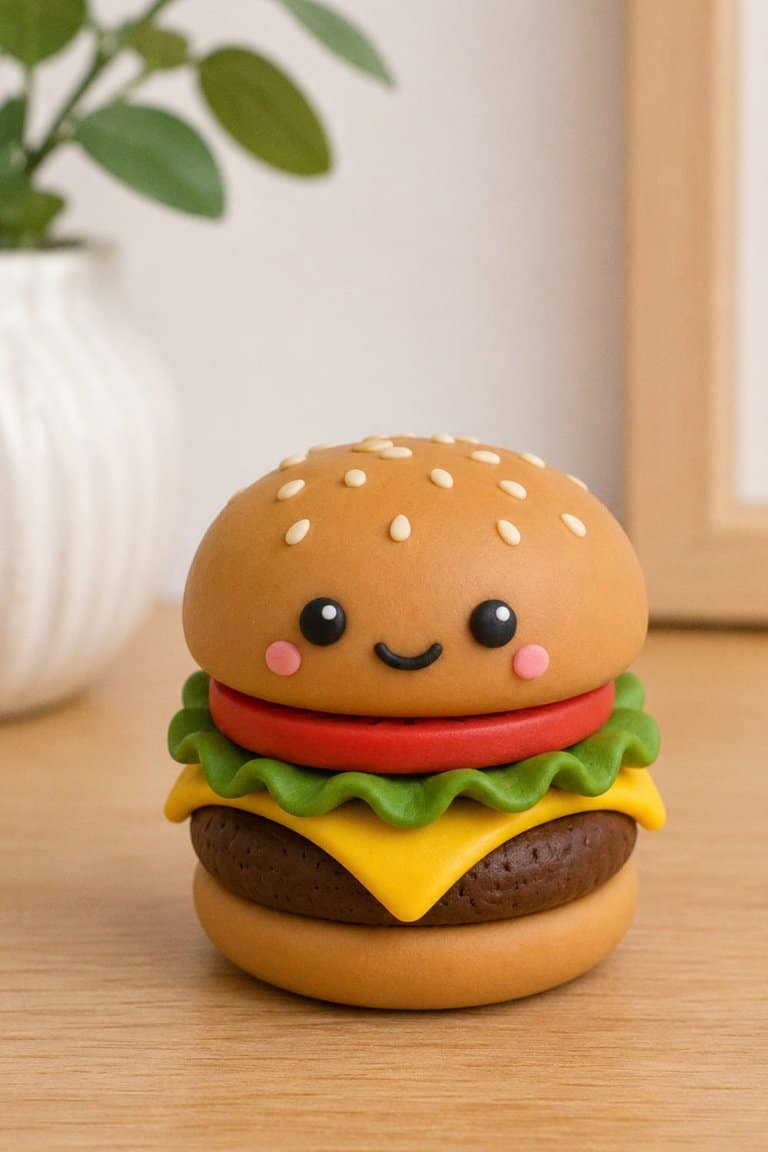
This one has more pieces, but it’s SO satisfying when you stack everything together.
Make:
- Two tan buns
- A dark brown burger patty
- A yellow square of cheese
- Green clay lettuce
- A little red tomato slice
Stack everything and add tiny sesame seeds to the top bun with cream-colored clay.
Mini burgers work particularly well because all those tiny layers make them look much more detailed than they actually are to assemble.
16. Mini Dinosaur
You don’t need to sculpt some anatomically correct T-Rex here!
We’re going for cute.
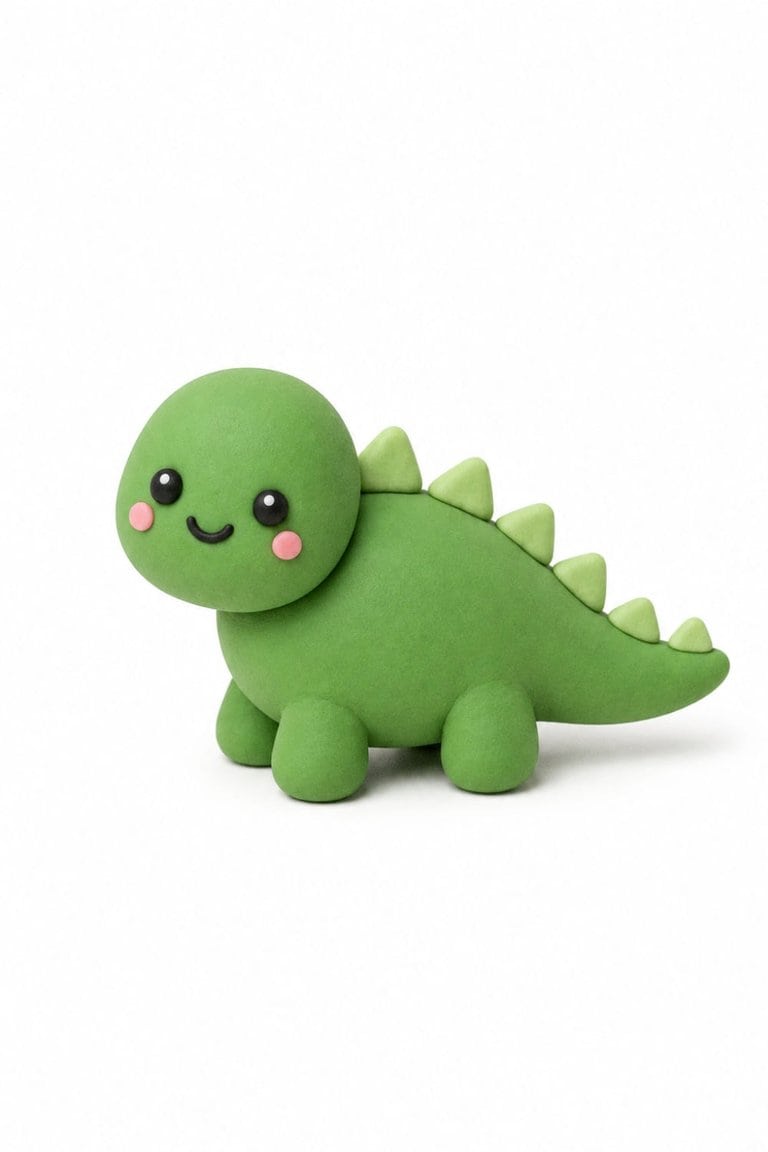
Make a chunky green oval for the body, a round head and four stubby legs.
Add a tail and then press tiny triangles down its back.
Finish your dino with little black eyes.
Rawr…but make it adorable.
17. Tiny Boba Tea
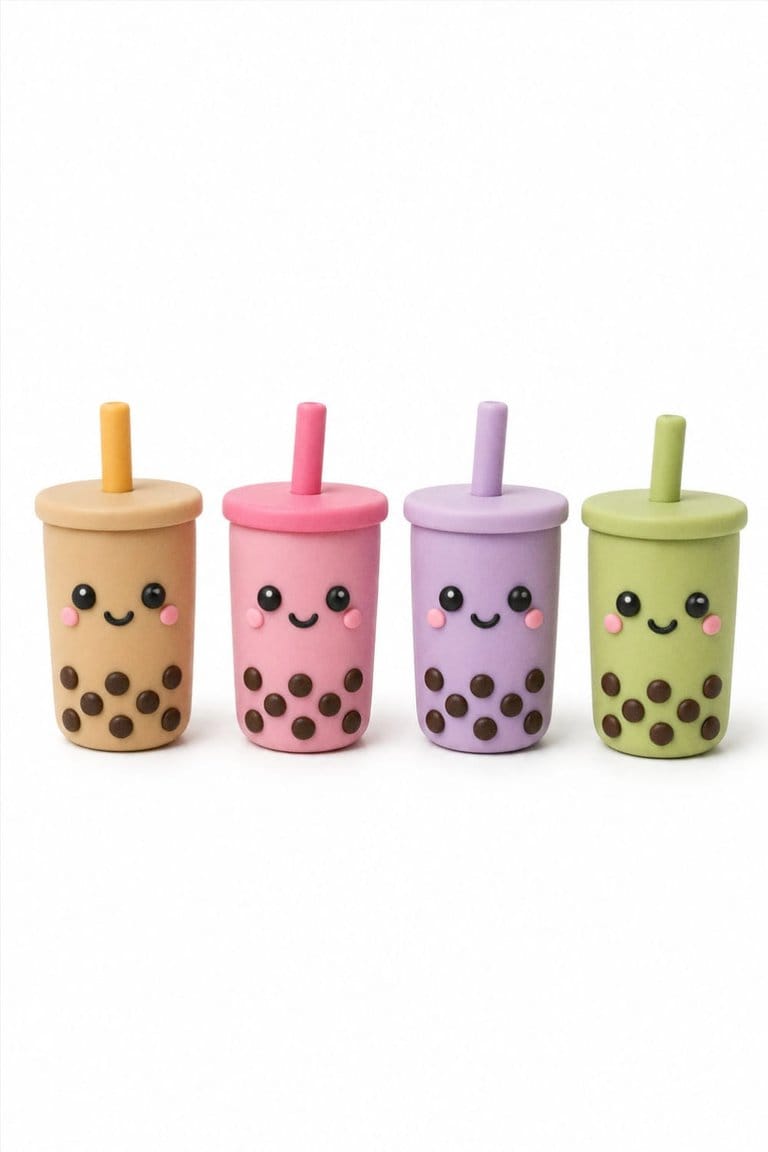
Make a small cylinder from tan or light brown clay for the cup.
Add tiny dark brown balls toward the bottom for the boba pearls.
Then add a lid and a skinny clay straw sticking out of the top.
Give the cup a happy face and you’re done!
Make several in pink, purple, green and brown to create different “flavors.”
18. Mini Snail
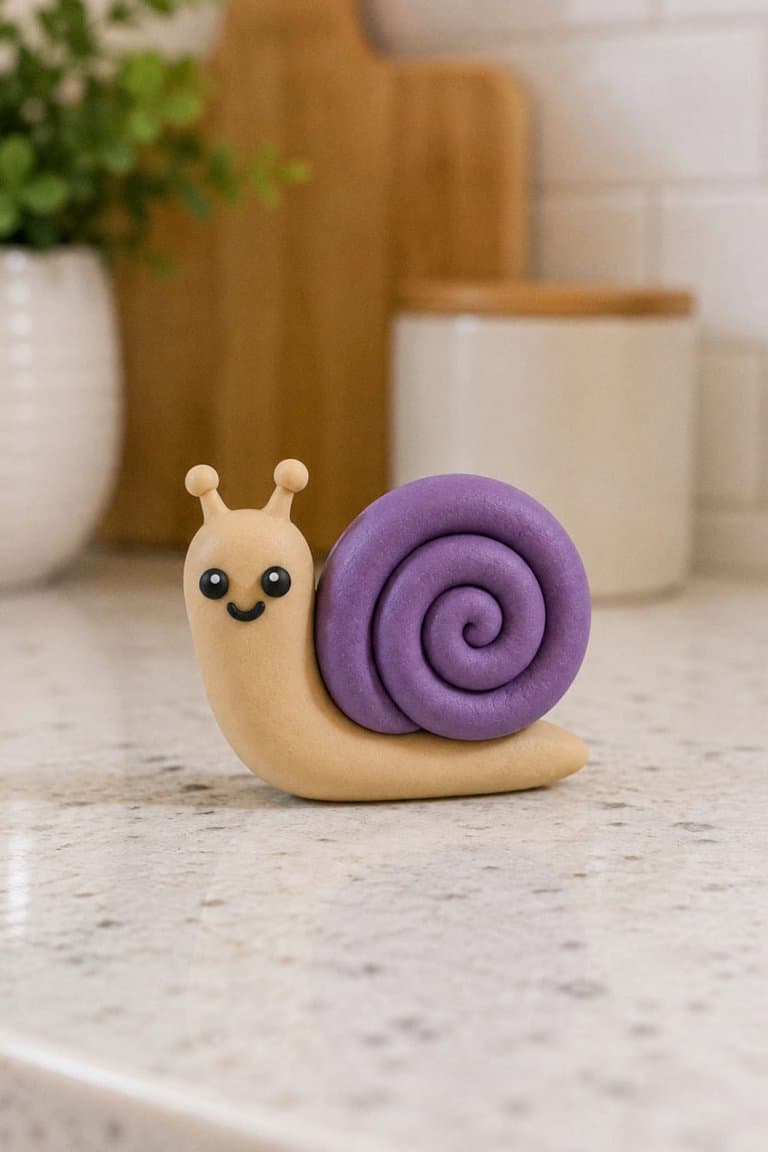
Roll clay into a small sausage shape for the snail’s body.
Add two tiny antennae to its head.
For the shell, roll another color of clay into a skinny snake and curl it into a spiral.
Attach it to the back and add two little eyes.
This is another fun one to experiment with because the shell can be practically any color.
19. Tiny Slice of Cake
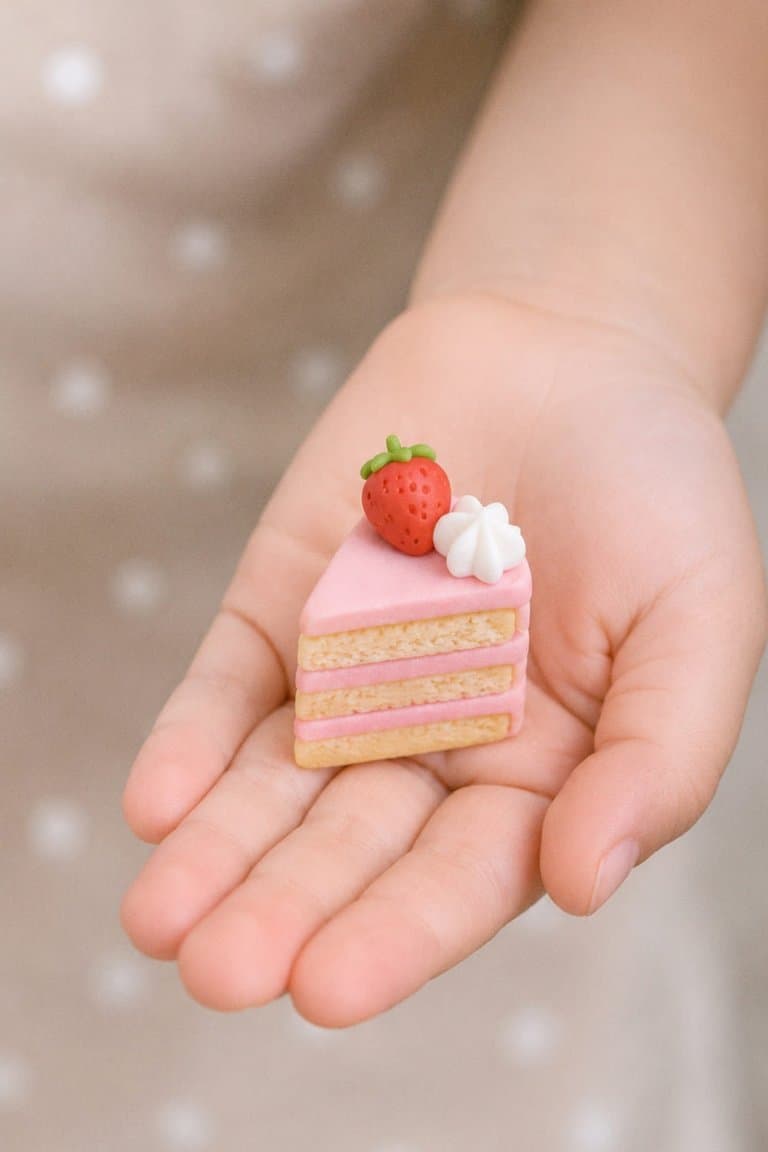
Start with a small triangle or wedge of clay.
Add alternating layers of cake-colored and frosting-colored clay.
Then decorate the top with a tiny strawberry, cherry, flower or frosting dollop.
You can gently poke the cake layers with a toothpick to give them that crumbly cake texture.
Tiny cakes and desserts are especially fun because adding fruit, frosting and texture can make a very simple shape look surprisingly detailed.
20. Mini Bee
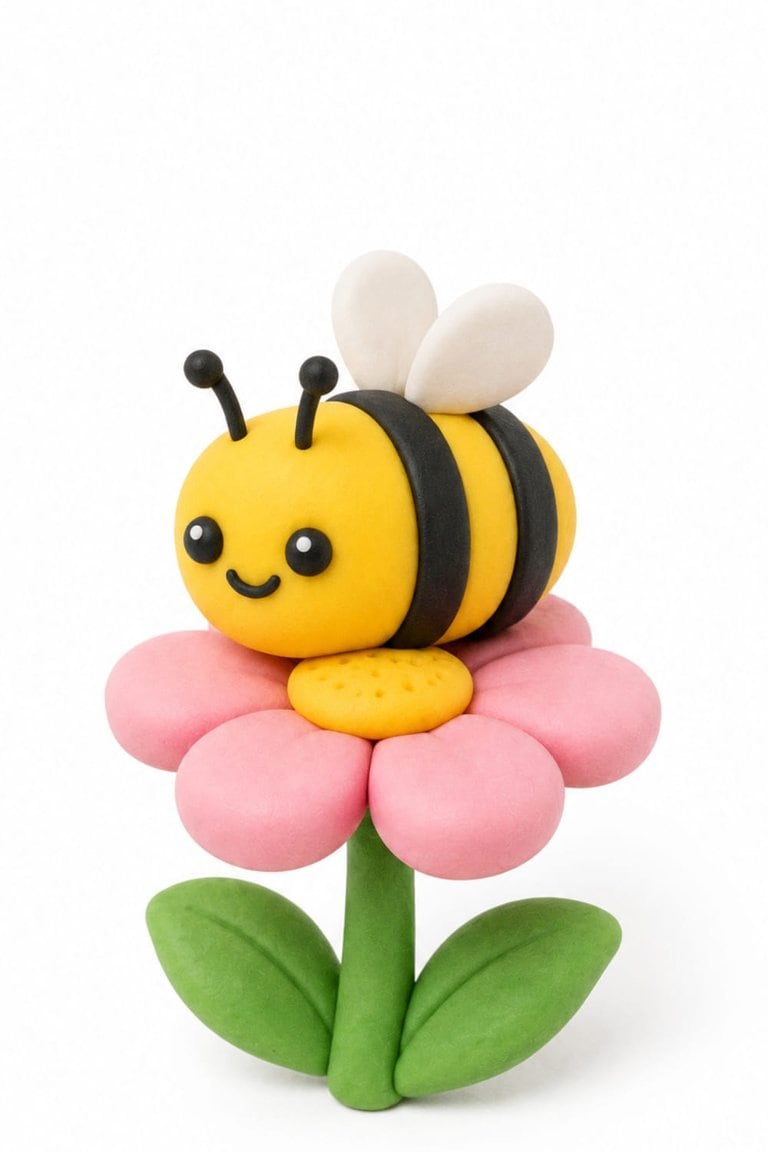
This little bee is super easy to make because you’re really just working with a few basic shapes.
- Make the body. Roll a small piece of yellow clay between your hands until you have a smooth oval shape.
- Add the stripes. Roll black clay into two very thin strips and gently wrap them around the bee’s body. Press them down lightly so they stay in place.
- Make the wings. Roll two tiny pieces of white clay into balls, flatten them into oval shapes and attach them to the top of the bee.
- Create the face. Add two teeny black clay balls for the eyes and a small curved piece of black clay for a smile.
- Add the antennae. Roll two super thin pieces of black clay and attach them to the top of the head. You can curl the ends slightly to make them extra cute.
- Finish your bee. Add tiny pink cheeks if you want that kawaii look, or make a little clay flower for your bee to sit on.
And that’s it! You have the cutest chubby little bee that looks way more impressive than the amount of work it took to make.
21. Tiny Penguin
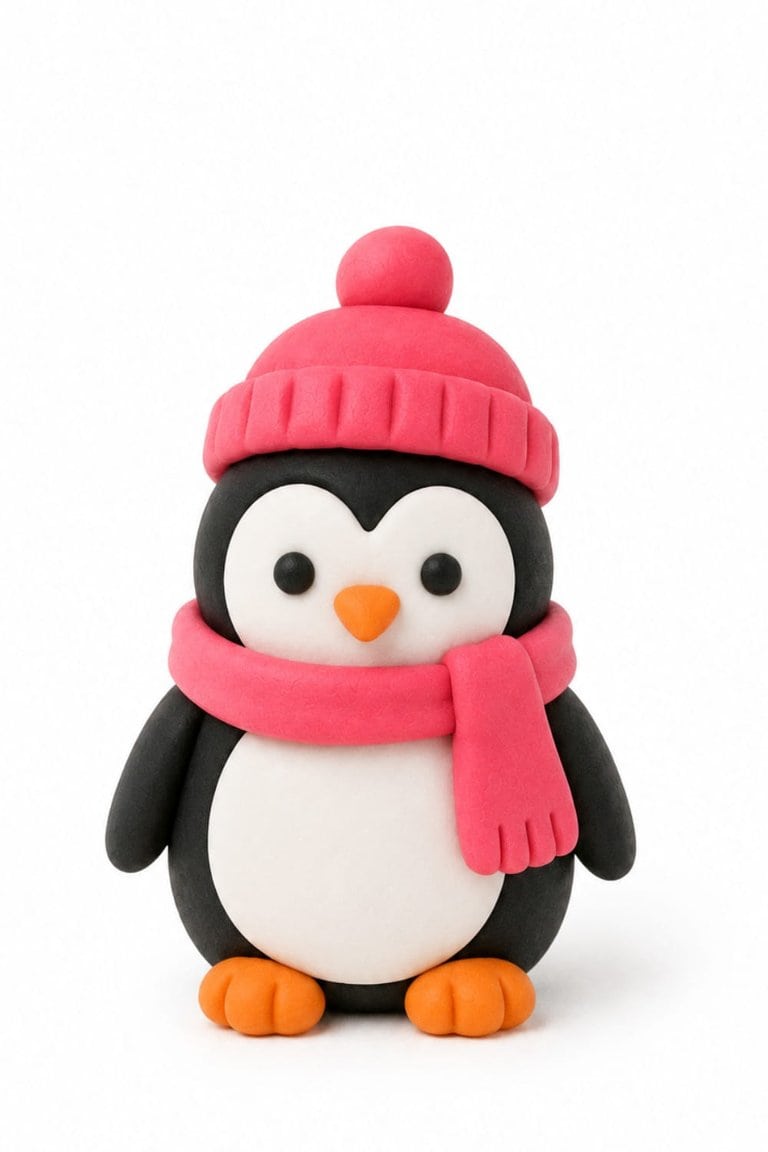
Make a black oval for the penguin’s body.
Flatten a smaller white oval onto its belly and add a white face area.
Then make a tiny orange triangle for the beak and two orange feet.
Finish with two dot eyes.
For an extra cute winter version, give your penguin a teeny scarf or hat.
22. Mini Pizza Slice
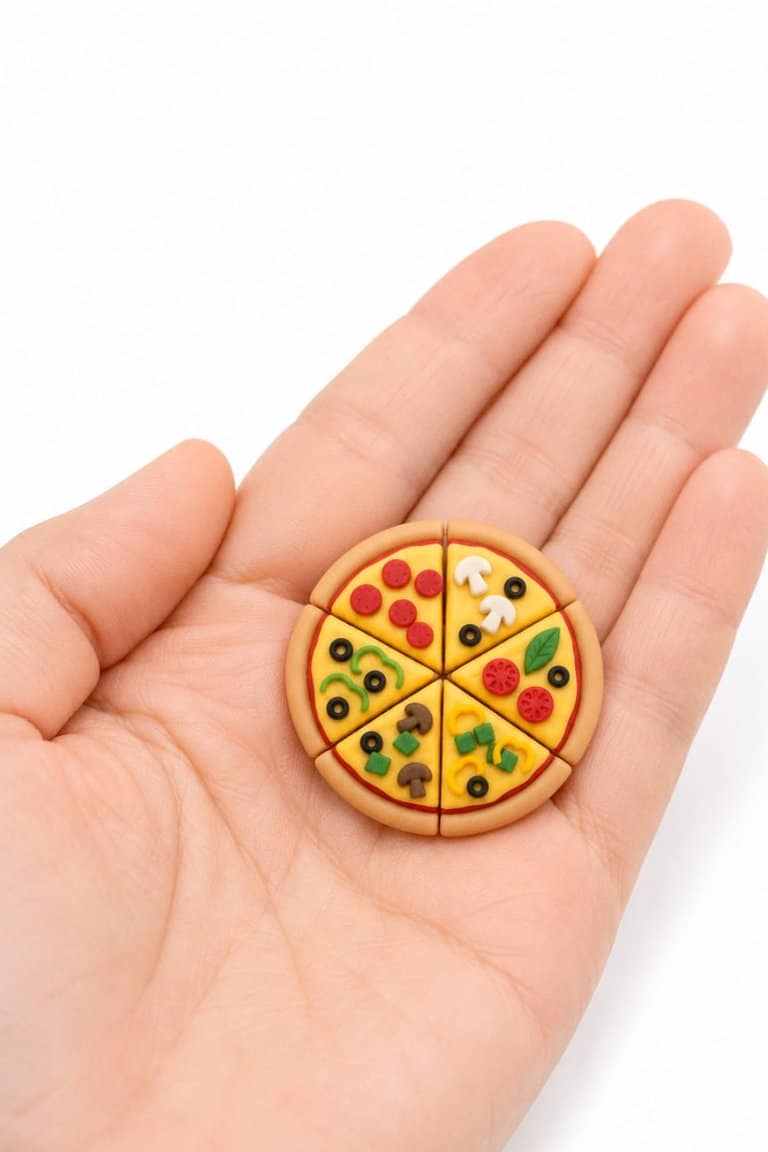
Flatten tan clay and cut it into a little triangle.
Add a thin red layer for sauce and yellow clay for cheese.
Then it’s topping time!
Try teeny pepperoni circles, mushrooms, peppers or olives.
You could even make several slices with different toppings and turn them into a whole mini pizza.
23. Tiny Capybar
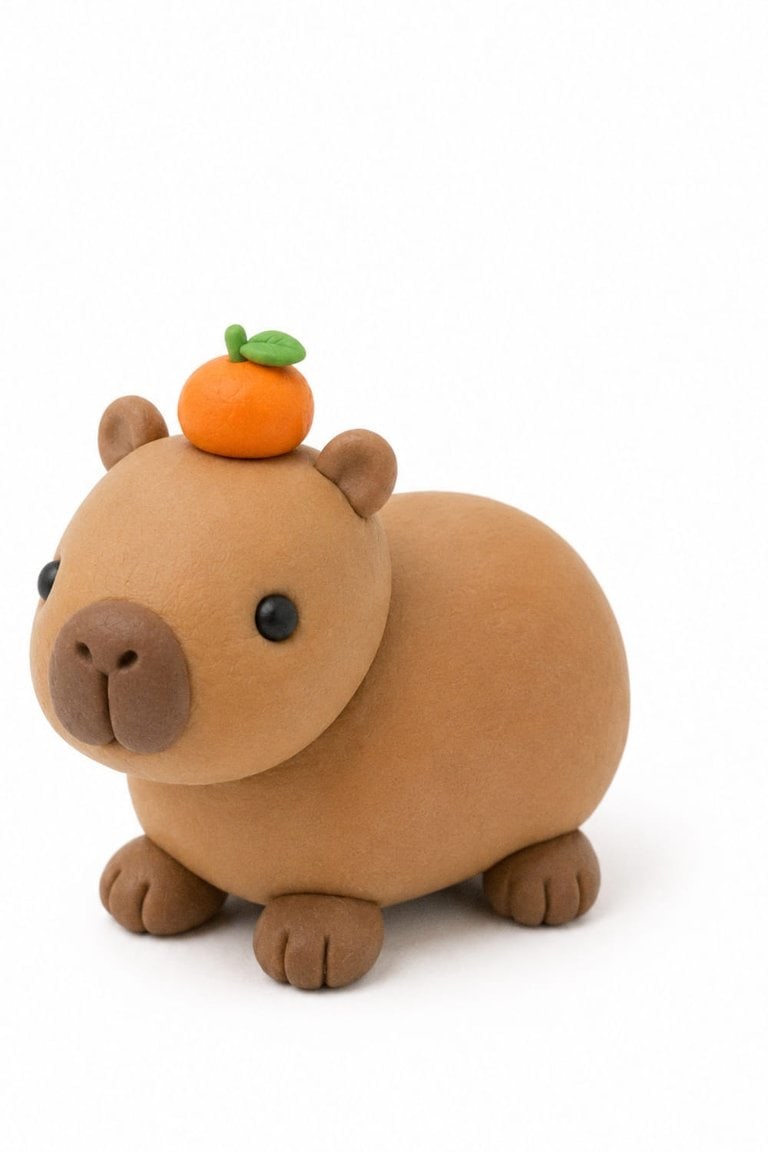
Yes, we’re making a capybara.
And I feel like this one is going to be a favorite.
Start with light brown clay and make a chunky oval body.
Add a slightly rectangular rounded head, tiny ears and four stubby feet.
Give it two black eyes and a little brown nose.
For the full cute effect, put a teeny orange on its head.
24. Mini Sushi Roll
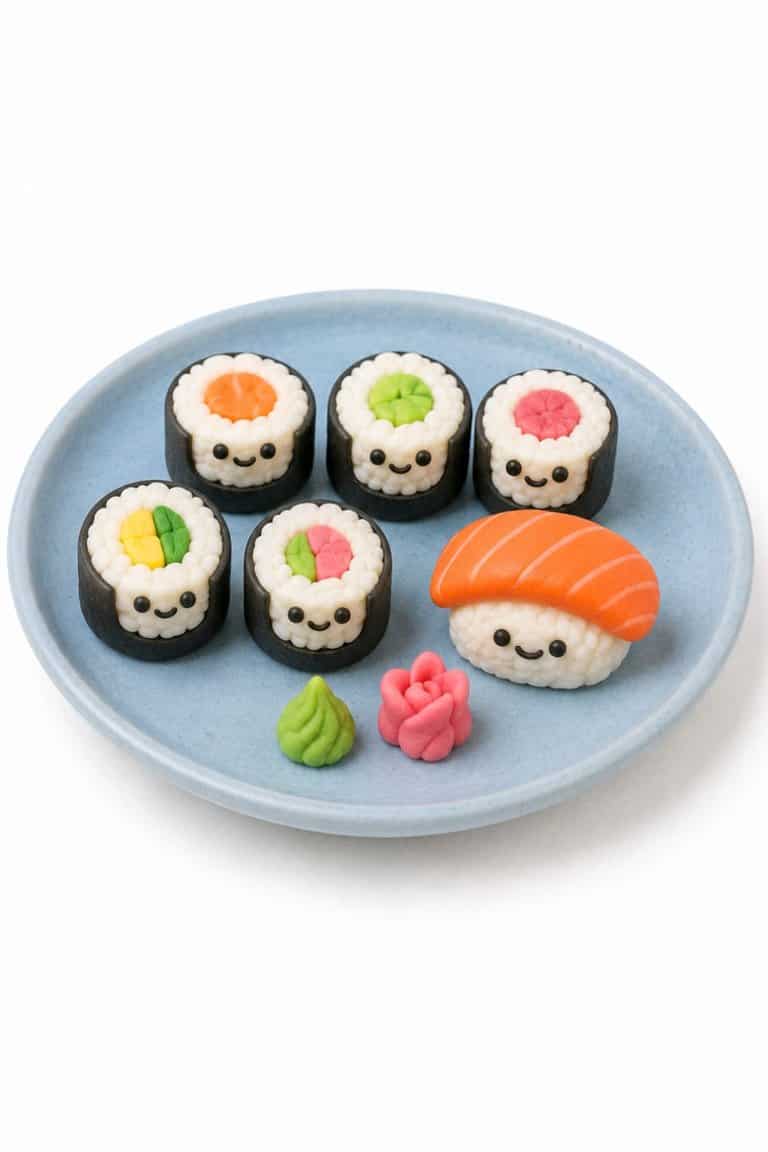
Tiny sushi made out of clay are SO cute.
And this one looks way more complicated than it actually is!
Start by making a small white cylinder for the rice. Add a tiny pink or orange piece in the center for salmon, or use green for avocado.
Then:
- Wrap a thin piece of dark green or black clay around the outside for the seaweed.
- Slice or shape the roll so you can see all those cute colors inside.
- Add two tiny black eyes and a little smile.
- Make a few different rolls and place them together like a mini sushi set.
You could even make a teeny piece of salmon nigiri by putting a little orange rectangle over a white ball of “rice.”
I mean…come on. It’s ridiculously cute.
25. Tiny Clay Charcuterie Board
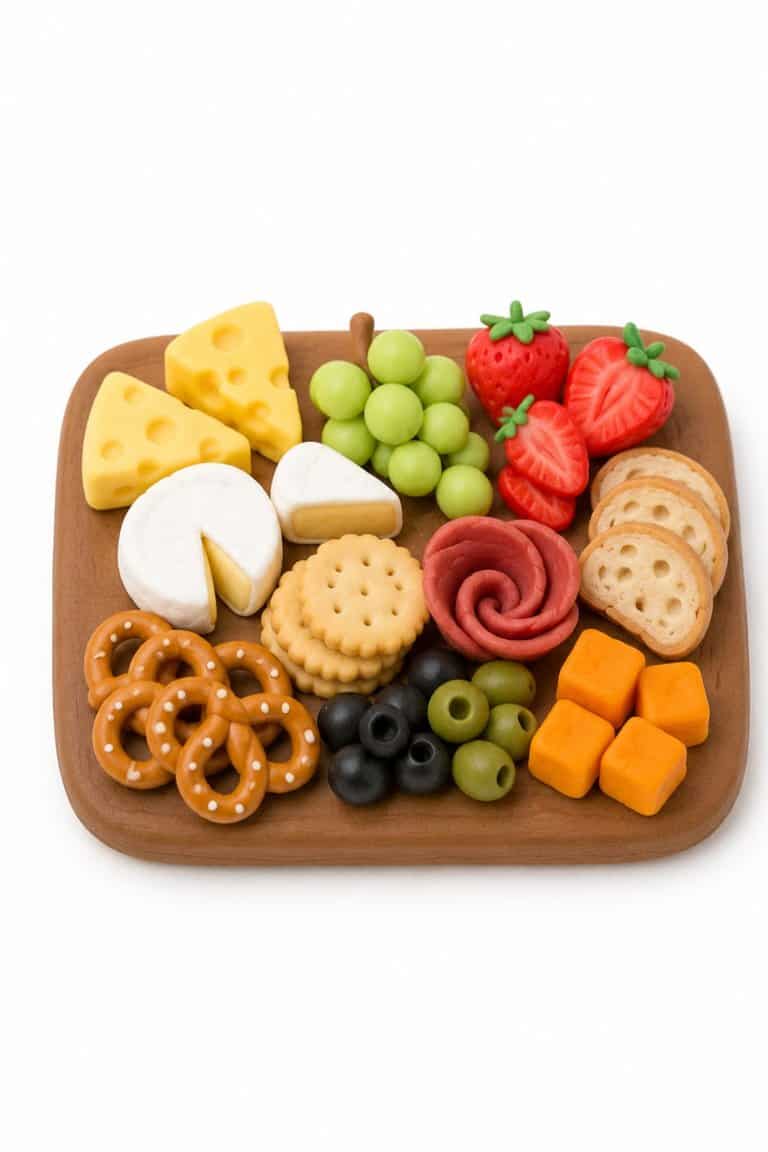
Okay, this one might be my favorite because it’s basically a craft made out of…more tiny crafts.
Make a flat brown rectangle with rounded edges for the board.
Then fill it with teeny:
- Cheese wedges
- Crackers
- Grapes
- Strawberries
- Bread
- Olives
- Pretzels
Don’t worry about making every little food perfectly realistic. It’s the collection of tiny things together that makes this one look so good. Mini charcuterie boards are especially fun because you can combine smooth, textured and colorful clay pieces into one miniature scene.
Make Your Own Mini Clay Collection
Once your kid starts making these, don’t be surprised if one little clay duck suddenly turns into an entire shelf of small clay figurines.
That’s kinda what’s happening over here!
And I actually love crafts like this because there’s no real “right” way to do them. Your frog can be purple. Your mushroom can have a face. Your capybara can balance an orange on its head because…why not?
Let your kiddo pick a few of these cute mini clay figure ideas, put out a bunch of colors and see what they come up with.
You might be surprised how long they sit there creating their own tiny clay world!


Leave a Reply