One of the things I like to do during my free time is do some crafting for gifts to sell on Etsy or on my blog.
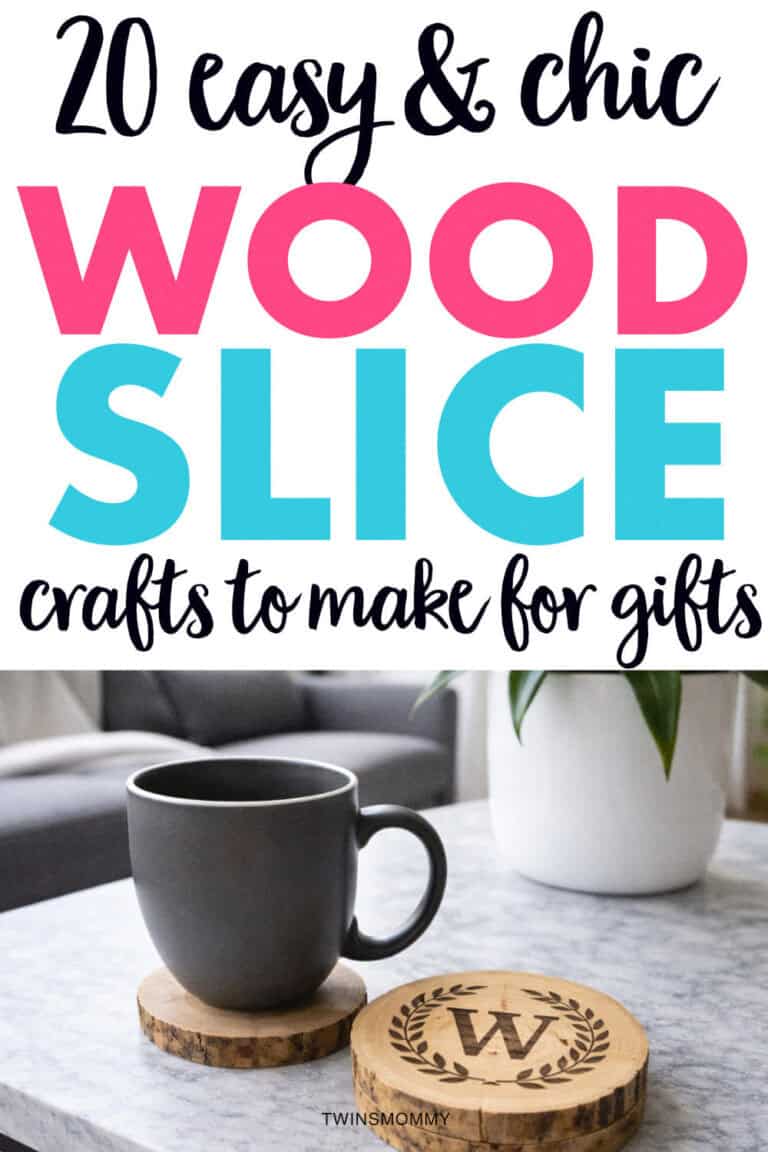
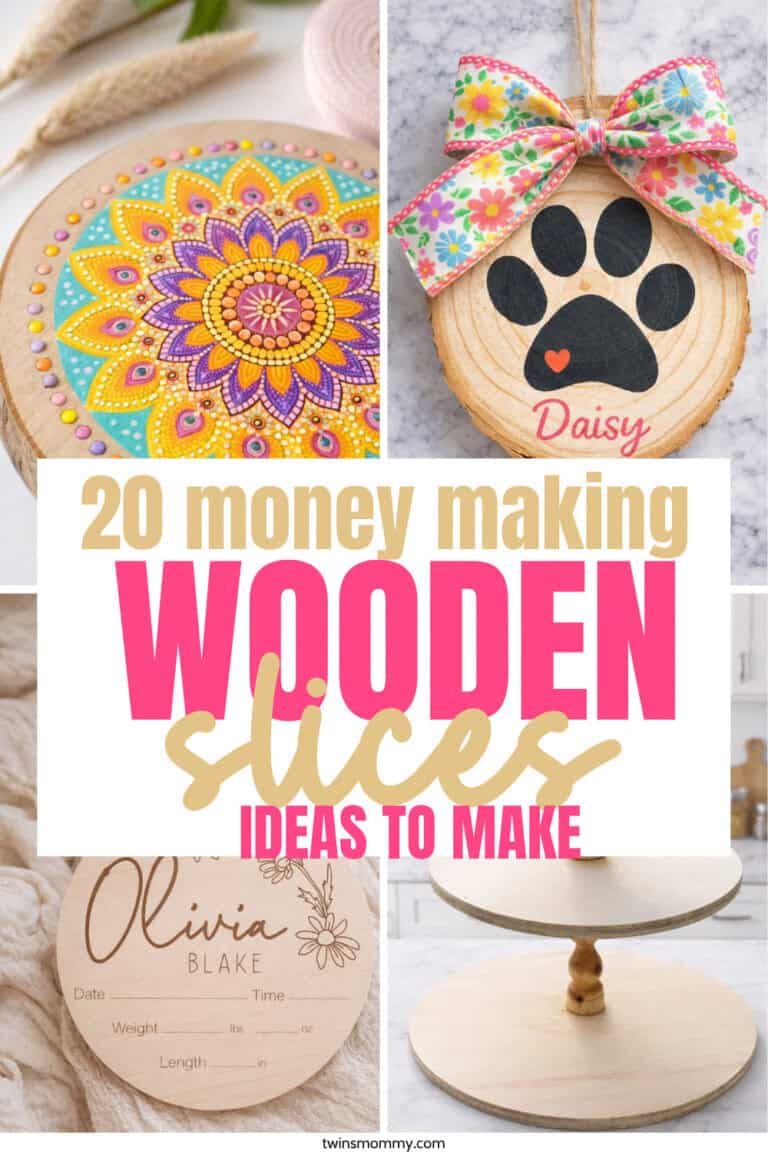
Wood slice crafts are one of those simple projects that look high-end and chic, but they’re actually beginner-friendly and budget-friendly too.
They make perfect decor for your home, or as thoughtful handmade gifts, or even selling a few pieces for extra income!
I love projects that don’t require fancy tools or complicated steps, and wood slices are exactly that because you can turn them into beautiful decor with just paint, vinyl, stencils, or a little creativity.
If you want to spruce up your living room, create personalized gifts for friends and family, or start a small handmade shop on the side, these wood slice craft ideas will give you inspiration and practical ways to make something you’re proud of.
Let’s look at some chic wood slice crafts you can start working on today and see just how easy it is to turn a simple piece of wood into something amazing.
Seasonal and Holiday Wood Slice Crafts That Always Sell
Seasonal wood slice crafts are such a smart place to start because people are always decorating for something, whether it’s Christmas, fall, Easter, or Valentine’s Day.
These pieces tend to sell well at craft fairs and on Etsy because shoppers love small, affordable decor they can swap out every season.
The best part is you can reuse the same basic wood slice and just change the design, colors, or quote to match the holiday.
If you’re thinking about making crafts to sell, seasonal items are a great way to create repeat buyers who come back for the next holiday drop.
1. Christmas Wood Slice Ornaments

Start with smaller wood slices and lightly sand the surface so your paint goes on smoothly.
Paint the background white, red, or forest green, then add simple designs like snowflakes, tiny trees, or a short holiday phrase using stencils or vinyl.
Drill a small hole at the top and thread twine or ribbon through it so it’s ready to hang for Christmas celebrations.
If you want to sell these, bundle them in sets of three or five because shoppers love gift-ready packs during the holidays.
2. Fall Pumpkin Wood Slice Signs
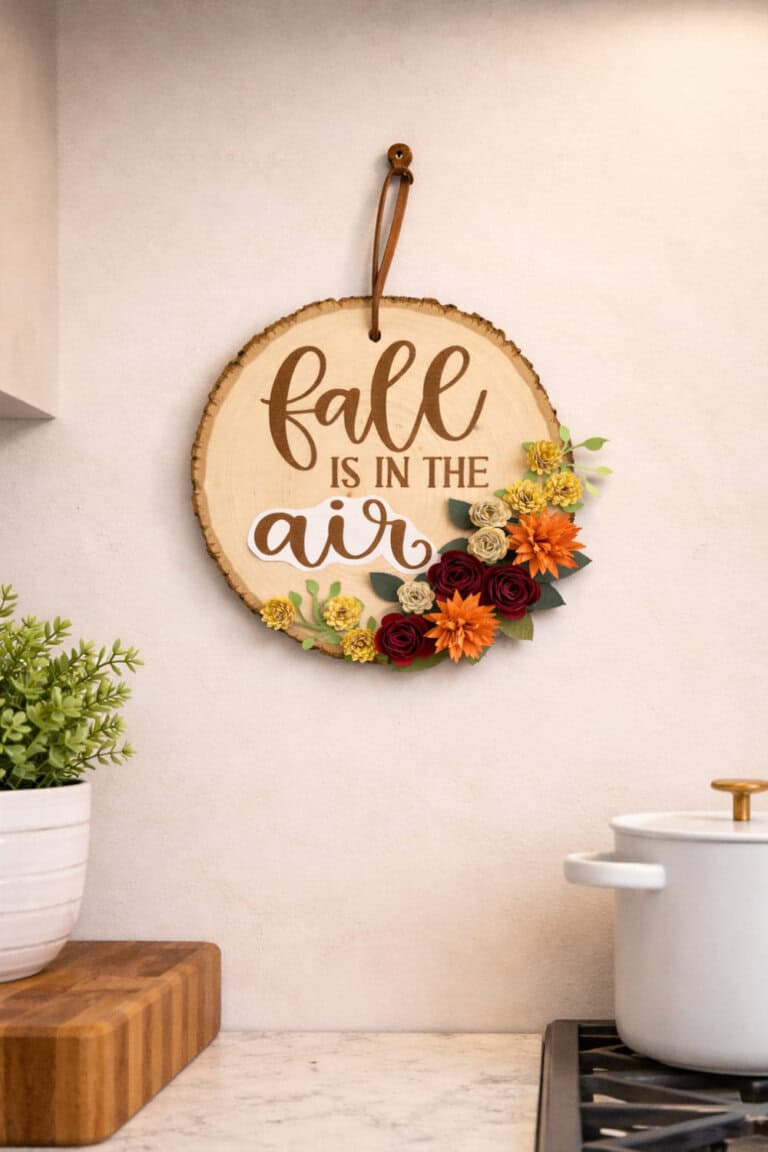
Paint the entire slice in a soft cream or muted orange as your base, then sketch a simple pumpkin shape in the center and fill it in with warm fall tones.
You can add a short word like “Harvest” or “Gather” across the top in a farmhouse-style font to make it feel cozy.
For a little extra detail, glue a small piece of faux greenery or twine bow at the top edge.
These look beautiful propped on a tiered tray or shelf, which makes them easy to market as ready-to-style decor.
3. Easter Bunny Wood Slice Decor
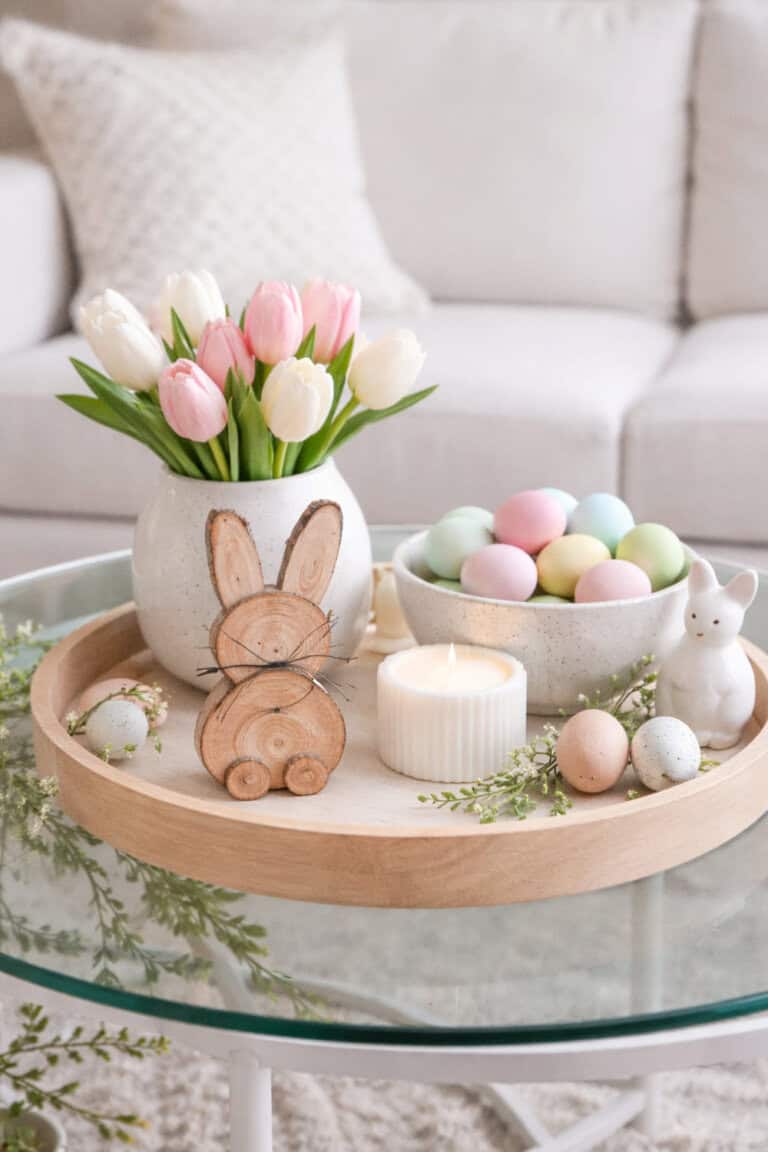
Lay out one larger wood slice for the body, a medium slice for the head, and two oval slices for the ears so you can see the bunny shape before gluing anything down.
Once you’re happy with the placement, use strong wood glue to secure each piece and let everything dry completely so it holds together well.
Add a simple ribbon bow around the neck or lightly paint on small facial details if you want to give it more personality.
Display it on a mantel or tiered tray, or make a few to sell at spring craft fairs since this type of rustic decor is always popular around Easter.
4. Halloween Spooky Quote Plaques
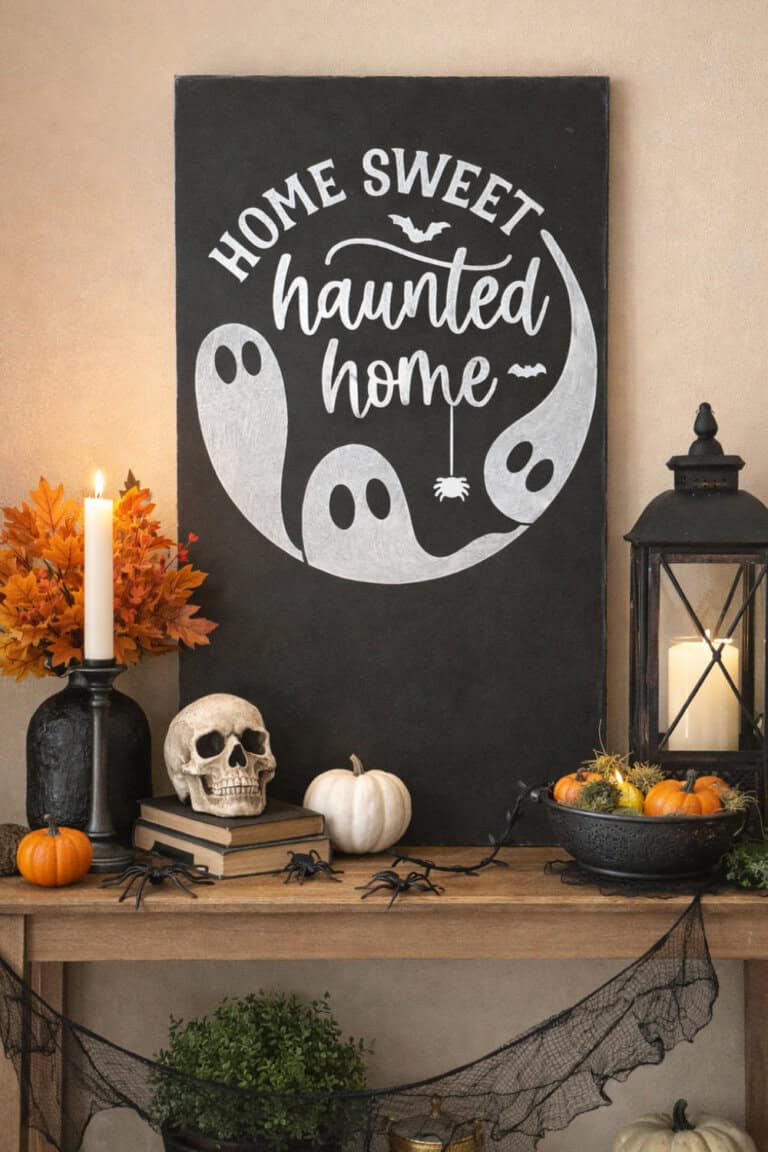
For Halloween, darker backgrounds like black, deep purple, or burnt orange work really well.
Paint your base coat, then add a short spooky phrase like “Boo” or “Trick or Treat” using contrasting white or metallic paint so it stands out.
If you have a steady hand, outline the letters for a slightly distressed look that feels rustic and handmade.
These are easy to price affordably, which makes them great impulse buys at markets.
5. Valentine’s Day Heart Wood Slice Tags
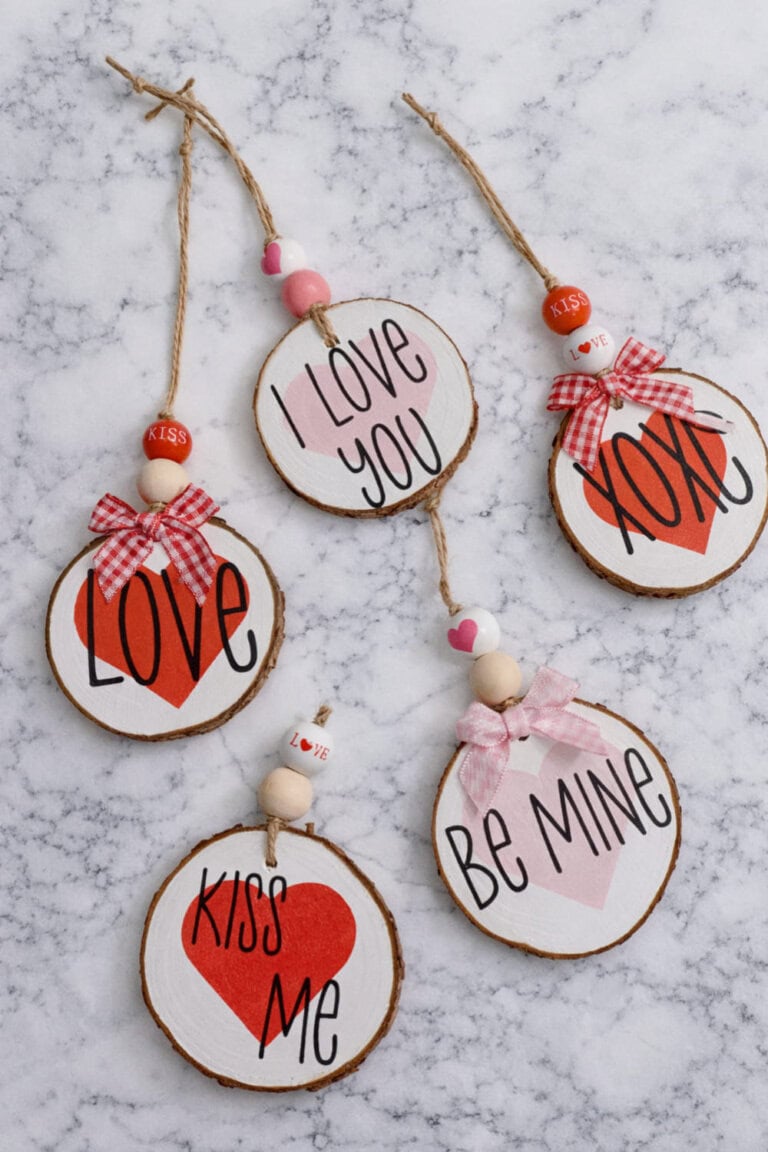
Paint a soft neutral background and let it dry before adding small red or pink hearts across the surface.
You can personalize these with short words like “Love” or even names if you’re offering custom orders.
Drill a small hole at the top and add twine so they can be used as gift tags, tree ornaments, or even hung on door handles.
Offering personalization for Valentine’s pieces is a great way to increase your price point without adding a ton of extra work.
Personalized Wood Slice Crafts That Feel Extra Special
Personalized wood slice crafts are where you can really stand out because people love seeing their name, date, or special message on something handmade.
These types of pieces are perfect for gifts, baby showers, housewarmings, and holidays because they feel thoughtful without being expensive.
They also give you the chance to charge a little more since custom work naturally has higher value.
If you’re thinking about selling your crafts, personalization is one of the easiest ways to turn a simple wood slice into a keepsake someone will hold onto for years.
6. Custom Name Door Hangers
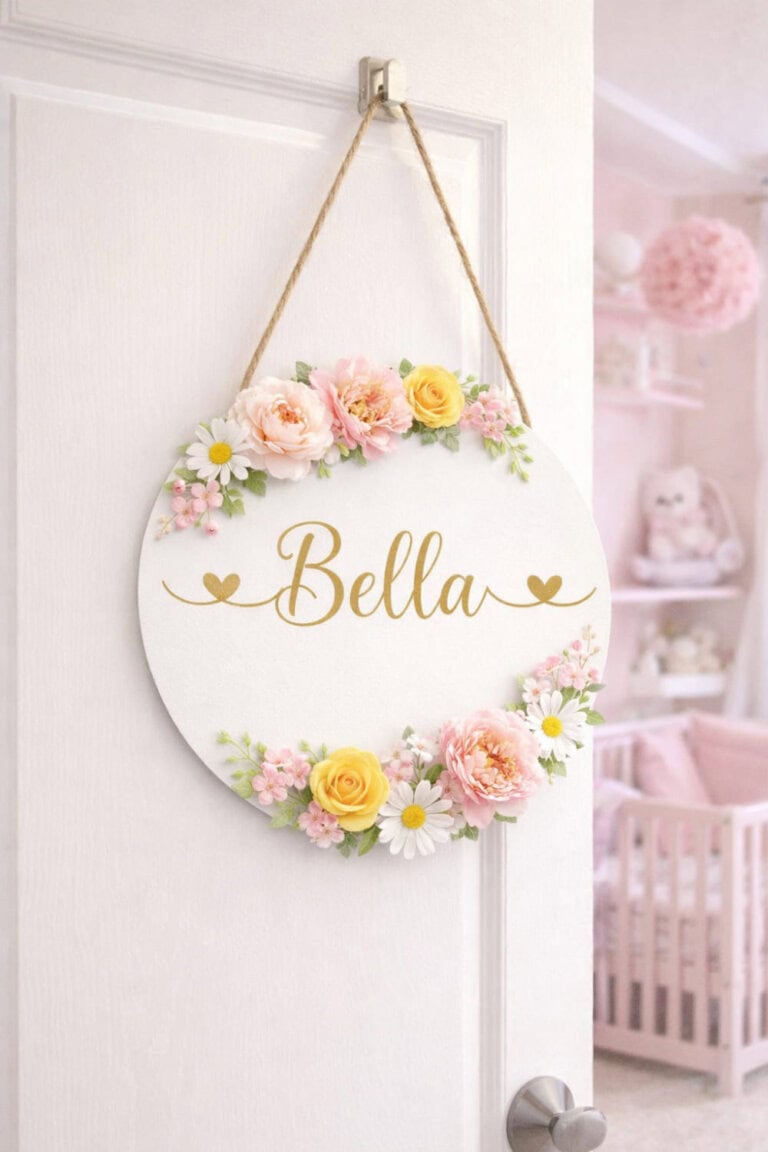
Start with a larger wood slice so the name has plenty of space to stand out clearly.
Paint the background in a neutral shade like white, beige, or soft gray so the lettering really pops.
Use vinyl or a stencil to add the name in a script or bold font, depending on the style you’re going for.
Attach twine or ribbon at the top so it can hang on a bedroom door, nursery wall, or even a front entry hook.
7. Family Name Established Signs
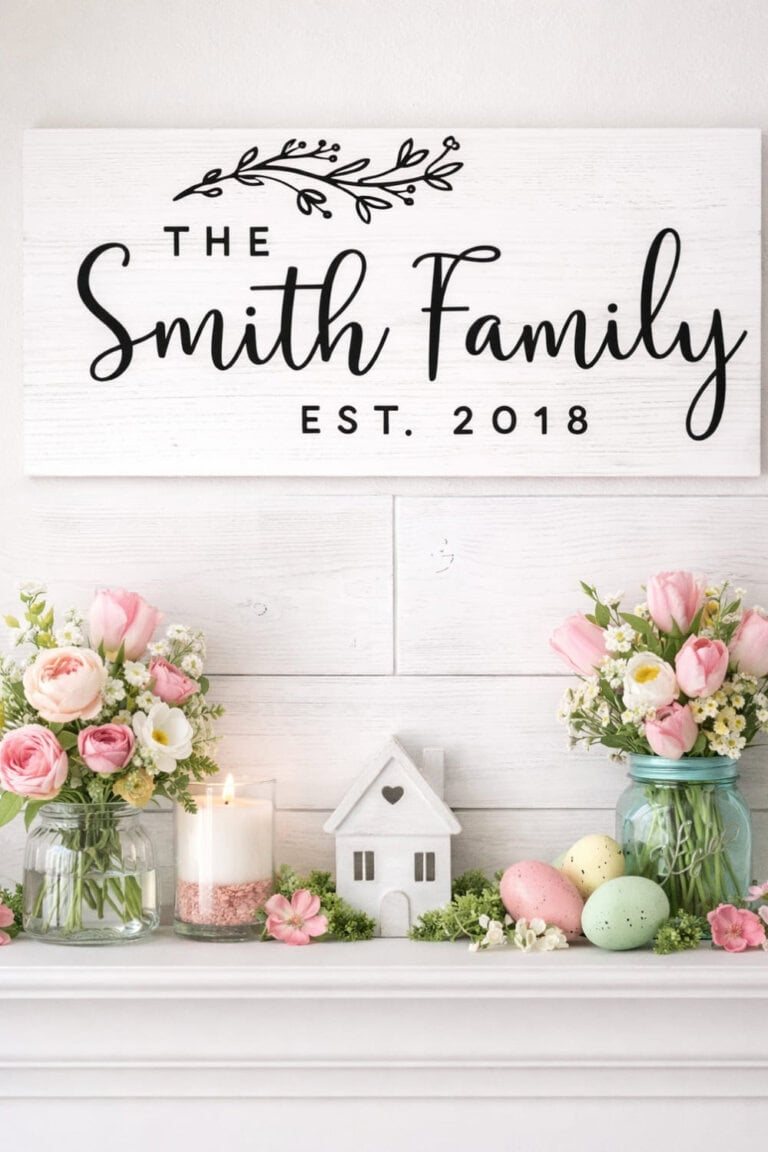
Choose a smooth wood slice and sand it well because clean surfaces make painted lettering look more professional.
Paint or stain the base in a warm tone, then add the family’s last name in large lettering across the center.
Underneath, include a smaller line with “Est.” and the year they were established to give it that classic farmhouse feel.
Seal the entire piece with a clear protective coat so it’s durable enough to hang year-round.
8. Baby Birth Announcement Rounds
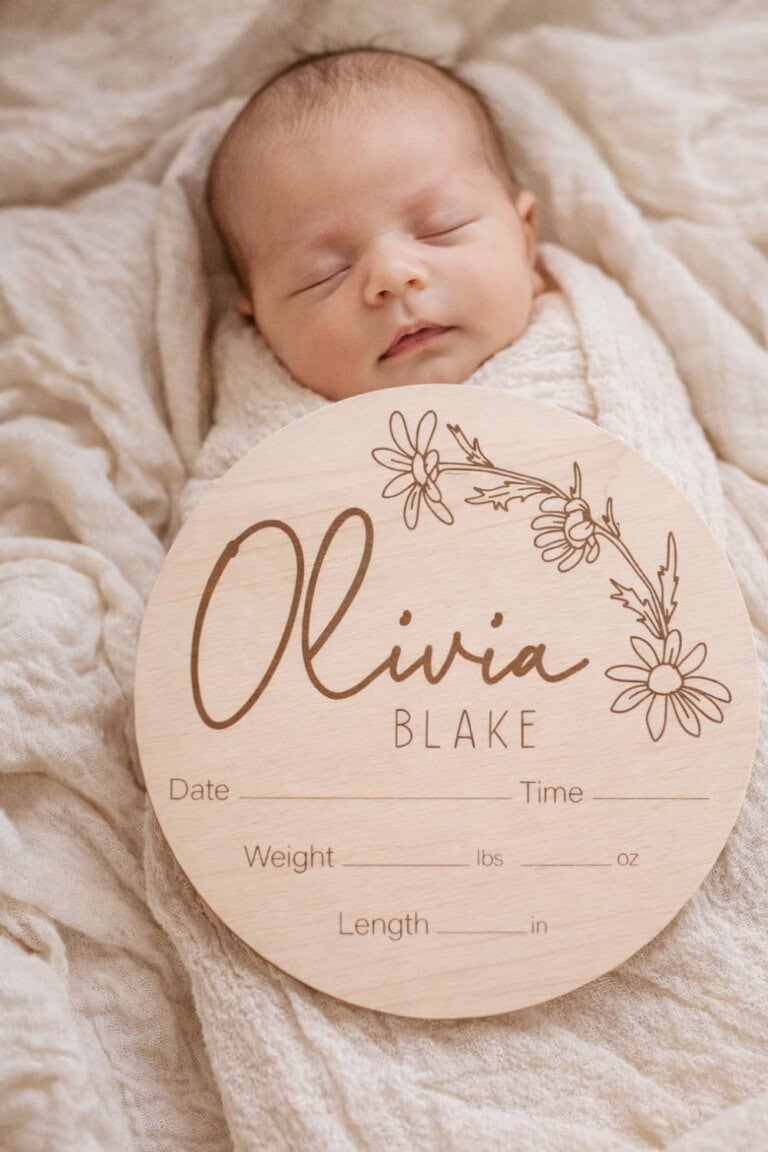
Use a light wood slice or paint the surface white to create a soft background for baby details.
Add the baby’s name in larger lettering at the top, then include birth stats like date, weight, and length in smaller text underneath.
Stick to gentle pastel colors for a sweet nursery look that parents will love.
Offer simple design options so customers can choose a color scheme without overwhelming you with too many custom requests.
9. Personalized Pet Name Ornaments
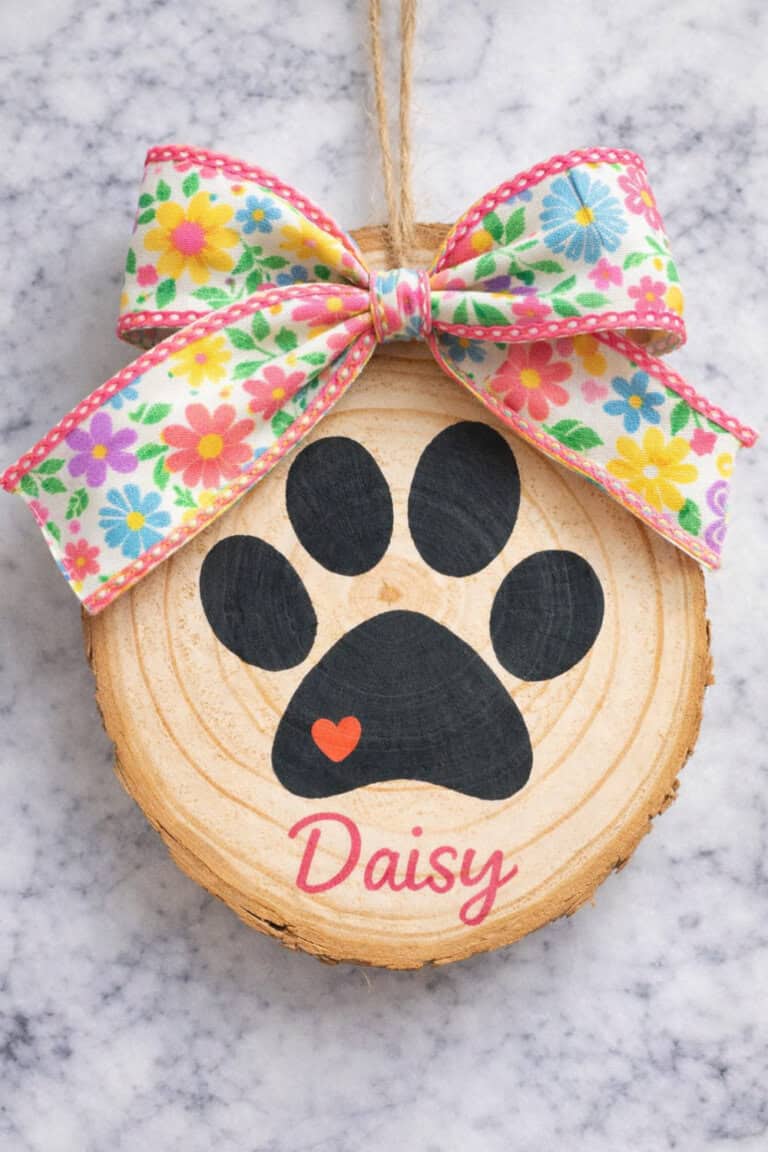
Choose smaller wood slices for this project so they’re lightweight and easy to hang.
Paint a simple paw print or bone shape on the front and add the pet’s name in bold lettering.
Keep the design clean and fun since pet owners usually want something playful and cute.
Drill a hole at the top and add ribbon or twine so it can hang on a tree, hook, or even a kennel door.
10. Monogrammed Wood Slice Coasters
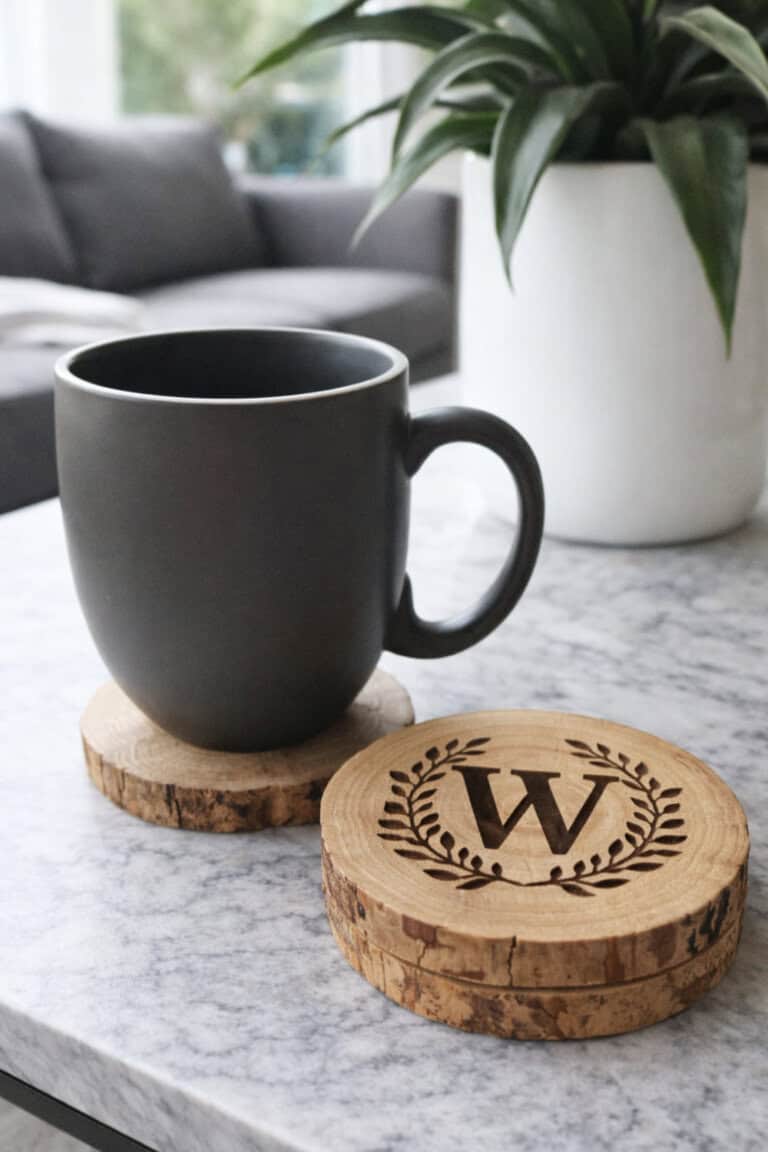
Start with evenly sized wood slices and sand them down so cups sit flat and stable.
Paint or burn a single large monogram letter in the center for a clean and modern look.
Seal each coaster with a waterproof finish so they’re practical and long-lasting.
Bundle them in sets of four because people are much more likely to buy coasters as a complete set rather than one at a time.
Weddings and Events Wood Slice Crafts That Feel High-End
Wood slice crafts are such a natural fit for weddings and events because they instantly give off that rustic, romantic vibe people love.
Event decor also tends to have a higher budget, which means you can price these pieces higher than everyday home decor.
The designs are usually simple, elegant, and neutral, which makes them easy to batch create once you have a template.
If you’re looking for crafts that photograph beautifully and look amazing in styled shoots or on Pinterest, wedding and event pieces are a smart direction to explore.
11. Rustic Wedding Table Numbers
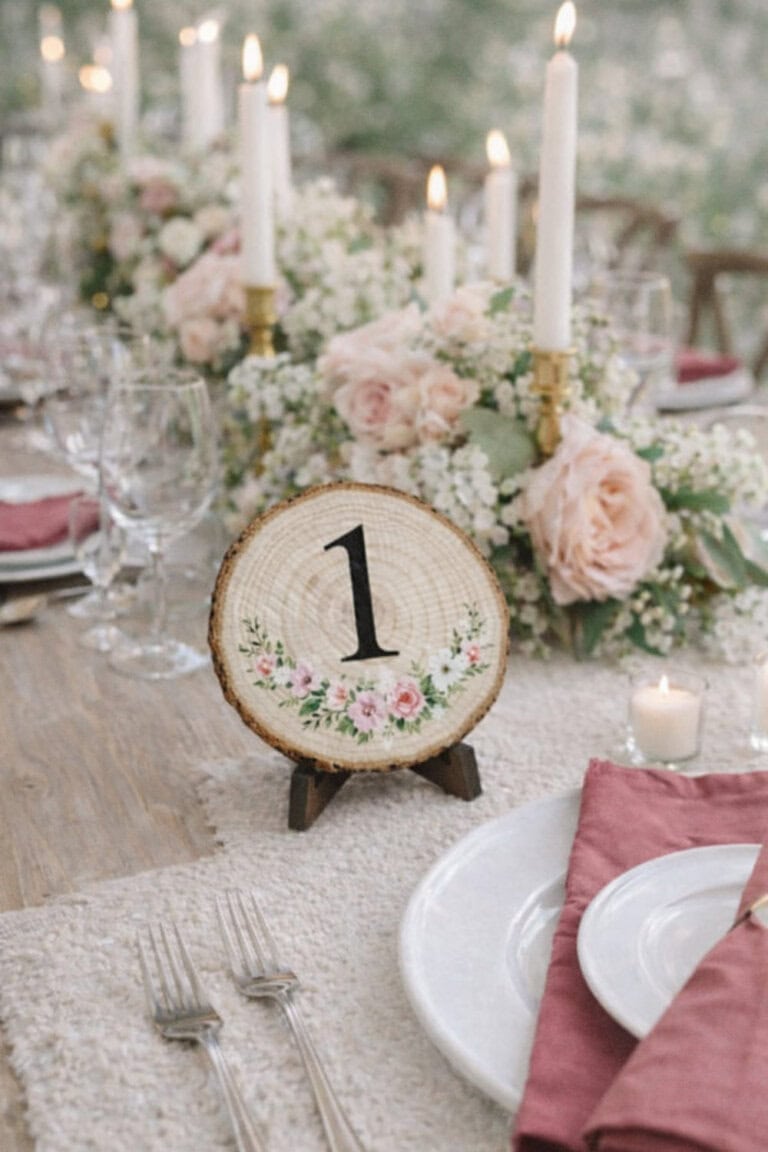
Start with medium-sized wood slices that are thick enough to stand upright on their own or fit into a small holder.
Lightly sand the surface and stain it in a warm tone if you want that deeper rustic look.
Use a stencil to paint large, easy-to-read numbers in white, black, or gold so guests can see them clearly from a distance.
Seal the surface with a matte finish to protect the paint and keep it looking polished throughout the event.
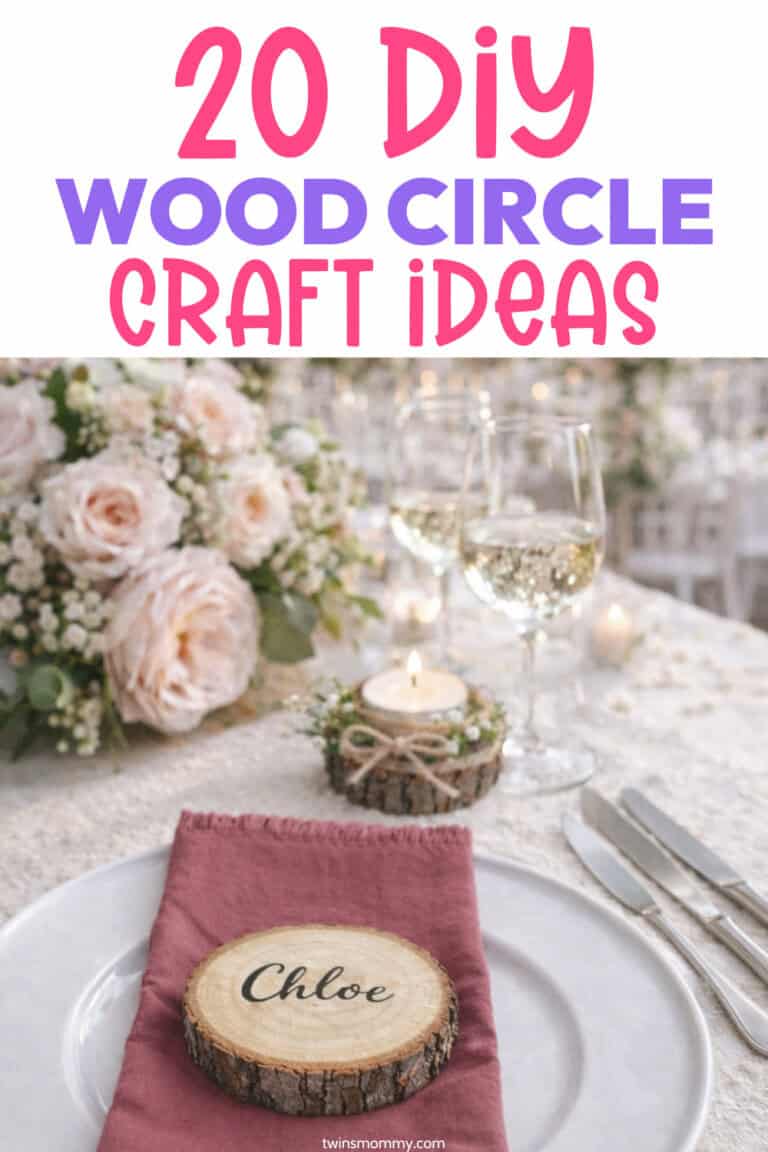
12. Wood Slice Place Cards
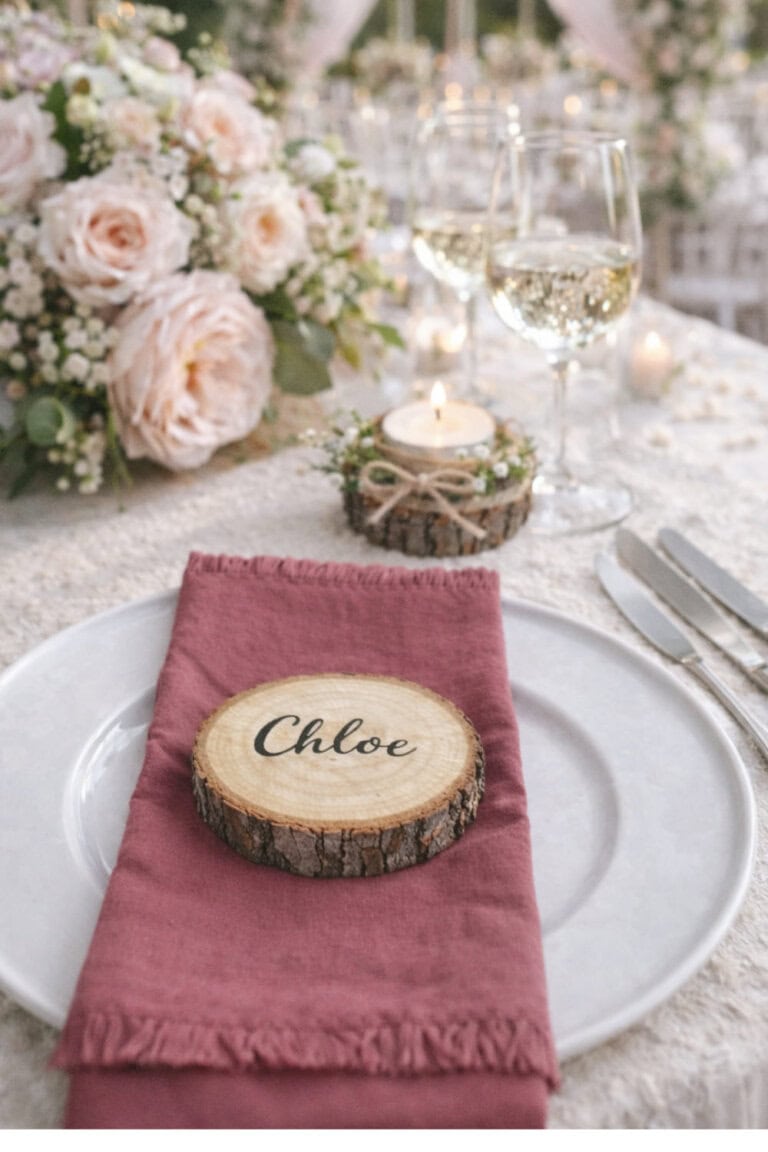
Choose smaller, uniform slices so the table setting looks cohesive and intentional.
Write each guest’s name using a paint pen or apply vinyl lettering for a clean finish.
Keep the background natural or lightly whitewashed so the names stand out without overpowering the table decor.
These double as favors since guests can take them home, which makes them even more appealing to brides and event planners.
13. Bridal Shower Welcome Signs
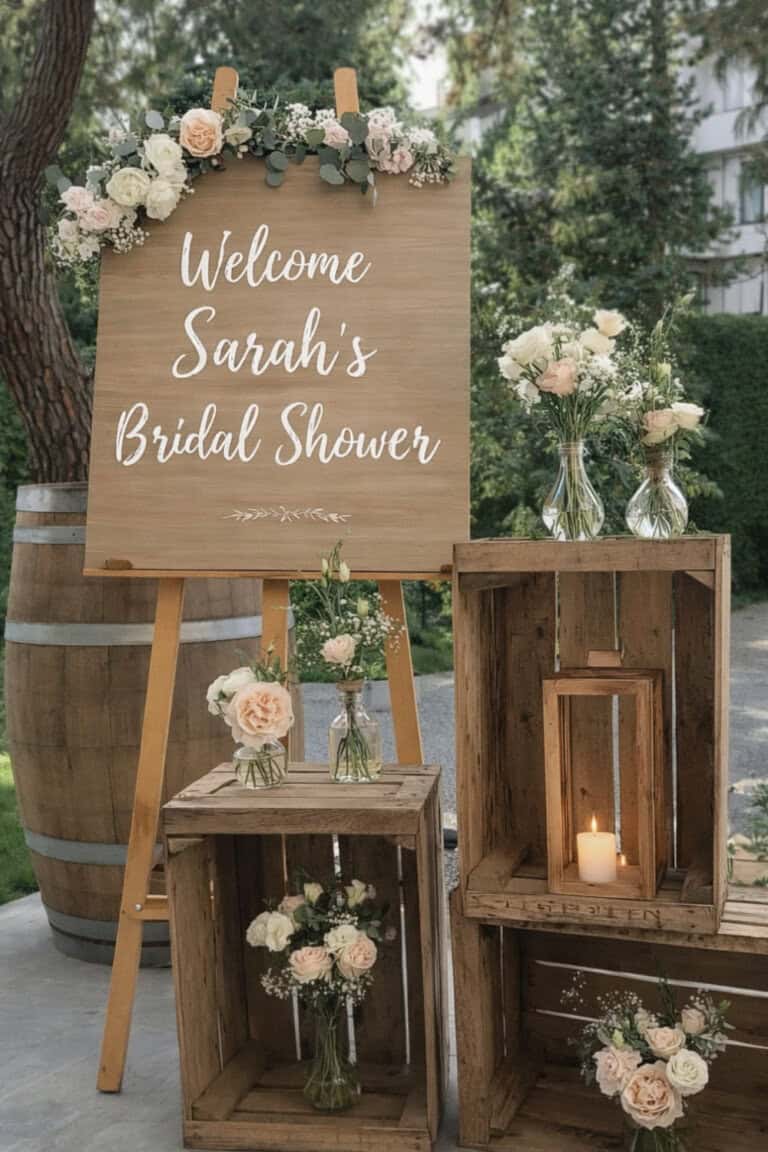
Use a larger wood slice as your base so it feels like a statement piece at the entrance.
Paint or stain it in a soft neutral and add a welcoming phrase like “Welcome to Sarah’s Bridal Shower” in elegant script.
Add a simple floral accent in one corner using faux greenery or painted florals to tie it into the event theme.
Prop it on an easel or hang it with sturdy twine so it’s easy to display at the venue.
14. Engraved Wood Slice Wedding Favors
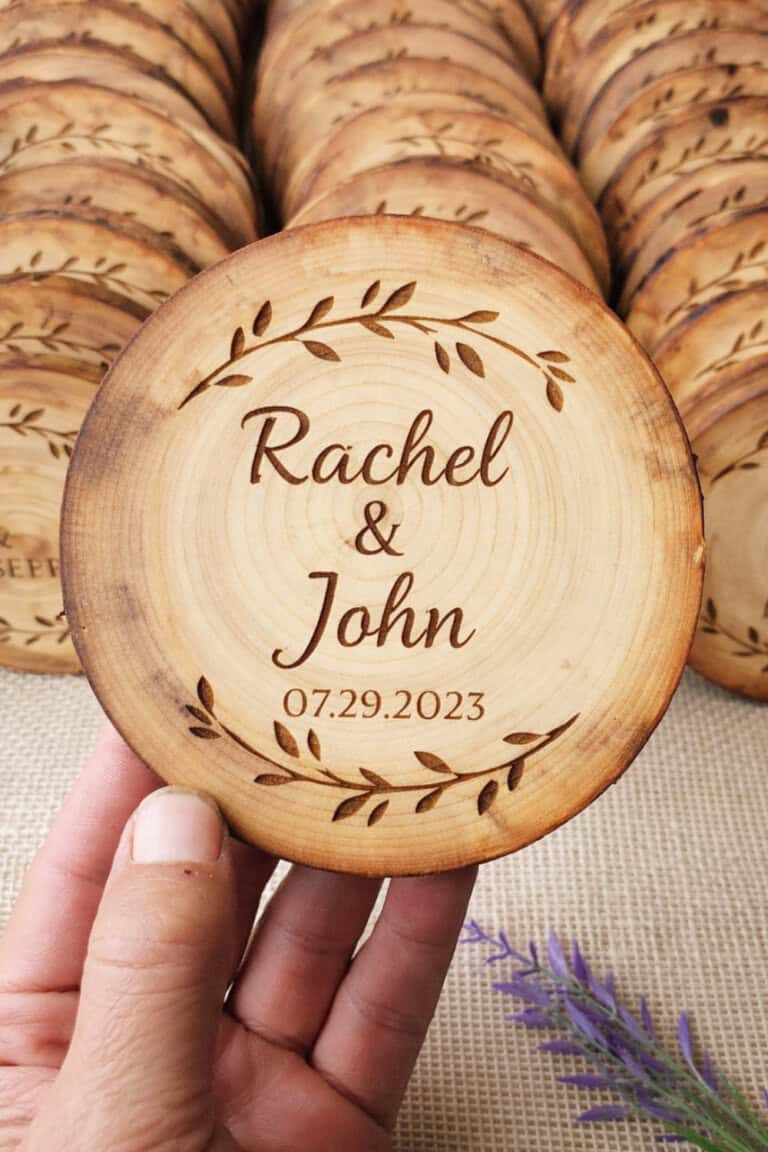
Start with small slices that are similar in size so they look neat when displayed in baskets or on tables.
Use a wood burning tool or laser engraving to add the couple’s initials and wedding date.
Keep the design minimal since favors should feel classic and timeless rather than busy.
Package them in small organza bags or tie them with ribbon so they’re gift-ready for guests.
15. Anniversary Milestone Plaques
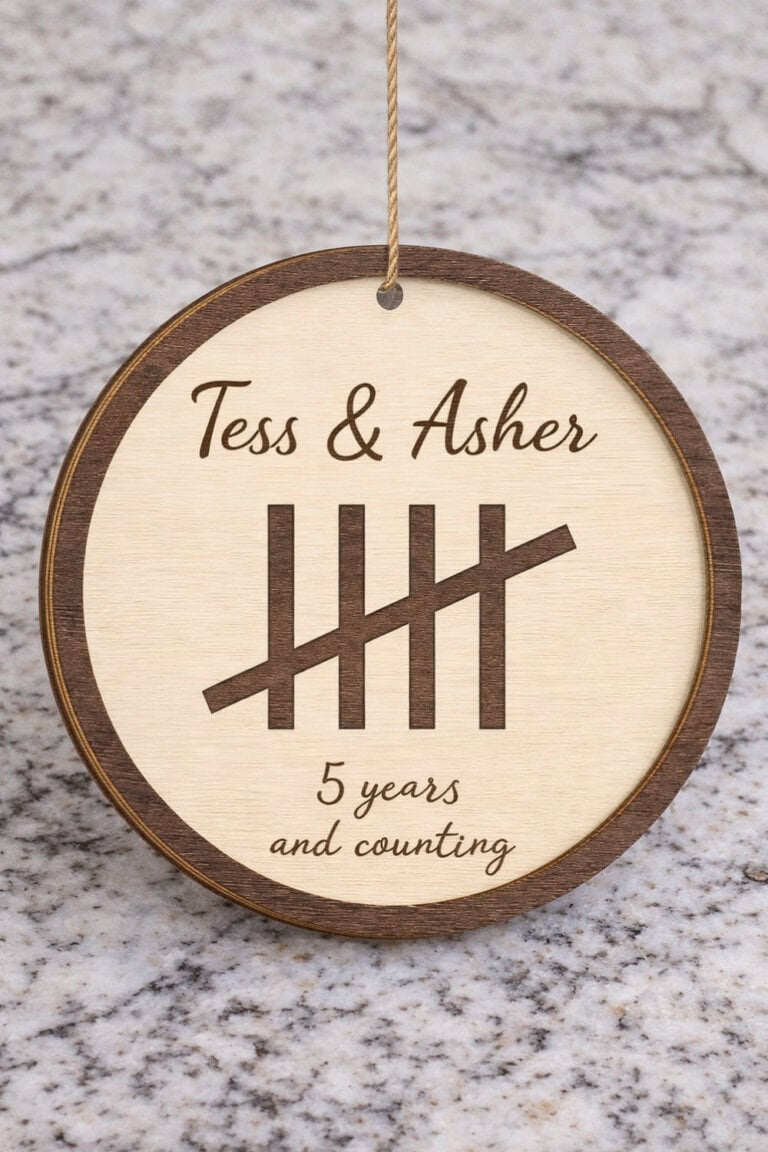
Choose a solid, smooth wood slice and sand it carefully to create a clean working surface.
Add the couple’s names and the number of years they’re celebrating in bold lettering across the center.
You can include a short phrase underneath like “Still Growing Strong” to add a meaningful touch.
Finish with a protective sealant so the plaque can be displayed on a shelf or hung on a wall for years to come.
Farmhouse and Boho Wood Slice Crafts That Elevate Any Space
Farmhouse and boho decor never really go out of style, which makes these wood slice crafts great for home styling and consistent sales.
The designs are usually neutral, textured, and simple, which means you don’t need complicated techniques to make them look beautiful.
These pieces work well for everyday decor, so customers aren’t limited to a specific season or holiday.
If you love that cozy, layered home look you see all over Pinterest, this category gives you tons of creative freedom without overwhelming you.
16. Farmhouse Quote Wall Art
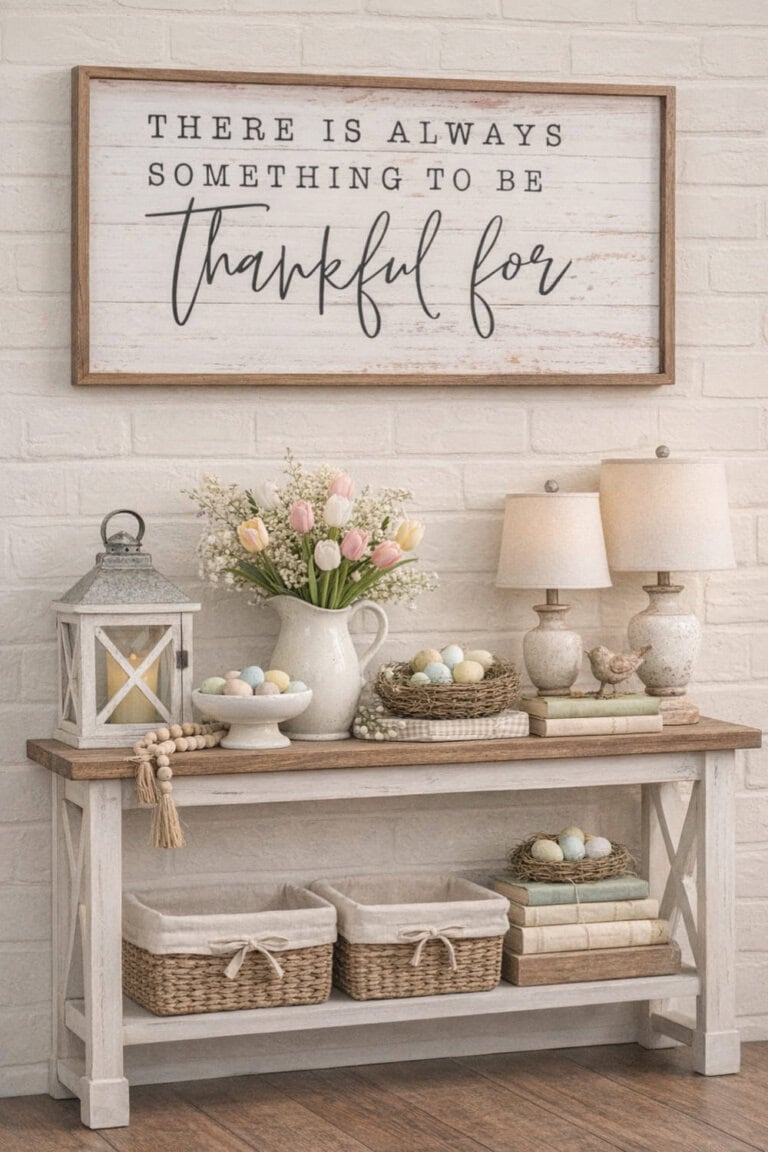
Start with a medium to large wood slice and lightly sand it so the paint glides on evenly.
Paint the base in white, cream, or a soft greige to keep that classic farmhouse feel.
Add a short, simple quote in black lettering using a stencil or vinyl so the words look clean and readable.
Seal it with a matte finish and attach sturdy twine to the back so it’s ready to hang.
17. Boho Mandala Wood Slice Decor

Choose a smooth wood slice and apply a light stain or keep it natural for an earthy base.
Use a fine brush or stencil to create a mandala design in soft neutrals like beige, sage, or muted terracotta.
Take your time building the pattern outward from the center so it stays balanced and symmetrical.
Display it on a shelf or layer it into a gallery wall for that relaxed boho vibe.
18. Rustic Kitchen Tiered Tray

Start by choosing two or three wood slices in graduating sizes so your tray has a balanced tiered look.
Drill a hole in the center of each slice and use a wooden spindle or pre-made tiered tray hardware to stack and secure the layers tightly together.
Sand the surfaces lightly if needed, then leave the bark edges natural for that rustic farmhouse feel or seal everything with a clear finish to protect it.
Style it with mugs, small plants, seasonal decor, or baked goods, and you’ve got a statement kitchen piece that also sells really well at craft markets and online.
19. Minimalist Botanical Wood Burn Designs
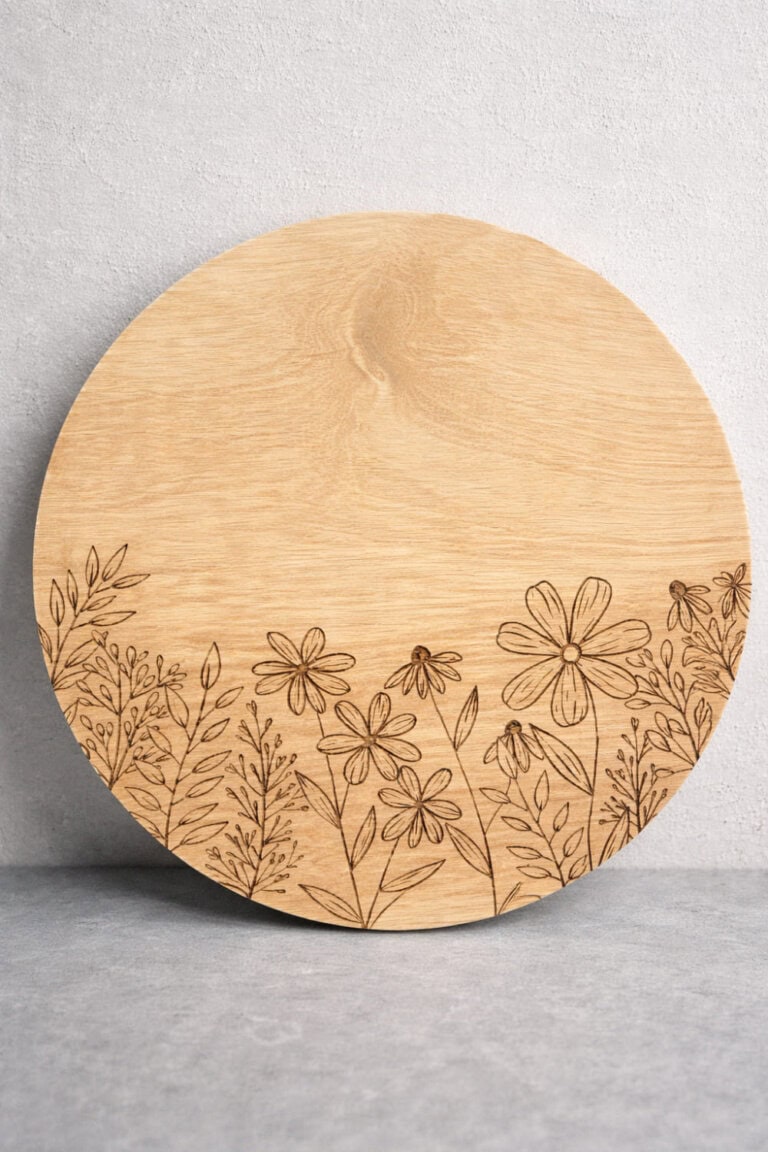
Pick a clean, smooth slice and skip heavy paint to keep the look minimal and modern.
Use a wood burning tool to carefully trace simple botanical outlines like leaves, branches, or wildflowers.
Keep the design airy and uncluttered so the natural wood grain still shows through.
Finish with a clear sealant to protect the surface without adding shine.
20. Twine Hanging Wood Slice Wall Displays
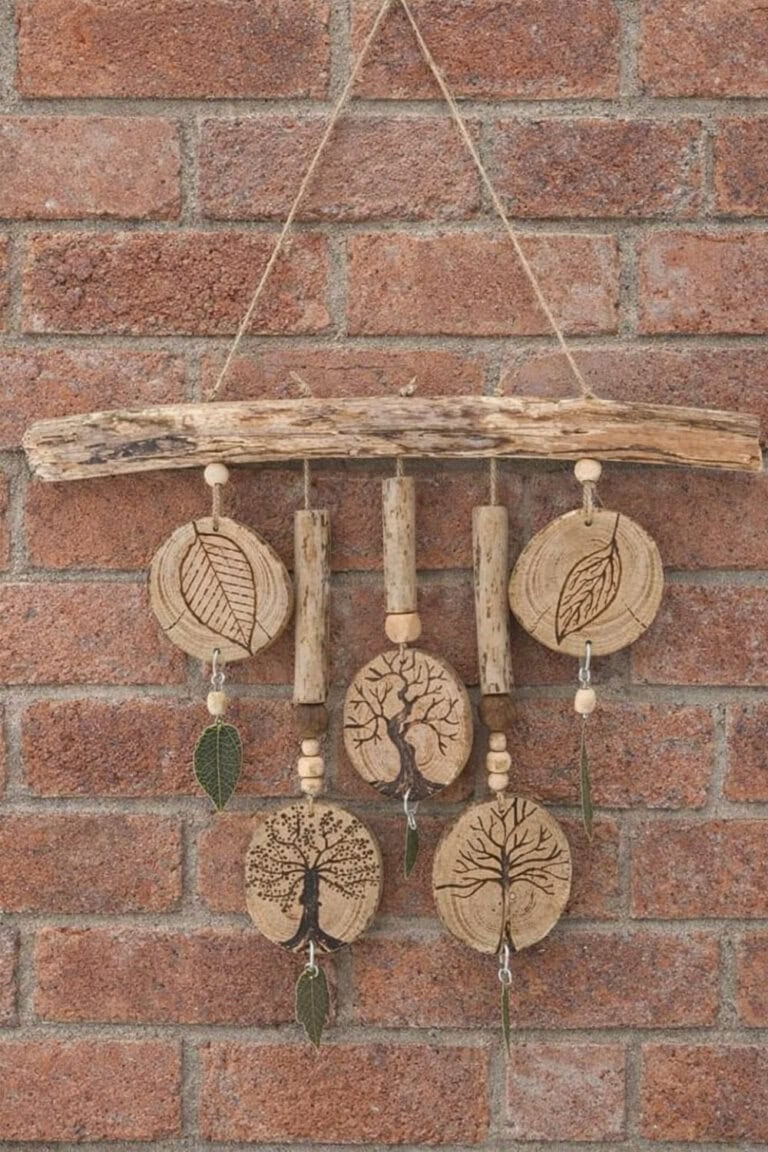
Select evenly sized slices if you’re creating a multi-piece hanging display.
Paint or stain each slice in complementary neutral tones so they look cohesive together.
Drill small holes at the top and string them onto a rustic piece of wood branch for a boho wall piece look.
Space them evenly and secure the knots tightly so the display hangs straight and feels sturdy.
Turn Simple Wood Slices Into Profitable Crafts!
Wood slice crafts are one of those simple projects that can quickly turn into something people are excited to buy for their homes, gifts, and special events.
When you focus on clean designs, popular styles, and a little bit of personalization, you’re not just crafting for fun, you’re building products that can actually bring in income.
Start with a few ideas, see what sells best, and refine your process so creating inventory feels easier and faster each time.
If you’ve been looking for a beginner-friendly way to start selling handmade items, wood slices are such a smart and approachable place to begin.

Leave a Reply